Notebook PC E-Manual
39
Using the optical drive
NOTE:
•
The actual location of the electronic eject button may vary
depending on your Notebook PC model.
•
The actual appearance of the Notebook PC optical drive may also
vary depending on model but usage procedures remain the same.
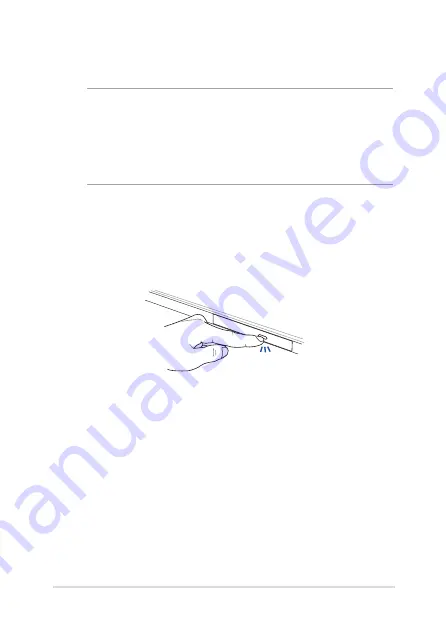
Inserting an optical disc
1.
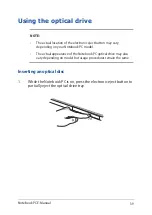
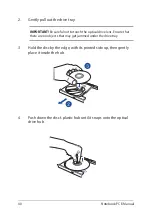
While the Notebook PC is on, press the electronic eject button to
partially eject the optical drive tray.
Summary of Contents for ROG GL752VW
Page 1: ...E Manual E11167 Revised Edition V2 December 2015 ...
Page 13: ...Notebook PC E Manual 13 Chapter 1 Hardware Setup ...
Page 26: ...26 Notebook PC E Manual ...
Page 27: ...Notebook PC E Manual 27 Chapter 2 Using your Notebook PC ...
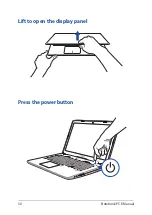
Page 30: ...30 Notebook PC E Manual Lift to open the display panel Press the power button ...
Page 42: ...42 Notebook PC E Manual ...
Page 43: ...Notebook PC E Manual 43 Chapter 3 Working with Windows 10 ...
Page 64: ...64 Notebook PC E Manual ...
Page 65: ...Notebook PC E Manual 65 Chapter 4 Power On Self Test POST ...
Page 80: ...80 Notebook PC E Manual ...
Page 81: ...Notebook PC E Manual 81 Chapter 5 Upgrading your Notebook PC ...
Page 84: ...84 Notebook PC E Manual C Remove the screws securing the HDD bay to the compartment ...
Page 98: ...98 Notebook PC E Manual ...
Page 99: ...Notebook PC E Manual 99 Tips and FAQs ...
Page 106: ...106 Notebook PC E Manual ...
Page 107: ...Notebook PC E Manual 107 Appendices ...
Page 125: ...Notebook PC E Manual 125 German Greek Italian Portuguese Spanish Swedish ...
Page 130: ...130 Notebook PC E Manual ...

