ASUS RS100-E6/PI2
6-15
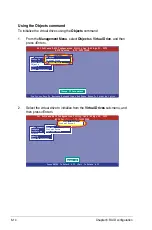
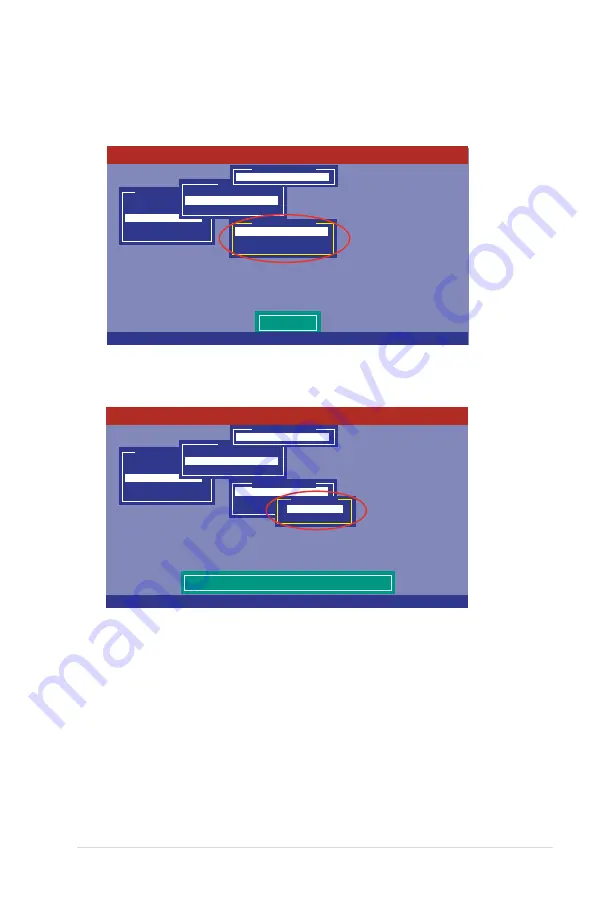
3. Select
Initialize
from the pop-up menu, and then press <Enter> to start
initialization.
Management Menu
Configure
Initialize
Objects
Rebuild
Check Consistency
Initilize VD
Objects
Adapter
Virtual Drive
Physical Drive
Vitual Drive(1)
Virtual Drive 0
Initialze
Check Consistency
View/Update Parameters
Vitual Drive(0)
LSI Software RAID Configuration Utility Ver A.62 Apr 29, 2009
BIOS Version A.09.04300936R
Use Cursor Keys To Navigate Between Items And Press Enter To Select An Option
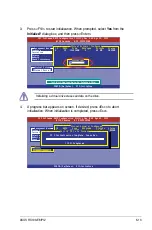
4. When prompted, press the <Space> to select
Yes
from the
Initialize?
dialog
box, and then press <Enter>.
Management Menu
Configure
Initialize
Objects
Rebuild
Check Consistency
Initilize Will Destroy Data On Selected VD(s)
Objects
Adapter
Virtual Drive
Physical Drive
Vitual Drive(1)
Virtual Drive 0
Initialze
Check Consistency
View/Update Parameters
Vitual Drive(0)
Initialize?
Yes
No
LSI Software RAID Configuration Utility Ver A.62 Apr 29, 2009
BIOS Version A.09.04300936R
Use Cursor Keys To Navigate Between Items And Press Enter To Select An Option
5. A progress bar appears on screen. If desired, press <Esc> to abort
initialization. When initialization is completed, press <Esc>.
Summary of Contents for RS100-E6 PI2
Page 1: ...1U Rackmount Server RS100 E6 PI2 User Guide ...
Page 18: ...Chapter 1 Product introduction 1 8 ...
Page 22: ...Chapter 2 Hardware setup 2 4 3 Secure the cover with three screws ...
Page 48: ...Chapter 4 Motherboard information 4 2 4 1 Motherboard layout ...
Page 130: ...6 34 Chapter 6 RAID configuration ...


