


Chapter 2: Hardware setup
-
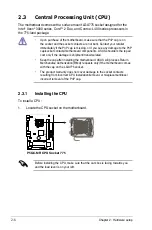
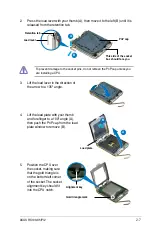
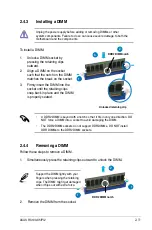
The CPU fits in only one correct orientation. DO NOT force the CPU into the
socket to prevent bending the connectors on the socket and damaging the CPU!
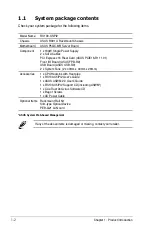
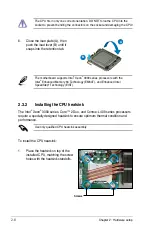
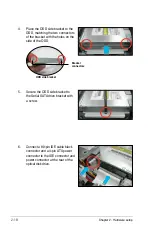
6. Close the load plate (A), then
push the load lever (B) until it
snaps into the retention tab.
A
B
The motherboard supports Intel
®
Xeon
®
3000 series processors with the
Intel
®
Enhanced Memory 64 Technology (EM64T), and Enhanced Intel
SpeedStep
®
Technology (EIST).
2.3.2.
Installing.the.CPU.heatsink
The Intel
®
Xeon
®
3000 series, Core™ 2 Duo, and Conroe-L 400 series processors
require a specially designed heatsink to ensure optimum thermal condition and
performance.
Use only qualified CPU heatsink assembly.
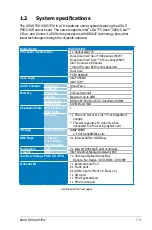
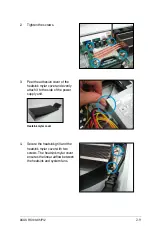
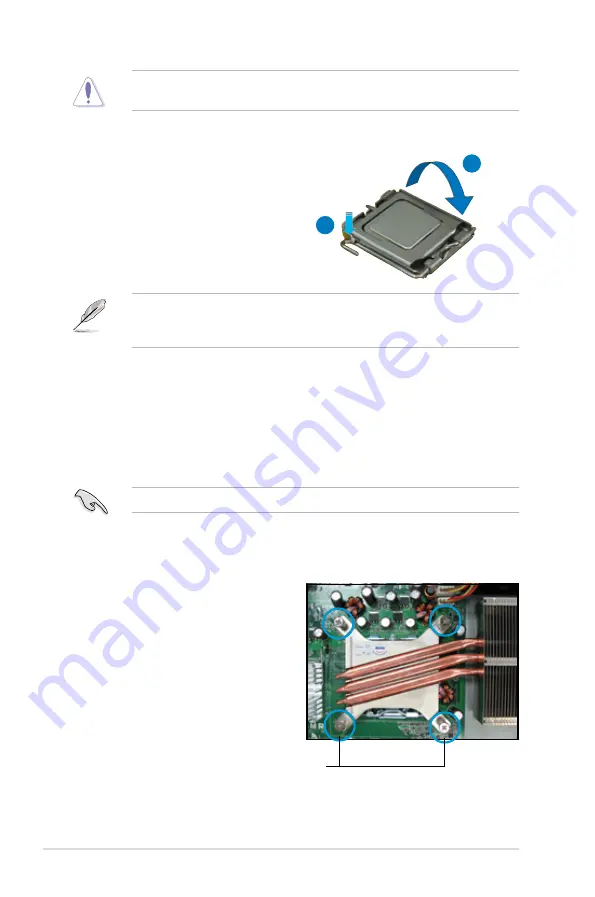
To install the CPU heatsink:
1. Place the heatsink on top of the
installed CPU, matching the screw
holes with the heatsink standoffs.
Screws
Summary of Contents for RS100-X5 - 0 MB RAM
Page 1: ...RS100 X5 PI2 1U Rackmount Server User s Manual ...
Page 10: ... ...
Page 18: ...Chapter 1 Product introduction 1 ...
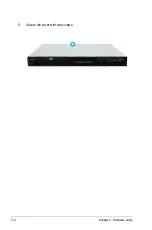
Page 22: ...Chapter 2 Hardware setup 2 3 Secure the cover with two screws ...
Page 58: ...4 12 Chapter 4 Motherboard Information ...
Page 90: ...5 32 Chapter 5 BIOS setup ...