Chapter 3: Installation Options
3-4
1
2
3
4
6.
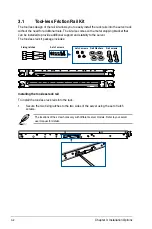
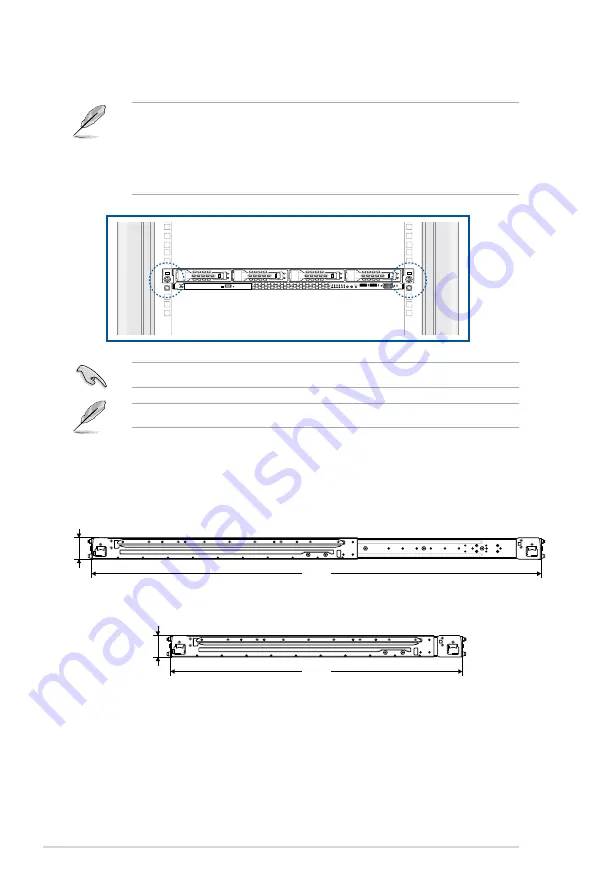
Lift the server chassis and insert it into the rack rail.
•
Ensure that the rack rail cabinet and the rack posts are stable and standing firmly on a
level surface.
•
We strongly recommend that at least two able-bodied persons perform the steps
described in this guide.
•
We recommend the use of an appropriate lifting tool or device, if necessary.
Ensure to include the side knots on the two sides of the server in the rack rail holders.
The illustrations shown above are for reference only.
3.2
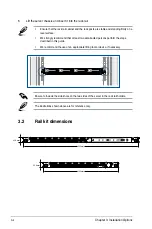
Rail kit dimensions
589mm
43.6mm
900mm
43.6mm
Summary of Contents for RS700A-E9-RS12
Page 1: ...1U Rackmount Server User Guide RS700A E9 Series RS700A E9 RS4 RS700A E9 RS12 ...
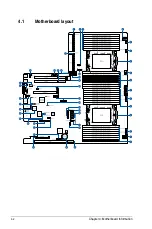
Page 70: ...Chapter 4 Motherboard Information 4 2 4 1 Motherboard layout ...
Page 92: ...Chapter 4 Motherboard Information 4 24 ...
Page 136: ...6 10 Chapter 6 Driver Installation ...
Page 138: ...A 2 Appendix KNPP D32 block diagram ...
Page 144: ...A 8 Appendix ...

