


7
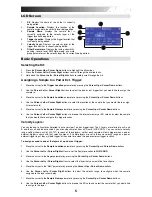
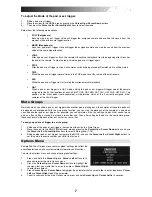
To adjust the Mode of the pad or ext. trigger:
1.
Strike a pad or ext. trigger.
2.
Move the cursor to the MODE area by pressing the
Cursor Up
or
Cursor Down
buttons.
3.
Then press the
Cursor Left
or
Cursor Right
buttons
to select the mode.
Select from the following mode options:
•
POLY (Polyphonic)
Each new pad or ext. trigger strike will trigger the assigned sample and overlap the sound from the
previous strike of the same trigger location.
•
MONO (Monophonic)
Each new pad or ext. trigger strike will trigger the assigned sample and stop the sound from the previous
strike of the same trigger location.
•
LOOP
After a pad or ext. trigger is struck, the sample will continue to playback from the beginning after it reaches
the end of the sample. To stop the loop, strike the pad or ext. trigger again.
•
STOP
After the pad or ext. trigger is struck, all samples currently being played by SamplePad Pro will be muted.
•
TMP
Strike the pad or ext. trigger several times in the TMP mode to set the tempo of the metronome.
•
CLK
Strike the pad or ext. trigger to start or stop the metronome (click) playback.
•
HAT
When a pad or ext. trigger is in HAT mode, striking this pad or ext. trigger will trigger one of the sample
assigned to the 5 hi-hat locations of each kit (HAT OPE, HAT MID, HAT CLO, HAT CHK, HAT SPL). The
position of the hi-hat pedal (sold separately) will determine which of the 5 currently assigned hi-hat
samples of the kit will trigger.
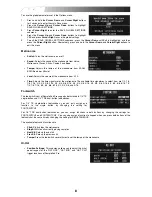
Mute Groups
Normally, when you strike a pad or ext. trigger when another pad is playing back, the samples of these two pads will
be played back overlapped. With the mute group function, you can stop the playback of the sample of a pad when
you strike another pad or ext. trigger. For example, you can simulate a hi-hat by setting an open hi-hat sound to one
pad, and then setting a closed hi-hat sound to another pad. Then after setting both pads to the same mute group,
these sounds will mute each other out, similar to a real hi-hat.
To assign a pad or ext. trigger to a mute group:
1.
Strike one of the pads or ext. triggers that you want to assign to a Mute Group.
2.
Move the cursor to the MGRP (Mute Group) area by pressing the
Cursor Up
or
Cursor Down
buttons and use
the
Cursor Left
or
Cursor Right
buttons
to select a Mute group. [1-16]
3.
Strike another pad or ext. trigger, navigate to the MGRP, and use the
Cursor Left
or
Cursor Right
buttons to
set this pad to the same number you set for the first pad.
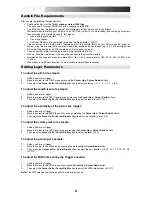
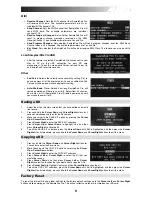
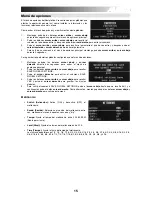
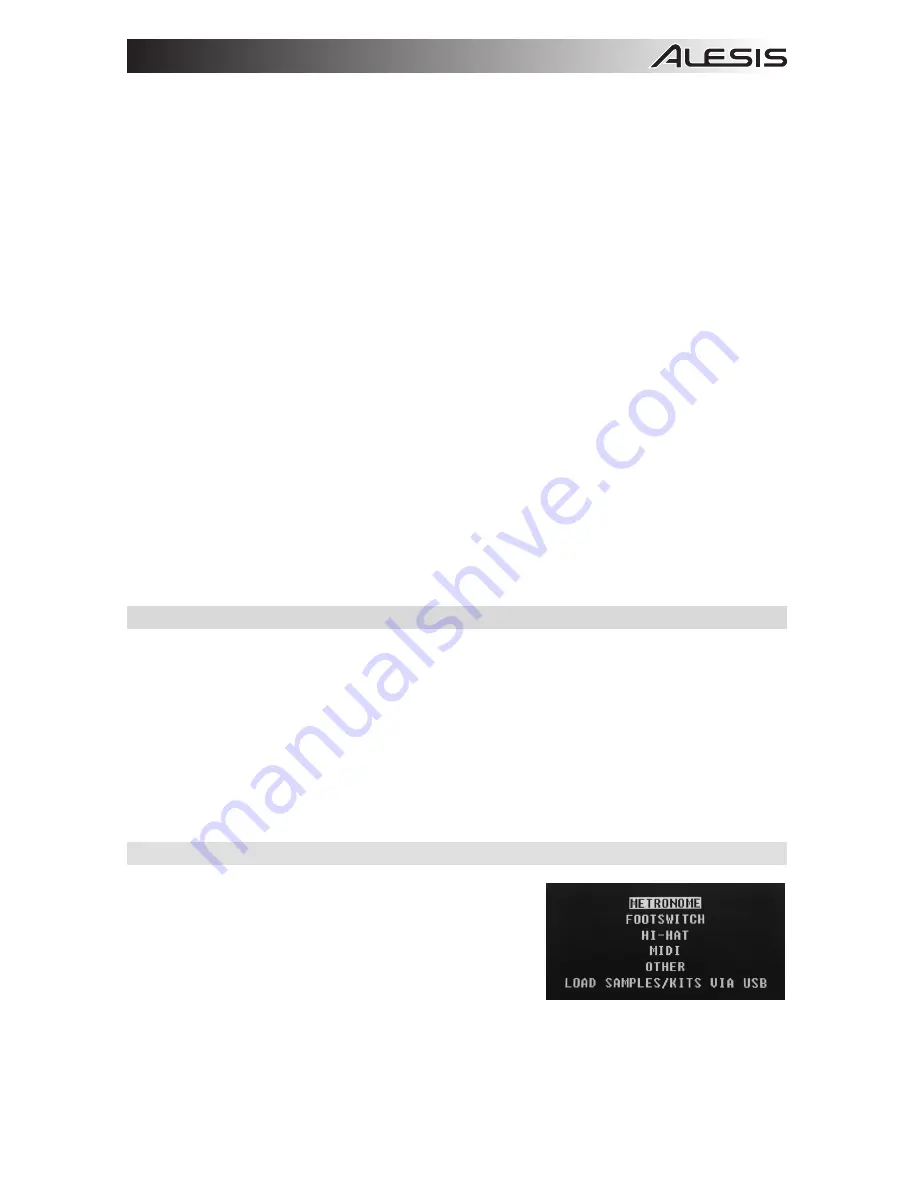
Options Menu
SamplePad Pro’s Options menu contains global settings that affect the
overall operation as well as system-related information and functions.
To enter the Options menu and change these global settings:
1.
Press and hold the
Cursor Up
and
Cursor Left
buttons for 2
seconds to enter the main Options menu.
2.
Press the
Cursor Up
and
Cursor Down
buttons to highlight the
submenu that you would like to enter, then press
Cursor Right
to enter the submenu.
3.
Press
Cursor Up
and
Cursor Down
to highlight the parameter that you would like to enter, then press
Cursor
Left
and
Cursor Right
to edit the parameter.
4.
To exit a submenu or the main Options menu, press and hold
Cursor Up
and
Cursor Left
for 2 seconds.
Summary of Contents for samplepad pro
Page 2: ......
Page 44: ...alesis com Manual Version 1 2 ...


