22
2
Knowing the Parts
Rear Side
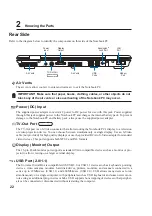
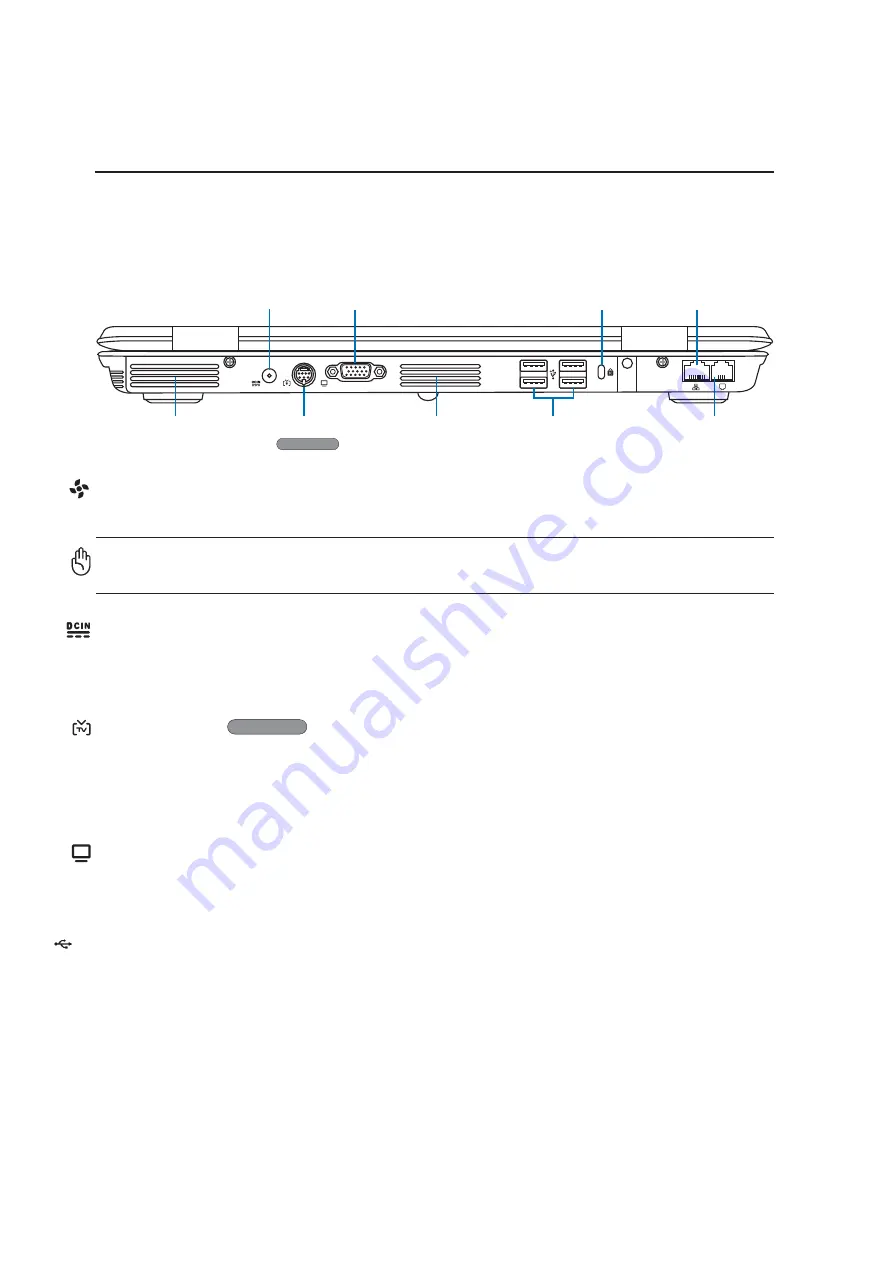
Refer to the diagram below to identify the components on this side of the Notebook PC.
2.0
USB Port (2.0/1.1)
The Universal Serial Bus is compatible with USB 2.0 or USB 1.1 devices such as keyboards, pointing
devices, video cameras, modems, hard disk drives, printers, monitors, and scanners connected in a
series up to 12Mbits/sec (USB 1.1) and 480Mbits/sec (USB 2.0). USB allows many devices to run
simultaneously on a single computer, with peripherals such as USB keyboards and some newer moni-
tors acting as additional plug-in sites or hubs. USB supports hot-swapping of devices so that peripher-
als can be connected or disconnected without restarting the computer.
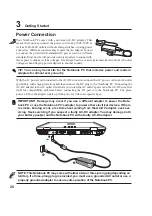
Power (DC) Input
The supplied power adapter converts AC power to DC power for use with this jack. Power supplied
through this jack supplies power to the Notebook PC and charges the internal battery pack. To prevent
damage to the Notebook PC and battery pack, always use the supplied power adapter.
Display (Monitor) Output
The 15-pin D-sub monitor port supports a standard VGA-compatible device such as a monitor or pro-
jector to allow viewing on a larger external display.
TV-Out Port
On selected models
Display
Output
Air Vents
USB
Ports
Kensington
®
Lock Port
Power
Input
Modem
Port
LAN
Port
Air Vents
Air Vents
The air vents allow cool air to enter and warm air to exit the Notebook PC.
IMPORTANT! Make sure that paper, books, clothing, cables, or other objects do not
block any of the air vents or else overheating of the Notebook PC may occur.
TV-Out Port
The TV-Out port is an S-Video connector that allows routing the Notebook PC’s display to a television
or video projection device. You can choose between simultaneouly or single display. Use an S-Video
cable (not provided) for high quality displays or use the provided RCA to S-Video adapter for standard
video devices. This port supports both NTSC and PAL formats.
On selected models
Summary of Contents for Z70A
Page 1: ...E1825c Dec 2004 Notebook PC Hardware User s Manual ...
Page 14: ...14 1 Introducing the Notebook PC ...
Page 15: ...15 2 Knowing the Parts Top Side Bottom Side Right Side Left Side Rear Side Front Side ...
Page 40: ...40 3 Getting Started ...
Page 58: ...58 4 Using the Notebook PC ...
Page 73: ...73 Appendix A ...

