ASUS Z9NH-D12 Series
6-9
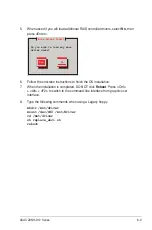
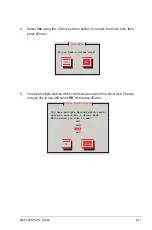
5. When asked if you will load additional RAID controller drivers, select
No
, then
press <Enter>.
More Driver Disks?
Do you wish to load any more
driver disks?
Yes
No
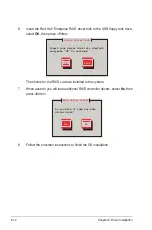
6. Follow the onscreen instructions to finish the OS installation.
7. When the installation is completed, DO NOT click
Reboot
. Press <Ctrl>
+ <Alt> + <F2> to switch to the command-line interface from graphic user
interface.
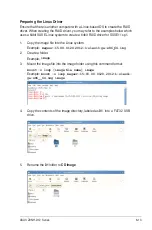
8. Type the following commands when using a Legacy floppy.
mkdir /mnt/driver
mount /dev/fd0 /mnt/driver
cd /mnt/driver
sh replace_ahci.sh
reboot
Summary of Contents for Z9NH-D12
Page 1: ...Motherboard Z9NH D12 Series Z9NH D12 FDR Z9NH D12 10G Z9NH D12 ...
Page 22: ...1 8 Chapter 1 Product introduction ...
Page 27: ...ASUS Z9NH D12 Series 2 5 2 2 3 Motherboard layout Z9NH D12 FDR Z9NH D12 10G ...
Page 28: ...2 6 Chapter 2 Hardware information Z9NH D12 ...
Page 62: ...2 40 Chapter 2 Hardware information ...
Page 112: ...4 46 Chapter 4 BIOS setup ...
Page 188: ...6 36 Chapter 6 Driver installation ...
Page 190: ...A 2 Appendix A Reference information A 1 Z9NH D12 FDR block diagram ...
Page 191: ...ASUS Z9NH D12 Series A 3 A 2 Z9NH D12 10G block diagram ...
Page 192: ...A 4 Appendix A Reference information A 3 Z9NH D12 block diagram ...

