ASUS Z9NH-D12 Series
2-13
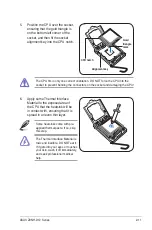
2. Twist each of the four screws with a Philips (cross) screwdriver just enough to
attach the heatsink to the motherboard. When the four screws are attached,
tighten them one by one to completely secure the heatsink.
2.3.3
Installing the CPU heatsink
To install the CPU heatsink:
1. Place the heatsink on top of the installed CPU, ensuring that the four fasteners
match the holes on the motherboard.
Tighten the four heatsink screws in a diagonal sequence.
A
B
B
A
Summary of Contents for Z9NH-D12
Page 1: ...Motherboard Z9NH D12 Series Z9NH D12 FDR Z9NH D12 10G Z9NH D12 ...
Page 22: ...1 8 Chapter 1 Product introduction ...
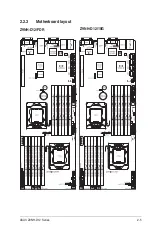
Page 27: ...ASUS Z9NH D12 Series 2 5 2 2 3 Motherboard layout Z9NH D12 FDR Z9NH D12 10G ...
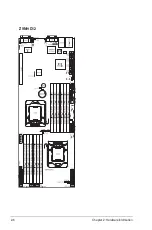
Page 28: ...2 6 Chapter 2 Hardware information Z9NH D12 ...
Page 62: ...2 40 Chapter 2 Hardware information ...
Page 112: ...4 46 Chapter 4 BIOS setup ...
Page 188: ...6 36 Chapter 6 Driver installation ...
Page 190: ...A 2 Appendix A Reference information A 1 Z9NH D12 FDR block diagram ...
Page 191: ...ASUS Z9NH D12 Series A 3 A 2 Z9NH D12 10G block diagram ...
Page 192: ...A 4 Appendix A Reference information A 3 Z9NH D12 block diagram ...


