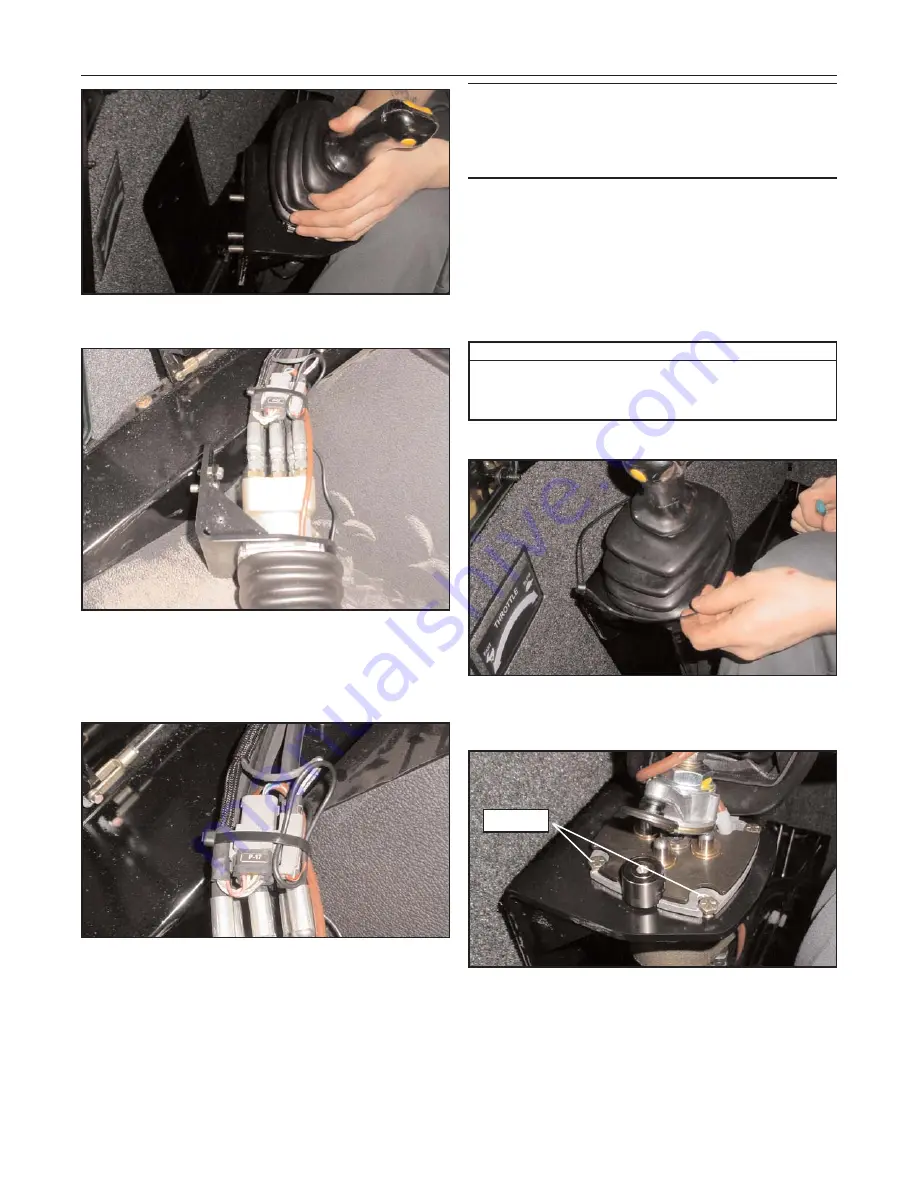
Figure 9-4 9-004
8.
Pull the joystick away from the cab wall as shown.
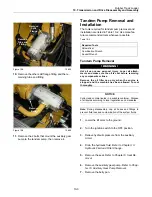
Figure 9-5 9-005
9.
The hydraulic hoses are now accessible. Label
them and the ports they connect to to aid during
reassembly, then disconnect them and cap and
plug the openings to prevent spills.
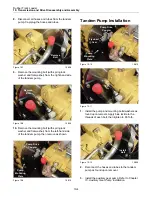
Figure 9-6 9-006
10.
Disconnect the electrical connections shown to
free the joystick from the machine, then remove.
11.
Reverse the removal procedure to reinstall the joy
stick. Take care to ensure all connections are to
the appropriate ports on the joystick and that they
are tight and leak free.
Note:
If it is neccessary to remove the left joystick on a
machine equipped with a heater, you must disconnect
the (cool) heater lines at the heater unit in order to
remove the side panel. Cap and plug hoses and ports
to minimize coolant loss.
Loader Float Magnet Removal and
Installation
The tools required for loader float magnet removal and
installation are listed in Table 9-2. Use manufacturer
recommended tools whenever possible.
Table 9-2
Loader Float Magnet Removal
Figure 9-7 9-007
1.
Remove the zip tie securing the lower portion of
the joystick boot to the joystick as shown.
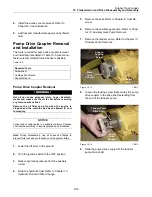
Figure 9-8 9-008
2.
Lift the boot to expose the magnet and joystick
mounting bolts. Remove the joystick mounting
bolts to allow the joystick to be moved upward
within the bracket.
9-3
Rubber Track Loader
9. Loader/Transmission Controls
Allen (hex) Wrenches
Combination Wrenches
Screwdriver
Required Tools
Remove


