28
Maintenance and Service
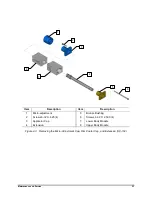
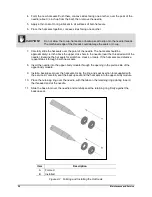
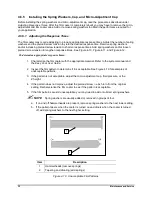
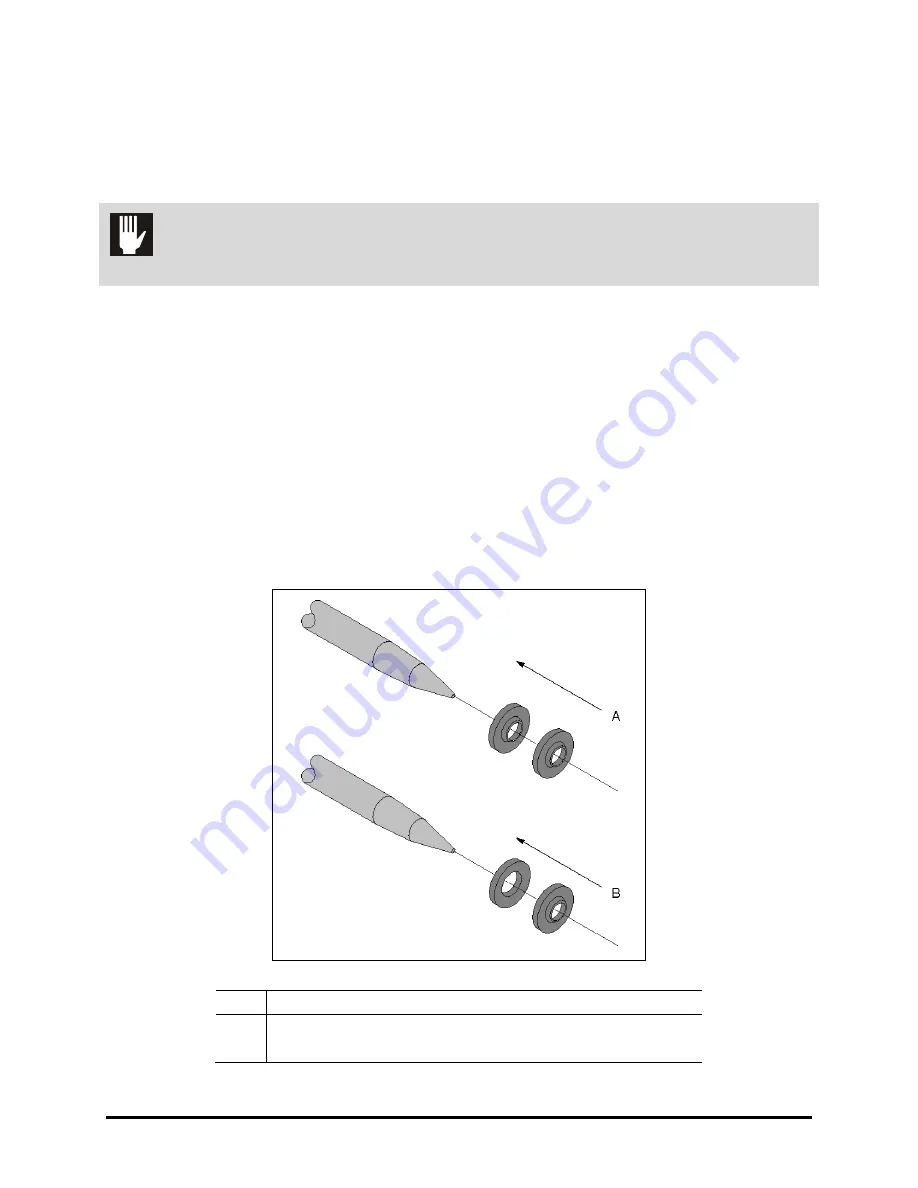
4. Form the new hat seals. Push them, concave sides facing one another, over the point of the
needle (about
1/2
-inch up from the ball), then remove the needle.
5. Apply a thin coat of O-ring lubricant to all surfaces of both hat seals.
6. Place the hat seals together, concave sides facing one another.
CAUTION!
Do not allow the U-cup, hat seals, or backup seal to slip onto the needle threads.
The machined edge of the threads could damage the seals or U-cup.
7. Carefully slide the hat seals over the point of the needle. The hat seals should be
approximately
1/4
-inch above the upper cross hole in the needle (near the threaded end of the
needle). Examine the hat seals for scratches, cracks, or tears. If the hat seals are defective,
repeat steps 4 through 6 with new seals.
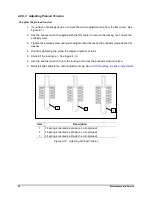
8. Insert the needle into the upper-body module through the opening in the piston side of the
upper-body module.
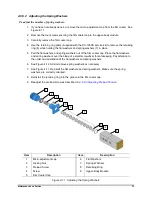
9. Install a backup seal over the hat seals. Using the ring and seal insertion tool supplied with
the service kit, carefully seat the backup seal and the hat seals into the upper-body module.
10. Place the retaining ring over the needle, with the tabs on the retaining ring pointing toward
the threaded end of the needle.
11. Slide the base tool over the needle and carefully seat the retaining ring firmly against the
backup seal.
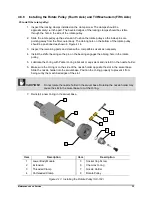
Item
Description
A
Formed
B
Installed
Figure 4-7 Forming and Installing the Hat Seals

