3
ASSEMBLY
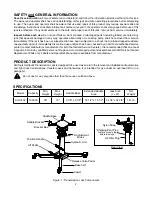
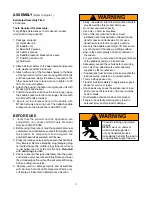
(Refer to Figure 1)
Estimated Assembly Time:
20 minutes.
Tools Required for Assembly:
A big Philips Screwdriver, 19mm wrench, socket
wrench and torque wrench.
1. Package contents:
(a) Hydraulic unit,
(b) Saddle unit,
(c) Base half 2 pieces,
(d) Caster 4 pieces,
(e) Saddle bracket & bracket bar 4 sets,
(f) Position handle, and
(g) hardware
2. Attach all four casters to the base halves and secure
with washers and M12 locknuts.
3. Attach either one of the two base halves to the base
of the hydraulic unit, then secure using M12x70 bolts
and lock washers. Apply the same procedure to the
other base half. Use torque wrench to tighten to 30
lb.ft.. Do not overtighten.
4. Attach the position handle onto Hydraulic unit with
M10x40 bolt and locknut.
5. Position the saddle unit above the ram plunger, place
the saddle socket onto the ram plunger. Secure with
two M12x20 bolts provided.
6. Secure all four bracket bars to the saddle with
M12x40 screws and wing nuts. Then attach saddle
brackets onto the bracket bars with M10 nuts.
BEFORE USE
1. Verify that the product and the application are
compatible, if in doubt call Atd Tools Technical
Service (636)327-9050.
2. Before using this product, read the operator's manual
completely and familiarize yourself thoroughly with
the product, its components and recognize the
potential hazards associated with its use.
3. Press the release valve pedal, ensure that saddle is
fully lowered. Remove shipping plug (shipping plug
is located above the oil filler plug). Ensure oil level
is just below the rim of the oil filler hole.
Reinstall
with
vent plug
provided.
4. Check to ensure that jack rolls freely, that the pump
and release valve operate smoothly. Raise and lower
the unloaded jack throughout the advertised lift range
before putting into service.
5. Replace worn or damaged parts and assemblies
with Factory Authorized Replacement Parts only.
Lubricate as instructed in Maintenance Section.
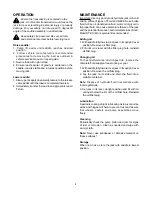
!
WARNING
• Study, understand, and follow all printed materials
provided with/on this product before use.
• Do not exceed rated capacity.
• Use only on hard, level surface.
• Use of this jack is limited to the removal,
installation and transportation of transmissions,
transfer cases and transaxles. Do not use a
transmission jack to tilt or support a vehicle.
• Use only the saddle assembly to lift. Never use
any other part of the jack as a lifting surface.
• Ensure the center gravity of load is centered on
the saddle.
• For your safety, do not exceed 10 degree tilt angle
of the saddle assembly in all directions.
• Adequately support the vehicle before servicing.
• Use only strap, attachments and/or adapters
supplied by the manufacturer.
• If loaded jack must be moved, make sure that the
load is secured, stable and in lowest position.
• This is a lifting device only.
• Transfer load immediately to appropriate support
device for service or repair.
• Shock loads may cause the sudden loss of load
and/ or cause the jack to tip or flip over violently,
bend or break.
• No alterations shall be made on this product.
• Failure to heed these markings may result in
personal injury and/or property damage.
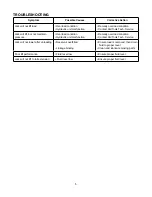
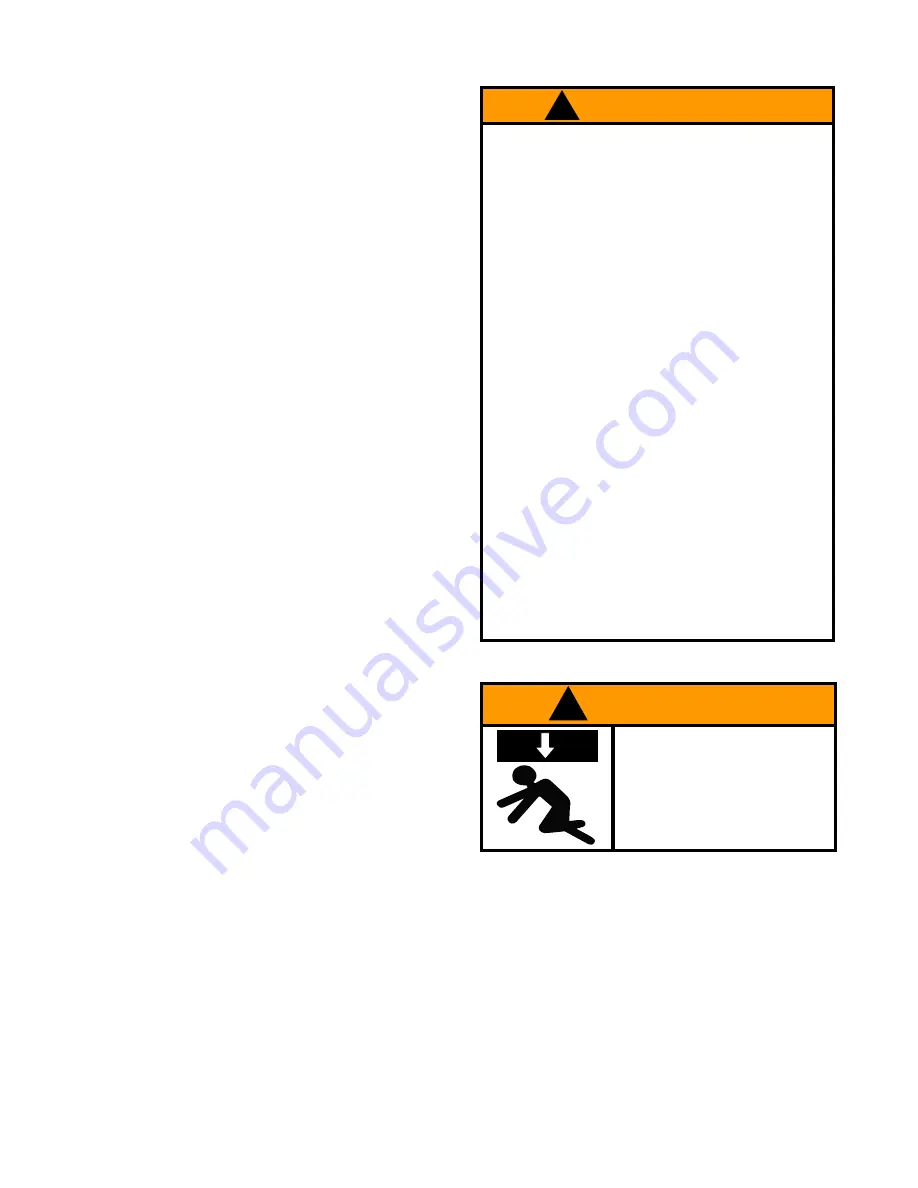
To avoid crushing and related
injuries:
NEVER work on, under or
around a load supported
only by transmission jack.
Immediately transfer the load to
an appropriate support device.
!
WARNING


