background image

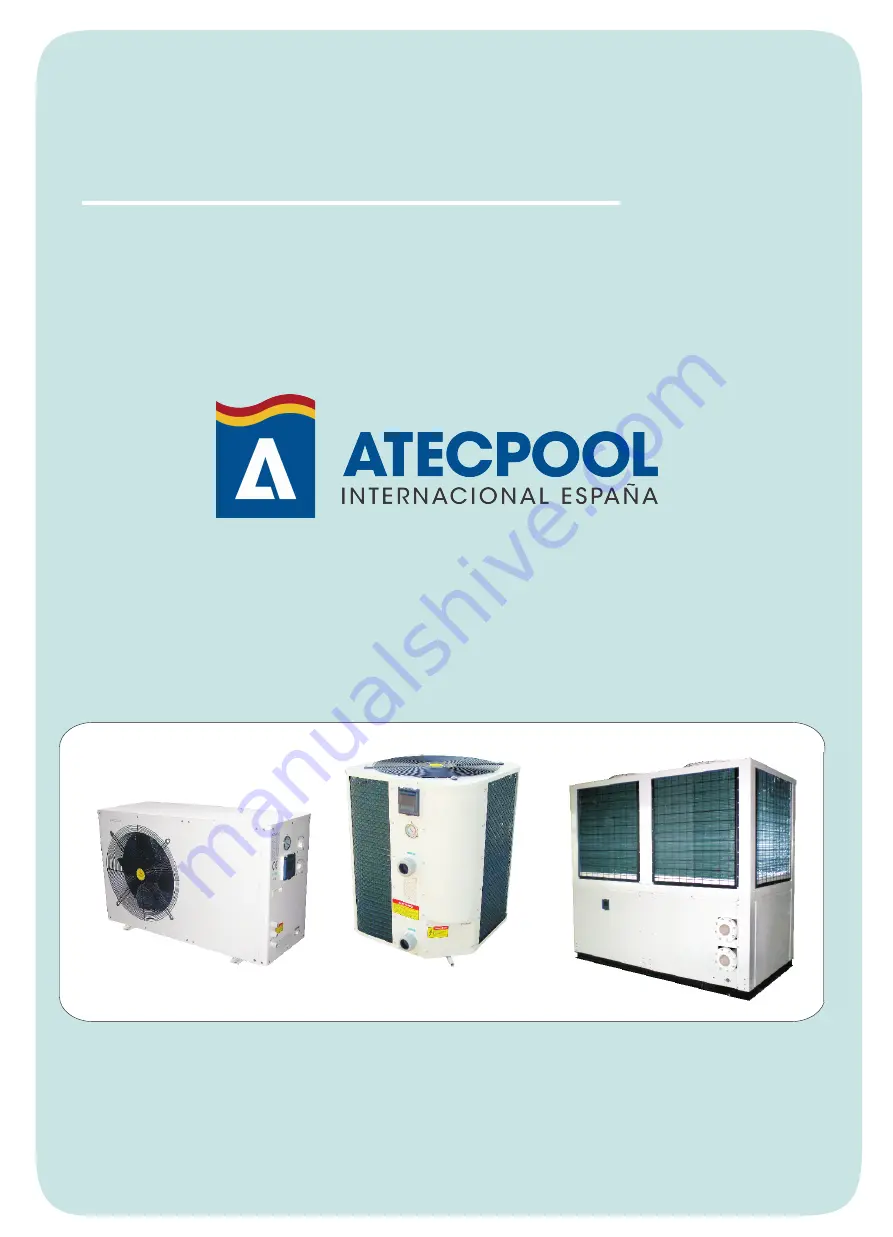
HEAT PUMP UNIT

Installation & Instruction Manual

SWIMMING POOL 

Summary of Contents for WBR-11.3H-A

Page 1: ...HEAT PUMP UNIT Installation Instruction Manual SWIMMING POOL ...

Page 2: ...Connecting the heat pump to a ground wire is necessary in order to prevent electrical shock caused by an unexpected short circuit inside the unit 4 4 An electrical wiring diagram is provided in this manual 4 5 For safety reasons please do not change or repair the heat pump by yourself If it is necessary please contact your local distributor for help 4 6 Do not put any objects into the heat pump wh...

Page 3: ...3 How to change mode 17 4 4 How to check parameter setting measured values of current status 18 4 5 How to change parameter setting 19 4 6 How to set the clock 19 4 7 How to set timer on and time off 19 4 8 How to cancel timer on and timer off 4 9 Keypad lock and unlock 17 19 19 5 1 Water flow switch 19 5 2 Refrigerant gas high and low pressure protection 20 5 3 Overheating protection on the compr...

Page 4: ... absorbing energy from the outside air This energy is then compressed and transferred to the pool water Your existing water pump circulates the water through the heater usually next to the pool equipment and the water warms up The heat pump timer could be set to operate during daylight hours for example usually 9am to 5pm The unit contains a fan that draws in outside air and directs it over the su...

Page 5: ...r temp DB WB 24 19 inlet water temp 27 ambient temperature range 0 35 2 If any discrepancies of data is found between above list and nameplate on the heat pump please refer to the data on the nameplate as updated one SWIMMING POOL HEAT PUMP SWIMMING POOL HEAT PUMP Input power heating Running current heating COP Power supply Quantity of compressor Compressor Quantity of fan Input power of Fan Fan r...

Page 6: ... 19 inlet water temp 27 ambient temperature range 0 35 2 If any discrepancies of data is found between above list and nameplate on the heat pump please refer to the data on the nameplate as updated one WBR 50 0H A S 50000 170600 10200 18 2 4 9 2x150 850 61 2 20 25 25 1446 730 1260 1630 810 1380 260 290 SWIMMING POOL HEAT PUMP SWIMMING POOL HEAT PUMP WBR 90 0H A S 90000 307000 18400 32 9 4 9 3x150 ...

Page 7: ...A mm 3 m h kpa 1 Scroll 2 1 Scroll 1 WBR 21 0H B1 S WBR 26 0H B1 S WBR 17 0H B1 S 17000 58000 3300 5 9 5 1 90 850 58 50 7 11 25 1120 470 938 1165 485 980 115 120 WBR 14 0H B1 S 14000 47800 2750 4 9 5 1 50 900 58 50 6 9 25 1120 470 690 1165 485 730 84 96 415 3 50 Input power heating Running current heating COP Power supply Quantity of compressor Compressor Quantity of fan Input power of Fan Fan rot...

Page 8: ...staller Attention Please take the following steps when installing the heat pump 1 Each addition of chemicals has to be performed through the conduits located downstream of the heat pump 2 Install a by pass when the flow of the pool pump exceeds the authorized flow through the heat exchanger of the heat pump with 20 3 Always place the heat pump on a solid base and use the supplied silent blocks in ...

Page 9: ...G POOL HEAT PUMP A B C D E F A C B Unit Model Size E D Unit mm F 2150 115 540 1300 1300 770 WBR 90 0H A S A C B E D Unit mm F G H I 1085 900 900 1130 2200 245 340 2050 200 WBR 135 0H A S WBR 158 0H A S Unit Model Size H G F A D I C B E ...

Page 10: ... A C B E D WBR 35 0H A S WBR 45 0H A S WBR 50 0H A S Unit mm F G 1450 750 700 730 1260 495 115 Unit Model Size A C B E D Unit mm F G 690 1110 470 420 667 400 115 940 1110 470 420 915 650 115 WBR 9 5H B1 WBR 12 5H B1 WBR 14 0H B1 WBR 14 0H B1 S WBR 17 0H B1 WBR 17 0H B1 S Unit Model Size A C B 1245 1110 470 420 E D 1220 650 115 WBR 21 0H B1 S WBR 26 0H B1 S Unit mm F G Unit Model Size ...

Page 11: ...del Vertical Unit 8 Model Horizontal Unit SWIMMING POOL HEAT PUMP SWIMMING POOL HEAT PUMP 2 3 Location of the heat pump The unit will perform well on any location provided three factors are present 1 Fresh air 2 Electricity 3 Pool filter piping The unit may be installed virtually anywhere outdoors providing minimum distance requirements are met with respect to other objects see diagram below For i...

Page 12: ...he soil surrounding the pipe which translates to an operation time increase of 3 5 2 5 Installation of the check valve Attention When using automatic chlorine and PH dosage systems it is of uttermost importance to protect the heat pump from high concentrations of these chemicals that could corrode the heat exchanger Therefore such systems should add the chemicals in the conduits located DOWNSTREAM...

Page 13: ...necting the by pass Valve 1 Valve 2 Valve 3 BY PASS F r o m f i l t e r T o p o o l OUT IN HEATPUMP Power cable inlet Heat Pump Outlet Inlet Condensed water draining pipe Draining nozzle Discharge water to pool Pool water inlet Water pump Filter Water processor Side connection valve ...

Page 14: ...this connection there is a second terminal block labelled Water Pump to which the filter pump max 5A 240V can be connected This connection makes it possible to control filter pump operation with the heat pump See further at Parameter setting table Parameter 9 for the different possibilities Remarks for models with 3 phases switching 2 phases may cause in inversion in the rotational direction of el...

Page 15: ...olumes can attain severa l litres per hour underhigh atmospheric humidity Sometimes this is wrongfully interpreted as a water leak Model WBR 45 0H A S WBR 50 0H A S WBR 90 0H A S WBR 135 0H A S WBR 158 0H A S WBR 9 5H B1 WBR 12 5H B1 WBR 14 0H B1 WBR 17 0H B1 WBR 14 0H B1 S WBR 17 0H B1 S WBR 21 0H B1 S WBR 26 0H B1 S WBR 35 0H A S Voltage volt Fuse A Nominal current A 2 Cable diameter mm for max ...

Page 16: ...The functions of the wire controller 13 SWIMMING POOL HEAT PUMP SWIMMING POOL HEAT PUMP Invalid button When heat pump is in standby status Press SET button to enter Parameter setting interface Press SET again to start setting Parameter from 00 10 see Parameter Table In parameter setting Parameter 00 01 can be changed only by pressing or Parameter 02 10 must be firstly unlocked by pressing and at t...

Page 17: ...eating cooling heating 3 heating only SET NO AUX Parameter 02 Defrosting cycle MIN SET AUX Parameter 00 8 28 default setting 12 Desired water temperature in cooling mode C NO SET C NO AUX Parameter 01 15 40 default setting 40 Desired water temperature in heating mode SET VALVE NO AUX NO AUX Parameter 09 Different working mode of water pump SET C VALVE NO AU X C NO AU X Parameter 10 Desired water t...

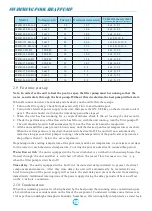
Page 18: ...icians Ajusted by Technicians Ajusted by Technicians Ajusted by Technicians Ajusted by Technicians Ajusted by Technicians Evaporator temperature set point for starting defrosting 1 0 1 0 Ajusted by Technicians Different working mode of water pump water pump keeps working always 0 water pump works in accordance with heat pump 1 09 Important Icon which stands for below 0 degree CAN NOT be displayed ...

Page 19: ...T PUMP SWIMMING POOL HEAT PUMP C C IN OUT AUX Water temp Of inlet outlet TEMP C AUX Condenser 2 temp C AUX Condenser 1 temp Regardless the heat pump is in running or standby status press and at the same time for 3 seconds all buttons will be locked and display as above Press and for 3 seconds for unlocking ...

Page 20: ...tus MODE 1 0 HEAT COOL AUTO Running status 4 1 Illustration of controller A Switch on or off heat pump MODE B Select auto heating or cooling mode Relevant indicator would be on when selected C or Press to change figures 1 D Timer on setting button 0 E Timer off setting button MODE 1 0 HEAT COOL AUTO A B C D E F 17 SWIMMING POOL HEAT PUMP SWIMMING POOL HEAT PUMP 4 Control the heat pump LED F Time s...

Page 21: ...er pump works in accordance with heat pump 1 8 28 15 40 30 90Min 30 0 2 30 1 15Min 1 2 0 1 0 3 0 1 12 40 45Min 7 13 8Min 1 Yes 1 0 Ajusted by Technicians Ajusted by Technicians Ajusted by Technicians Ajusted by Technicians Ajusted by Technicians Ajusted by Technicians Ajusted by Technicians Ajusted by Technicians Ajusted by Technicians Ajusted by Technicians A B C D E F Desired water temperature i...

Page 22: ...flashing and ready to be modified by or c Press again to have active minute setting minute figure will be flashing and ready to be modified by or d Press to confirm the setting and display will return to standby status Timer on indicator green light would be on as a symbol e Operate the same to timer off by using instead of timer off indicator red light would be on as a symbol Note Timer on and ti...

Page 23: ...itch does not work and that the water stops circulating the temperature probe monitoring the outflowing water will always detect a rise in temperature As soon as the temperature difference between inflowing and outflowing water exceeds 13 the heat pump will be automatically turned off 5 6 Low temperature cut out If during cooling the temperature of the outflowing water reaches 5 or drops below thi...

Page 24: ... for winterizing you should undertake the following steps to restart it in spring 1 Check first if there is no dirt in the conduits and if there are no structural problems 2 Check if the water inlet and outlet coupler fittings are adequately fastened to the heat pump 3 Start the filter pump to start the water flow to the heat pump Set the by pass again 4 Reconnect the electrical power supply to th...

Page 25: ...area around the unit should be spacious and well ventilated Clean the sides of the heat pump regularly to maintain good heat exchange and to save energy Check if all processes in the unit are operational and pay special attention to the operation pressure of the refrigerant system Check the power supply and cable connections regularly Should the unit begin to function abnormally or should you noti...

Page 26: ...arger sized model or an extra heat pump Cover the pool to limit heat loss 2 Check the electrical wiring of the fan Replace the condenser or the fan motor if necessary 3 Check the electrical wiring of the compressor Replace the condenser or the compressor if necessary 4 Make for sufficient air circulation see manual for details 5 Set the correct temperature 6 Have the by pass readjusted by the inst...

Page 27: ...f the problem persists have the heat pump checked by a refrigeration technician 5 Have the heat pump checked by a refrigeration technician Problem the heat pump doesn t work Observation the screen does not light up and the fan compressor doesn t make a sound Possible cause Solution 1 Wrong setting of parameters 2 Pressure switch out of order 3 Electrical failure 1 Check the set parameters and adju...

Page 28: ...3 Check if flow switch is broken 4 Check if water pump failure 1 Reconnect the wiring 2 Increase enough water flow 3 Replace flow switch 4 Repair or replace water pump High Low pressure protection flashes 9 times stops EE04 1 Check if high or low pressure switch is broken 2 Check if lack of refrigerant For low pressure 3 Ambient temp and water inlet temp is too low Forlowpressure 4 Check if there ...

Page 29: ...ater flow switch failure EE3 flashes 8 times stops 1 Check if wiring connection of flow switch is in position 2 Check if enough water flow 3 Check if flow switch is broken 4 Check if water pump failure 1 Reconnect the wiring 2 Increase enough water flow 3 Replace flow switch 4 Repair or replace water pump 1 Check if high or low pressure switch is broken 2 Checkiflackofrefrigerant For low pressure ...

Page 30: ...Over current protection System 2 Refrigerant anti freeze protection System 2 Exhaust gas over high temp protection System 2 Refrigerant leakage protection System 2 Exhaust gas temp sensor failure Wrong phase or lack of phase System 1 Refrigerant in temp sensor failure System 1 Refrigerant out temp sensor failure System 2 Refrigerant in temp sensor failure System 2 Refrigerant out temp sensor failu...

Page 31: ...R 12 5H A WBR 14 0H A Wiring diagram P P P P L L L L N N N5 N5 N1 N1 07 07 32 32 30 30 29 29 28 28 22 22 21 21 08 08 Y01 Y01 R 5K R 5K KM RED RED RED RED BLU BLU BLU BLU RED RED BLU BLU BLK BLK POWER SUPPLY POWER SUPPLY SWIMMING POOL HEAT PUMP SWIMMING POOL HEAT PUMP 28 ...

Page 32: ...king 1 2 3 4 Current checking Current checking Current checking PROTECT 300 10 11 07 08 4way valve1 FM VAL1 VAL2 COMP1 COMP2 GND 12V SYS GND 12V GND GND GND NET KYIN MDIN WATER FROST GND KYOUT MDOUT AC L AC N AC N AC N t Temp Sensor t t ROOMT OUTWT INWT Temp Sensor Temp Sensor Temp Sensor Wire Controller CHILLER 300 HIFAN Switch for stream PIPE1 PIPE2 t PUMP FAN H p1 L P1 21 29 30 32 P P A B C N 3...

Page 33: ... T2 R3 4way valve3 FM3 M C 07 08 10 11 12 13 14 15 FQ P 14 P L p2 P H p3 L p3 KT Y02 L2 WBR 35 0H A S WBR 45 0H A S WBR 50 0H A S Wiring diagram WBR 90 0H A S WBR 135 0H A S WBR 158 0H A S Wiring diagram Rated current N R S T GND GND sw GND GND GND GND 12V HIGH2 HIGH1 LOW2 LOW1 SLCT SYS OUTW2 OUTW1 CMP1 INW2 INW1 CMP2 Current checking 1 2 3 4 Current checking Current checking Current checking 4way...

Page 34: ......

Reviews: