KL1108V / KL1116V User Manual
15
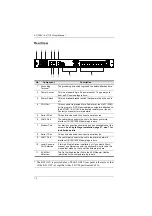
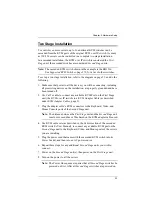
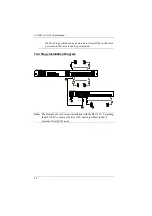
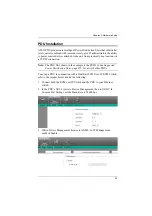
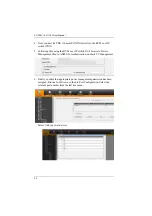
Rear View
*
The KL1116V is pictured above. The KL1108V rear panel is the same as that
of the KL1116V, except that it has 8 KVM ports instead of 16.
No.
Component
Description
1
Grounding
Terminal
The grounding wire used to ground the switch attaches here.
2
Power Socket
This is a standard 3-pin AC power socket. The power cord
from an AC source plugs in here.
3
Power Switch
This is a standard rocker switch that powers the unit on and
off.
4
PON Port
This connector is provided for a Power over the Net™ (PON)
unit to plug into. A PON device allows computers attached to
the KL1108V / KL1116V to be booted remotely over the net.
Contact your dealer for more details.
5
Serial 2 Port
This port can be used to connect a serial device.
6
LAN 2 Port
The cable that connects the unit to the backup network
interface (10/100/1000 Mbps) plugs in here.
7
Modem Port
For dial in connection should the unit be unavailable over the
network.
See Single Stage Installation, page 27, step 7 for
installation details.
8
Serial 1 Port
This port can be used to connect a serial device.
9
LAN 1 Port
The cable that connects the unit to the primary network
interface (10/100/1000 Mbps) plugs in here.
10
Local Console
Port Selection
If this is a Single Station installation, or if you would like to
connect an external console, the keyboard, monitor, and the
mouse that make up the Local Console plug in here.
11
KVM Port
Selection
The Cat 5e/6 cables that link to the KVM Adapter Cables
(which link to the computers) plug in here.
5
2
3
4
6
8
7
1
9
10
11

