Chapter 6. The User Interface
62
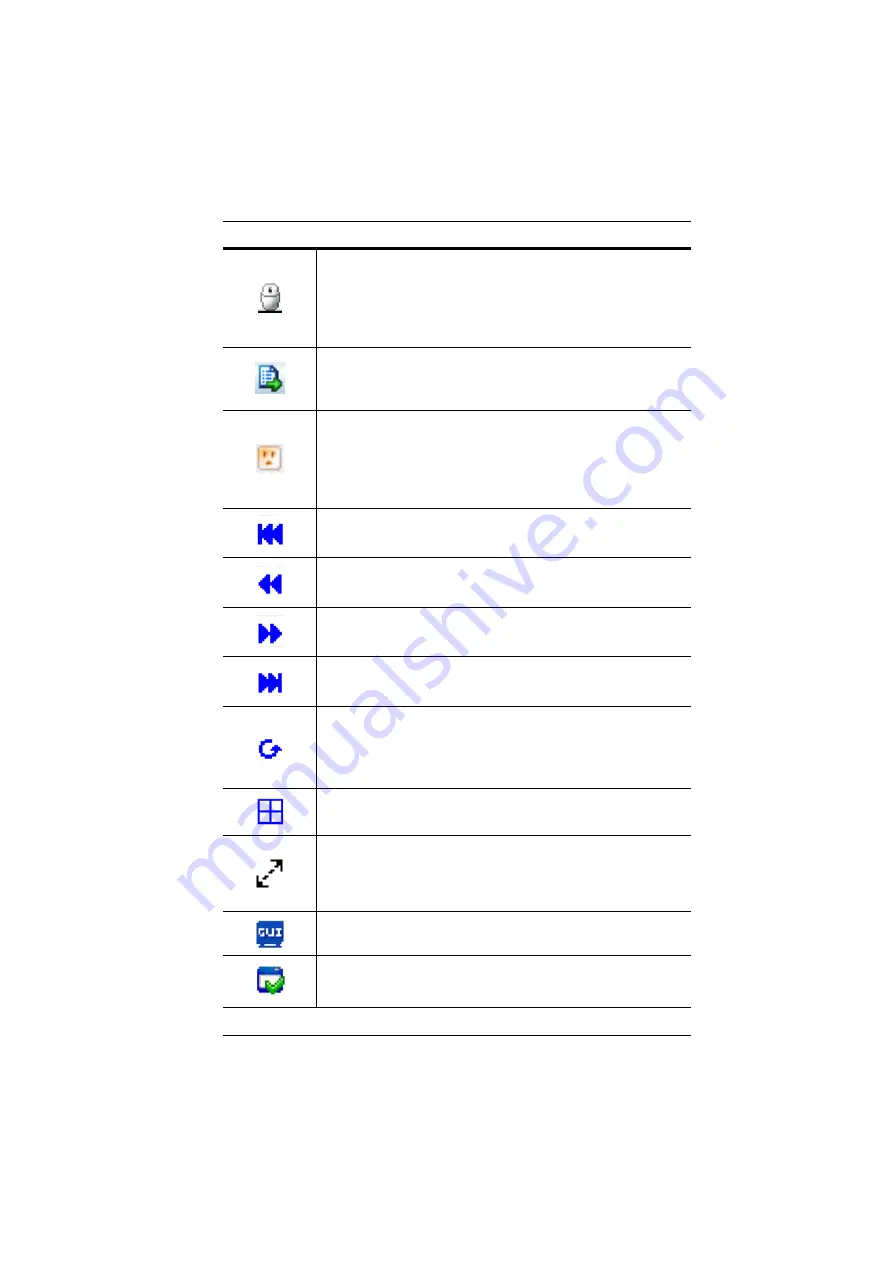
Click to toggle Automatic or Manual mouse sync.
When the selection is
Automatic
, a green
√
appears on the icon.
When the selection is
Manual
, a red X appears on the icon.
, page 87 for a complete explanation of
this feature.
Click to display a dropdown list of
User
macros in order to access
and run macros more conveniently than using the Macros dialog box
(see the
Macros
icon in the table above, and the
Macros
section on
The Power Over the Net™ icon allows the device to be powered on,
powered off or rebooted, when the device is connected to a
compatible PON “PN” series unit. (For more information on
configuring PON features see
, page 86 for a complete explanation of
this feature.
Under an accessed port, click to skip to the first port accessible to the
user on the entire installation without having to recall the Port Access
page.
Under an accessed port, click to skip to the first port accessible to the
user that is previous to the current one without having to recall the
Port Access page.
Under an accessed port, click to skip to the first port accessible to the
user that is after the current one without having to recall the Port
Access page.
Under an accessed port, click to skip to the last port accessible to the
user on the entire installation without having to recall the Port Access
page.
Under an accessed port, click to begin Auto Scan Mode. The KVM
over IP switch automatically switches among the ports that were
selected for Auto Scanning with the
Filter
page 96). This allows you to monitor their activity without having to
switch among them manually.
Under an accessed port, click to invoke Panel Array Mode (see
Clicking this button cycles you through the KVM adapter cable's
compensation mode choices depending on the length of cable used
to connect a device to the KVM switch. The choices are, Short: less
than 10 m, Medium: 10–25 m, and Long: 25–40 m. The length of the
line in the icon changes to indicate which choice is selected.
Under an accessed port, click to recall the GUI.
Click to bring up the Control Panel Configuration dialog box.
See
, page 89, for details on configuring
the Control Panel.


