® Copyright ATH-Heinl GmbH & Co. KG, 2017, All rights reserved. / Misprint and technical changes reserved / Issue: 07/2018
- 19 -
+
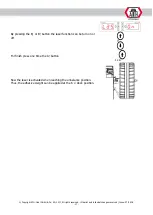
4.
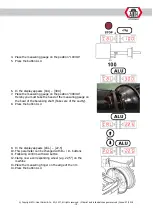
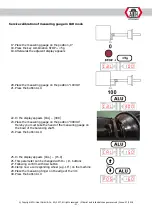
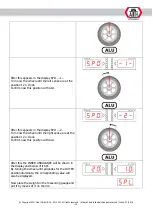
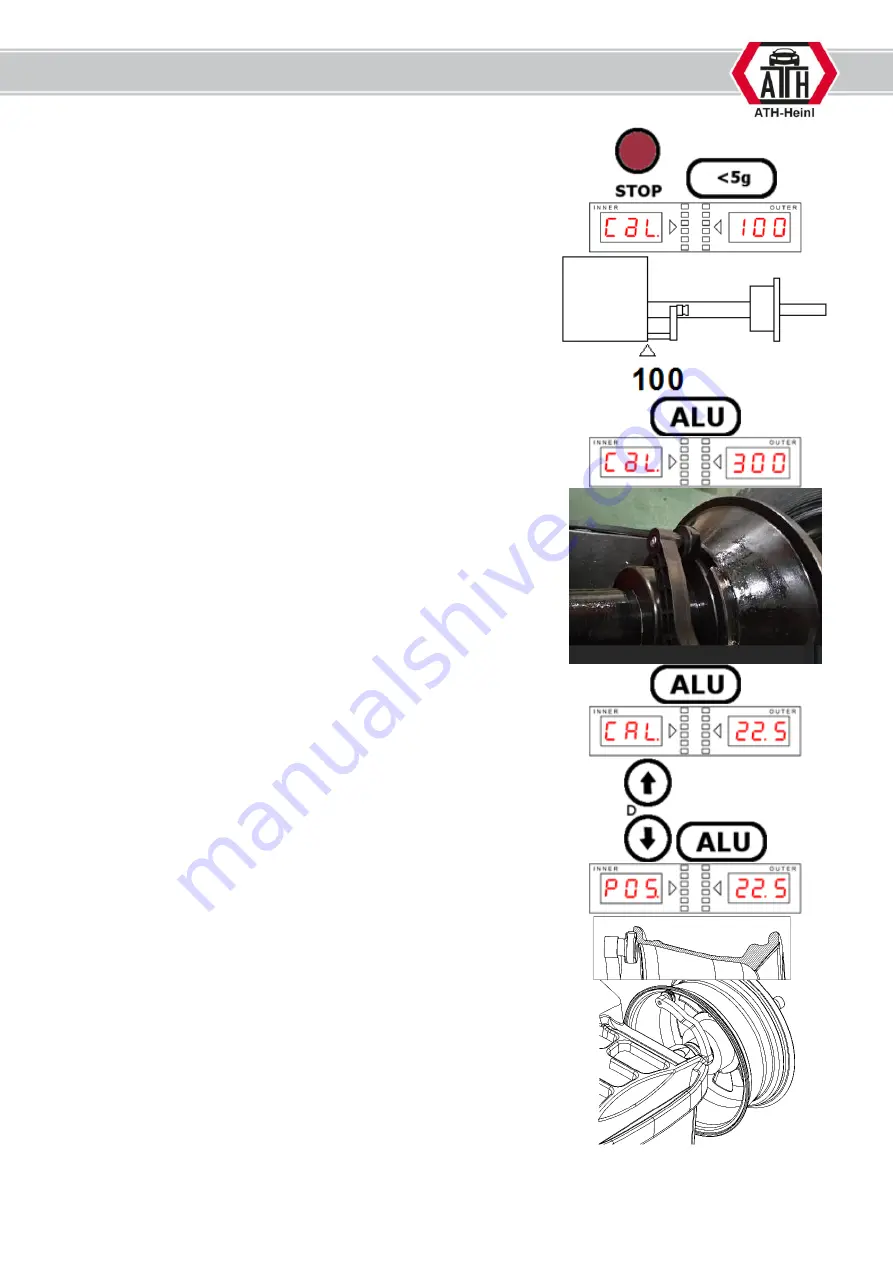
Place the measuring gauge on the position “100mm”
5.
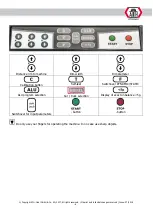
Press the button ALU
6.
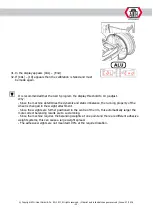
In the display appears [CAL]
–
[300]
7.
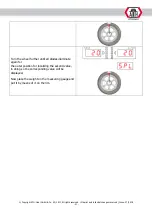
Place the measuring gauge on the position “
300
mm”.
Hereby you must take the head of the measuring gauge on
the bowl of the balancing shaft (Take care of the cavity).
8.
Press the button ALU
9.
In the display appears [CAL.]
–
[22.5]
10.
This parameter can be changed with D+ / D- buttons
11.
Following confirm with ALU button
12.
Clamp now a corresponding wheel (e.g. 22,5
“) on the
machine
13.
Place the measuring finger on the edge of the rim
14.
Press the button ALU
Summary of Contents for ATH W142
Page 1: ...USER S MANUAL ATH W142 ...

