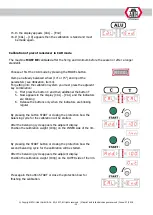
® Copyright ATH-Heinl GmbH & Co. KG, 2017, All rights reserved. / Misprint and technical changes reserved / Issue: 07/2018
- 21 -
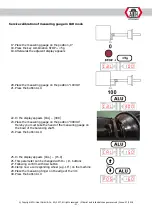
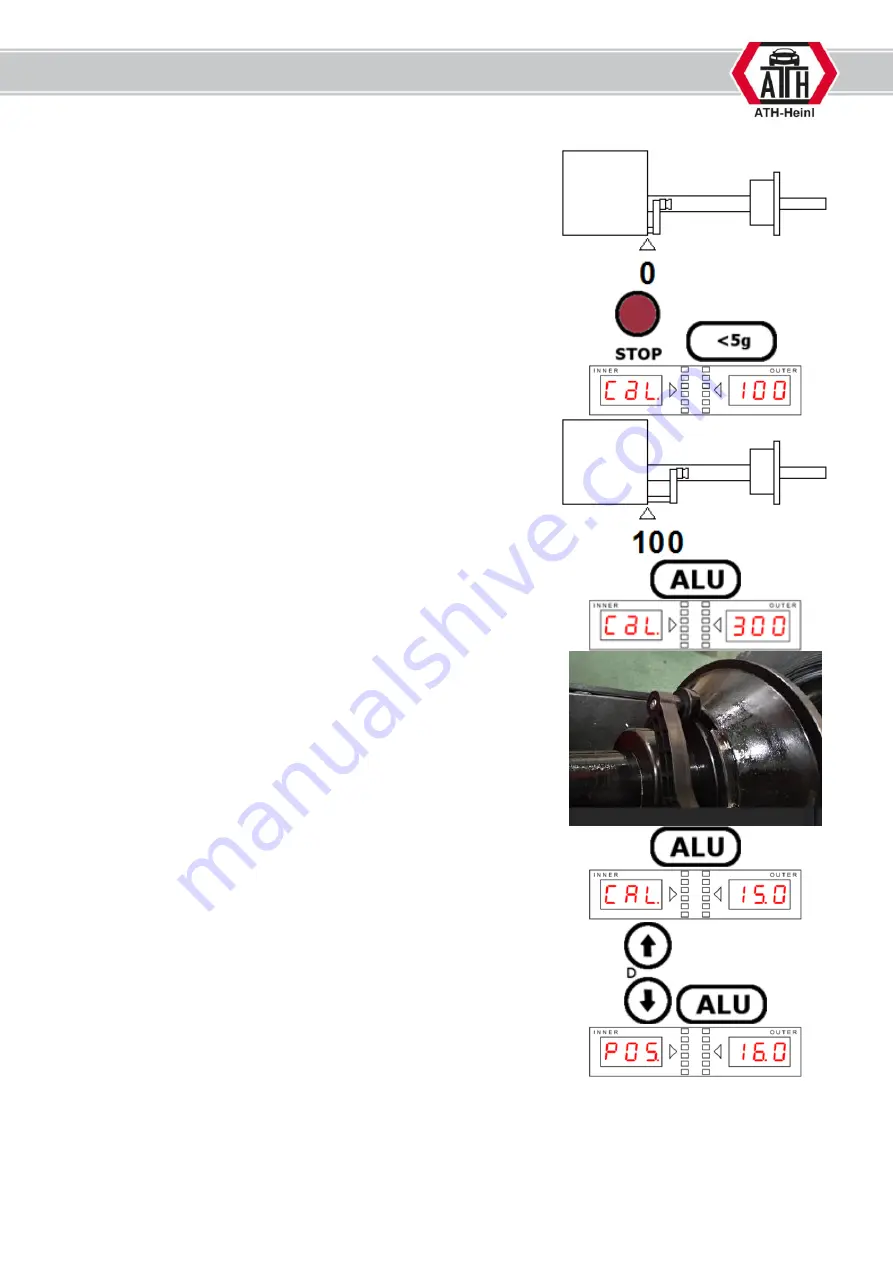
Service calibration of measuring gauge in CAR mode
17.
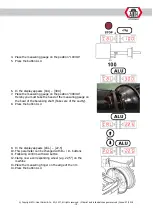
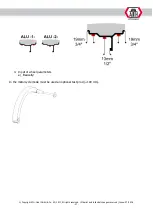
Place the measuring gauge on the position „0“
18.
Press the key combination STOP + <5g
19.
Afterwards the adjacent display appears
+
20.
Place the measuring gauge on the position “100mm”
21.
Press the button ALU
22.
In the display appears [CAL]
–
[300]
23.
Place the measuring gauge on the position “
300
mm”.
Hereby you must take the head of the measuring gauge on
the bowl of the balancing shaft.
24.
Press the button ALU
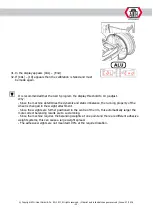
25.
In the display appears [CAL.]
–
[15.0]
26.
This parameter can be changed with D+ / D- buttons
27.
Following confirm with ALU button
28.
Clamp now a corresponding wheel (e.g. 16“) on the machine
29.
Place the measuring finger on the edge of the rim
30.
Press the button ALU
Summary of Contents for ATH W142
Page 1: ...USER S MANUAL ATH W142 ...

