® Copyright ATH-Heinl GmbH & Co. KG, All rights reserved / Misprints and technical changes reserved / As of: 2020-03
Manufacturer ATH-Heinl GmbH & CO.KG
- 14 -
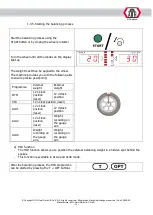
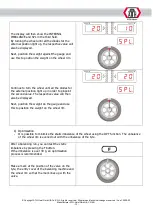
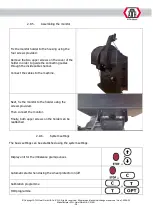
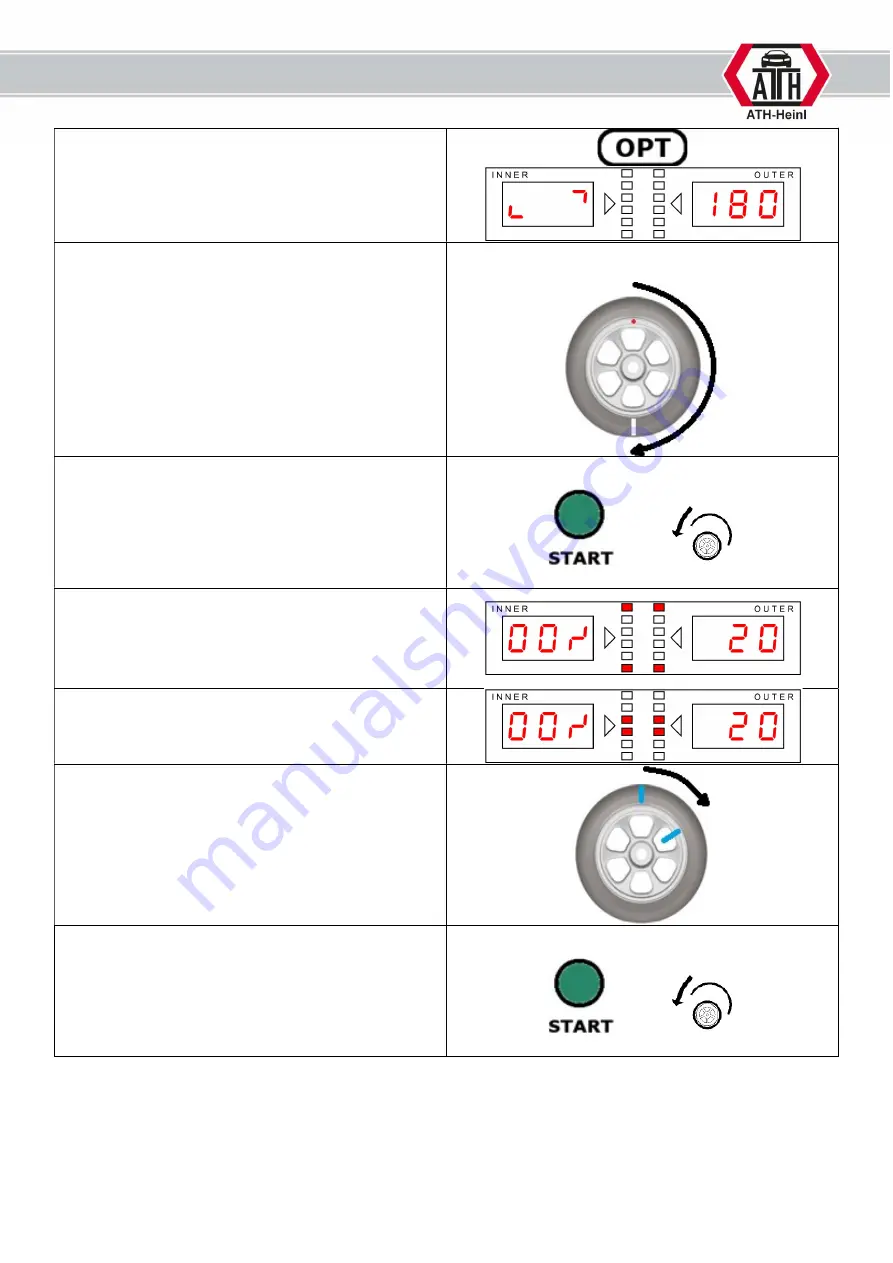
Press the OPT button to start the optimisation
process.
A display then appears which tells you to turn the
tyre 180° on the wheel rim.
Remove the wheel from the balancing machine.
Measure the air pressure and remove the tyre
using a suitable tyre changer.
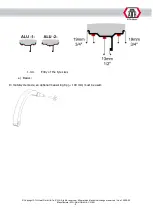
Fit the tyre on the wheel rim again and turn it
180°.
Fill the wheel with the same air pressure.
The wheel can then be mounted on the balancing
machine again. Pay attention to the marks on the
entry cover when doing so.
Start the balancing process using the STARTbutton
or by closing the wheel protector
/
The optimisation that has been calculated will then
appear on the display.
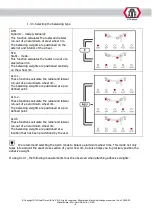
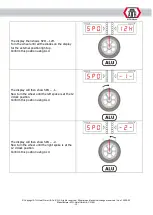
Turn the wheel when stretched until the display
opposite appears.
Mark the TYRE at the 12 o’clock position.
Turn the wheel when stretched until the display
opposite appears.
Mark the WHEEL RIM at the 12 o’clock position.
Remove the wheel from the balancing machine.
Measure the air pressure and remove the tyre
using a suitable tyre changing machine.
Fit the tyre on the wheel rim again and, whilst
doing so, turn the tyre until both marks on the tyre
and the wheel rim line up.
Fill the wheel with the same air pressure.
Start the balancing process using the STARTbutton
or by closing the wheel protector
/
Summary of Contents for W22
Page 3: ...BEDIENUNGSANLEITUNG ATH W22 ...
Page 55: ...OPERATING INSTRUCTIONS ATH W22 ...
Page 107: ...MANUEL D UTILISATION ATH W22 ...
Page 159: ...NÁVOD K OBSLUZE ATH W22 ...
Page 211: ...MANUAL DE INSTRUCCIONES ATH W22 ...
Page 263: ...BEDIENINGSHANDLEIDING ATH W22 ...
Page 315: ...INSTRUKCJA OBŁSUGI ATH W22 ...
Page 367: ...NÁVOD NA OBSLUHU ATH W22 ...


