5
Gas-Fired Direct Vent Cast Iron Boilers – Field Assembly Instructions
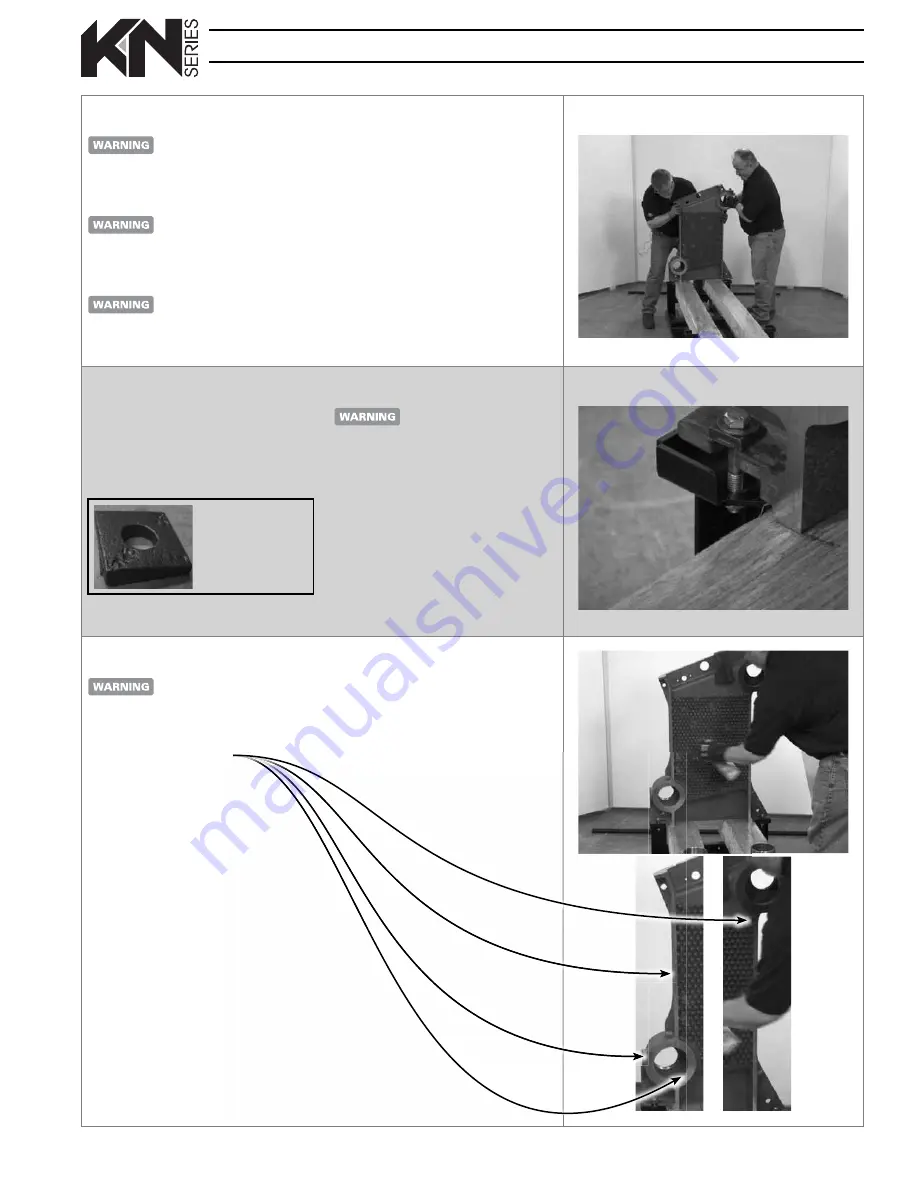
Step 4
Place the FRONT section
Use leather gloves when
lift ing or moving boiler
sections. Sections are heavy
and can cause severe personal
injury or death if mishandled.
Have someone support the
section during this step and
the next. Th e sections are
top-heavy and could easily
fall if not supported.
Handle all sections with
care to prevent any
damage to machined
surfaces.
1. Identify the FRONT section — its
lower nipple port is on the LEFT side
when looking at the inside of the
section, as in this photo.
2. Slide the front section to the end of
the base.
3. Lift into position and have someone
hold securely.
Step 5
Bolt front section to base
1. Use a 3/8 x 6 inch bolt, wedge, fl at
washer, split lock washer and nut on
each side as shown.
2. Point the wedge narrow edge toward
the section.
Wedge —
Point thin edge
toward the section.
Tighten bolt fi rmly, but DO
NOT over-tighten — the
cast iron fl ange could be
broken if too tight. Tighten
only until the split lock
washer has just fl att ened.
Th e bolt must be secure to
prevent movement of the
front section during the next
steps of assembly.
Step 6
Apply adhesive for ceramic fi ber fl ue baffl
e
DO NOT SPRAY adhesive
on the nipple port
machined surfaces
. Th is
would prevent proper sealing
with the silicone sealant
applied later.
1. Obtain the spray adhesive supplied in
the hardware box.
2. Spray ONLY the heat pin area of the
casting with the spray adhesive.
3. The adhesive is required to secure the
fl ue baffl
e (next step) in the fl ueway.
.
3. The adhesive is required to secure the
fl ue baffl
e (next step) in the fl ueway.


