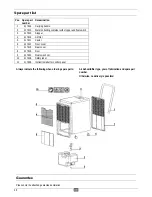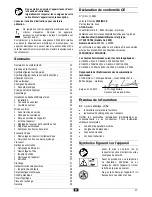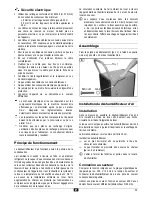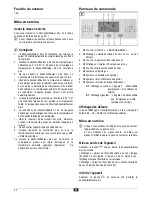
15
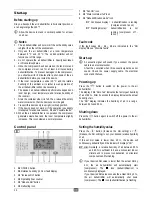
Automatic defroster
At a room temperature under 20 °C not only condensation
water is generated on the cold evaporator surface, but also
ice. This ice blocks the heat exchanger so that the air flow is
impeded. The built-in automatic defroster removes the ice
from the evaporator. This allows a dehumidification operation
down to a temperature of +5 °C.
During defrosting, the
icon is displayed on the display, the
compressor continues to run, the fan is automatically stopped.
Once the defrosting process is finished the air dehumidifier
returns to the dehumidification mode and the
icon turns
off.
Operating hour counter
The air dehumidifier is equipped with an
operating hour counter.
The number of hours during which the device was in operation
in the past is displayed after the dehumidifier is turned on. The
amount of time during which the device remains on will be
added to the already elapsed time.
W
W
a
a
t
t
e
e
r
r
o
o
u
u
t
t
l
l
e
e
t
t
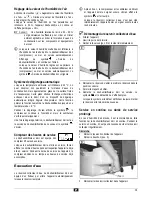
The water collecting container of the air dehumidifier is
equipped with a float switch which turns off the device when
the collecting container is full.
L
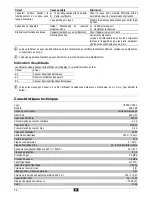
After 45 seconds, compressor and fan will automatically
stop, and an acoustic signal will sound. The
icon and
the fault code E4 will be displayed.
Another acoustic signal will sound every 5 minutes if the
water collecting container is not immediately emptied.
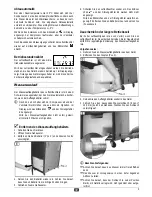
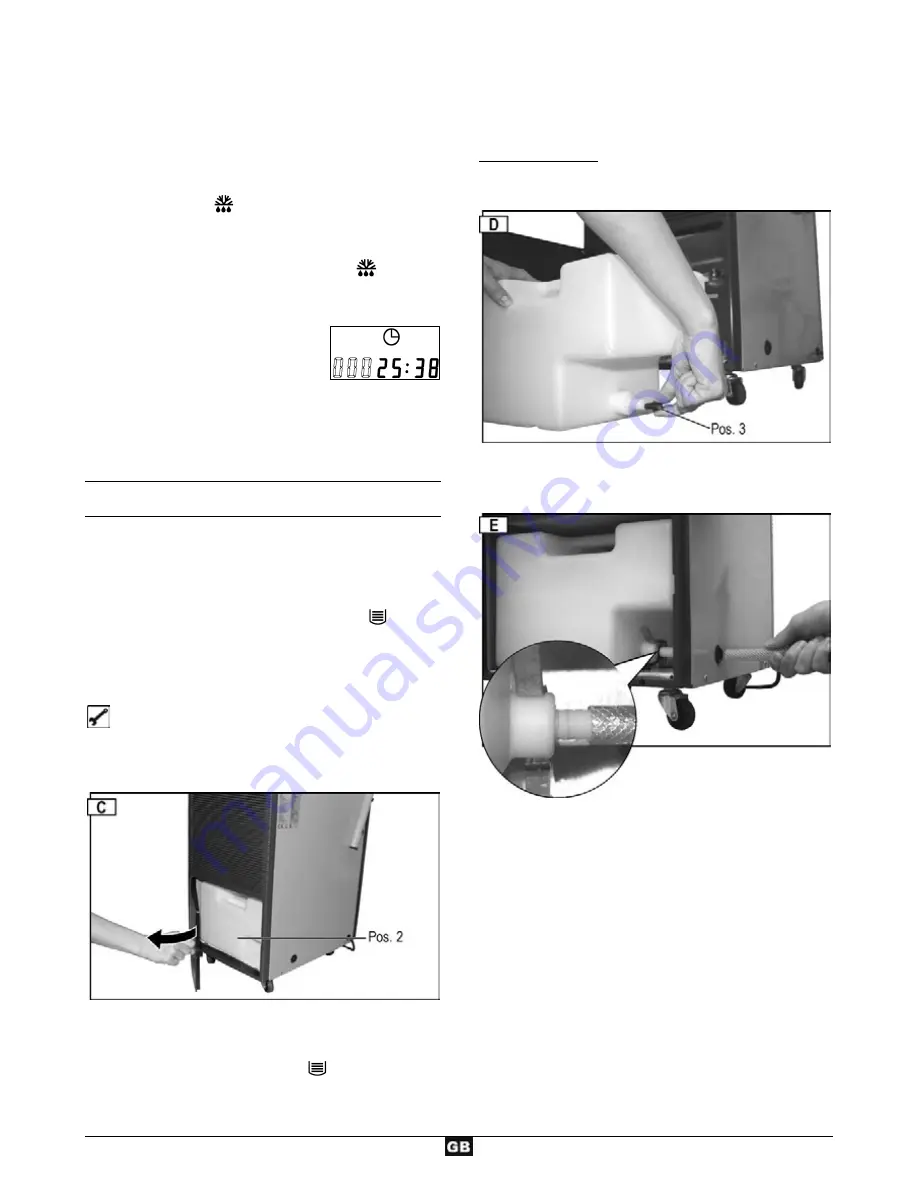
Removing the water collecting container
1.
Turn off the device.
2.
Open the enclosure door.
3.
Remove the container (pos. 2) and empty is immediately.
4.
Re-insert the container. Make sure that the container is
correctly positioned.
5.
Close the hinged enclosure cover.
6.
Restart the air dehumidifier. The
icon and the fault
code E4 should no longer be displayed.
Icon and fault code are further displayed? Remove the
container again and re-insert it properly.
Continuous or extended operation
In the case of a high humidity of air it is recommended to
operate the air dehumidifier in continuous mode. In continuous
mode it is not needed to empty the water collecting container.
Proceed as follows:
1.
Remove the water collecting container from the device.
2.
Remove the stopper (3).
3.
Re-insert the collecting container in the device.
4.
Guide a suited hose (internal diameter 12.5 mm) through
the enclosure. Carefully connect the hose.
L
Pay attention to the following:
@
Make sure that the water can flow out unhindered.
@
Pipe the water preferably to a drain which is
positioned at a lower level.
@
Make sure that the hose remains in its position, is
routed with a descending gradient, is not kinked or
wound up.
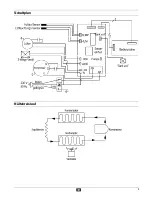
Summary of Contents for ALE 500
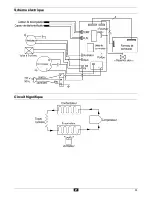
Page 10: ...9 S Sc ch ha al lt tp pl la an n K Kä äl lt te ek kr re ei is sl la au uf f ...
Page 40: ...39 Е Ел л с сх хе ем ма а Ц Ци ир рк ку ул ла ац ци ия я н на а с ст ту уд да а ...
Page 59: ...58 K Kr re ed ds sl lø øb bs sd di ia ag gr ra am m K Kø øl le ek kr re ed ds sl lø øb b ...
Page 108: ...107 S Sc ch ha ak ke el ls sc ch he em ma a K Ko oe el lc ci ir rc cu ui it t ...
Page 118: ...117 S Sc ch he em ma at t O Ob bi ie eg g c ch hł ło od dn ni ic cz zy y ...
Page 149: ......


