21
3.
4.
5.
king
3.
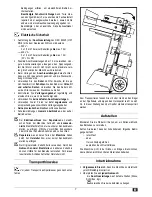
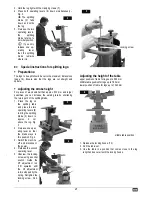
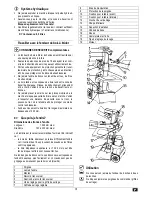
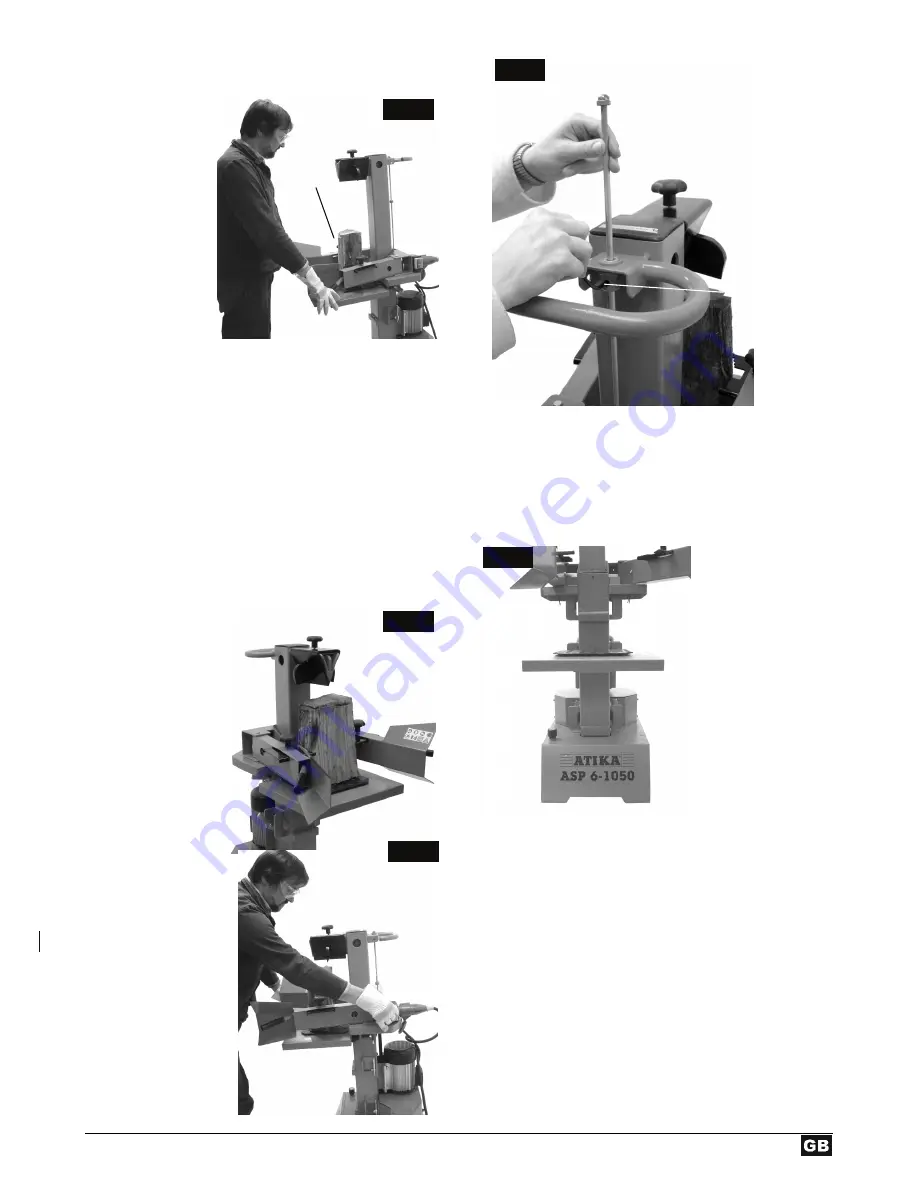
Hold the log tight with the clamping claws (7).
4.
Press both operating levers (8) down simultaneously –
Fig. 2.
Î
The splitting
blade (2) falls
down and splits
the log.
5.
Release the two
operating levers,
the splitting
blade returns to
its initial position.
L
If you only
release one op-
erating lever,
then the splitting
blade remains
where it is.
Special instructions for splitting logs:
Preparations:
The logs to be split should be cut to the maximum dimensions
(page 19). Ensure also that the logs are cut straight and
square.
Adjusting the stroke height
For pieces of wood smaller than approx. 500 mm and larger
quantities, you can increase the working rate by shortening
the return path of the splitting blade.
1.
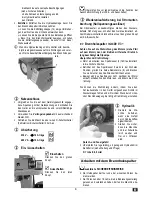
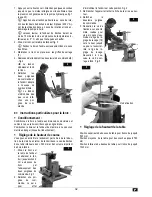
Place the log on
the splitting table
and press the two
operating levers (8)
to bring the splitting
blade (2) down to
approx. 2 cm
above the log. Fig.
3
2.
Release one oper-
ating lever so that
the blade stays in
this position. Fig. 4
Switch the machine
off and disconnect
the power.
Release the second
operating lever.
Unscrew the loc
screw using a socket
wrench. Guide the
lift adjustment rod
(18) upwards until
the lift adjustment
rod is stopped by the
spring. Retighten the
locking screw. Abb.
5
5
Locking screw
2
7
djusting the height of the table
A
upper position of table for logs up to 590 mm
middle table position for logs up to 780 mm
lower position of table for logs up to 1040 mm
middle table position
.
Release the locking hooks. (12)
.
Pull the table out.
comes close to the log
t with the locking hooks.
1
2
3.
Use the table in a position that
length and secure i
6
3
4

