15
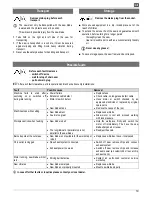
Do not set up any provisional electrical connections.
Never bypass protective devices or deactivate them.
Only hook up the machine by means of a fault-current circuit
breaker (30 mA).
The electrical connection or repairs to electrical parts
of the machine must be carried out by a certified
electrician or one of our customer service points.
Local regulations – especially regarding protective
measures – must be observed.
Repairs to other parts of the machine must be carried
out by the manufacturer or one of his customer
service points.
Use only original spare parts and accessorie parts.
Accidents can arise for the user through the use of
other spare parts. The manufacturer is not liable for
any damage or injury resulting from such action.
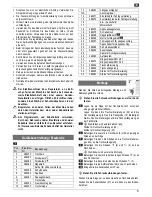
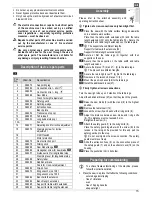
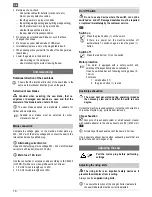
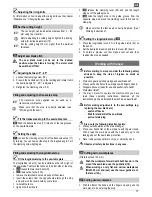
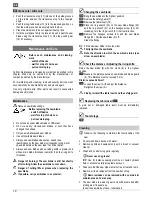
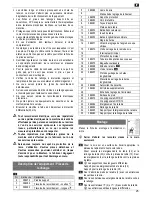
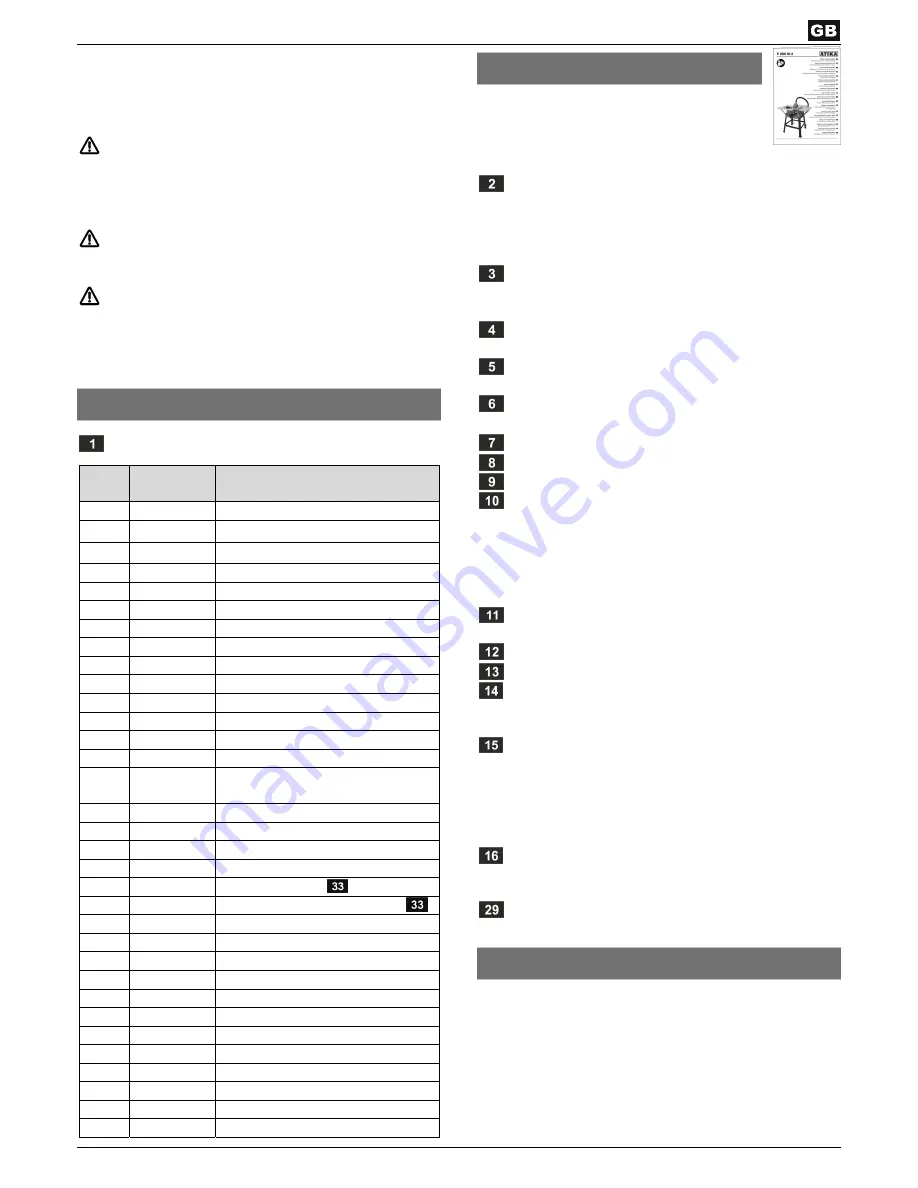
Description of device / spare parts
Pos.-
No.
Order-No.
Denomination
2 366272
Supporting
leg
3 366282
Connection strut – short
4 366280
Connection strut – long
5 366266
Saw
blade
6
Crank for height adjustment
7 366256
Safety
guard
8 366260
Splitting
wedge
9 366261
Extraction
hose
10
Bench
plate
11
366254
Transverse stop cpl.
12 366255
Table
insert
13
366253
Longitudinal stop cpl.
13A Fence
14
366271
Adjusting knob for incline adjustment
15
366272
Clamping screw for incline
adjustment
16
On/Off
switch
17
Motor
protection
18 366270
Dust
extraction
port
19 366275
Sliding
stick
22
366268
Saw blade flange
23
366269
Hexagonal screw for saw blade
24
366257
Guide section for longitudinal stop
25
Clamping lever for longitudinal stop
26 366288
Safety
label
27 366282
Additional
brace
28
Scale for cross-cut adjustment
29 366283
Slip-on
foot
30
366273
Ring wrench size 10/21
31
Ring wrench size 10/13
32 366264
Bench
width
extension
33
366262
Bench length extension
34
366265
Support for table width extension
35
366263
Support for table length extension
Assembly
Please refer to the attached assembly and
operating instruction sheet.
Tighten all screw connections only hand-tight first.
Place the saw with the table surface facing downwards
onto a suitable work surface.
Place then the table width extensions (32) and the table
length extension (33) onto the table plate (10). Secure the
table width and table length extensions on the table plate.
The supports have different lengths.
Support for table width extensions (34)
Support for table length extensions (35)
Secure at first the table legs (2) together with their
supports on the saw.
Secure then the supports on the table width and table
length extensions.
Secure the braces
(4) and
(3) to the table legs.
The braces have different lengths.
Secure the two long braces
(4) first to the table legs.
Now secure the two short braces
(3).
Mount the push-on bases (29) to the table legs.
Install the additional braces (27).
Firmly tighten all screw connections.
Turn the saw right side up so it stands on the table legs.
Adjust the additional braces (27) so that they touch the ground.
Raise the saw blade (5) with the crank (6) to the highest
position.
Remove the table insert (12).
Loosen the screw (A) and pull out the riving knife (8).
Adjust the distance between saw blade and riving knife
(8). This distance must not exceed 5 mm.
Retighten the screw (A).
Attach the safety guard (7) to the riving knife (8).
Place the safety guard together with the screw (B) in the
recess in the riving knife provided for this and pull the
safety guard up to the stop.
Do not over-tighten the screw connection. The safety
guard must move freely.
Slide the extraction hose (9) on the connection piece of
the safety guard (7) and on the extractor neck (18) on the
housing.
Place the pushstick (
19
) in its holder.
Preparing for commissioning
To achieve flawless functioning of the machine, please
follow the instructions listed:
Place the saw in a place that fulfils the following conditions:
−
secured against slipping
−
free of vibrations
−
even
−
free of tripping hazards
−
adequate light

