18
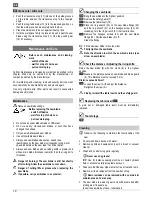
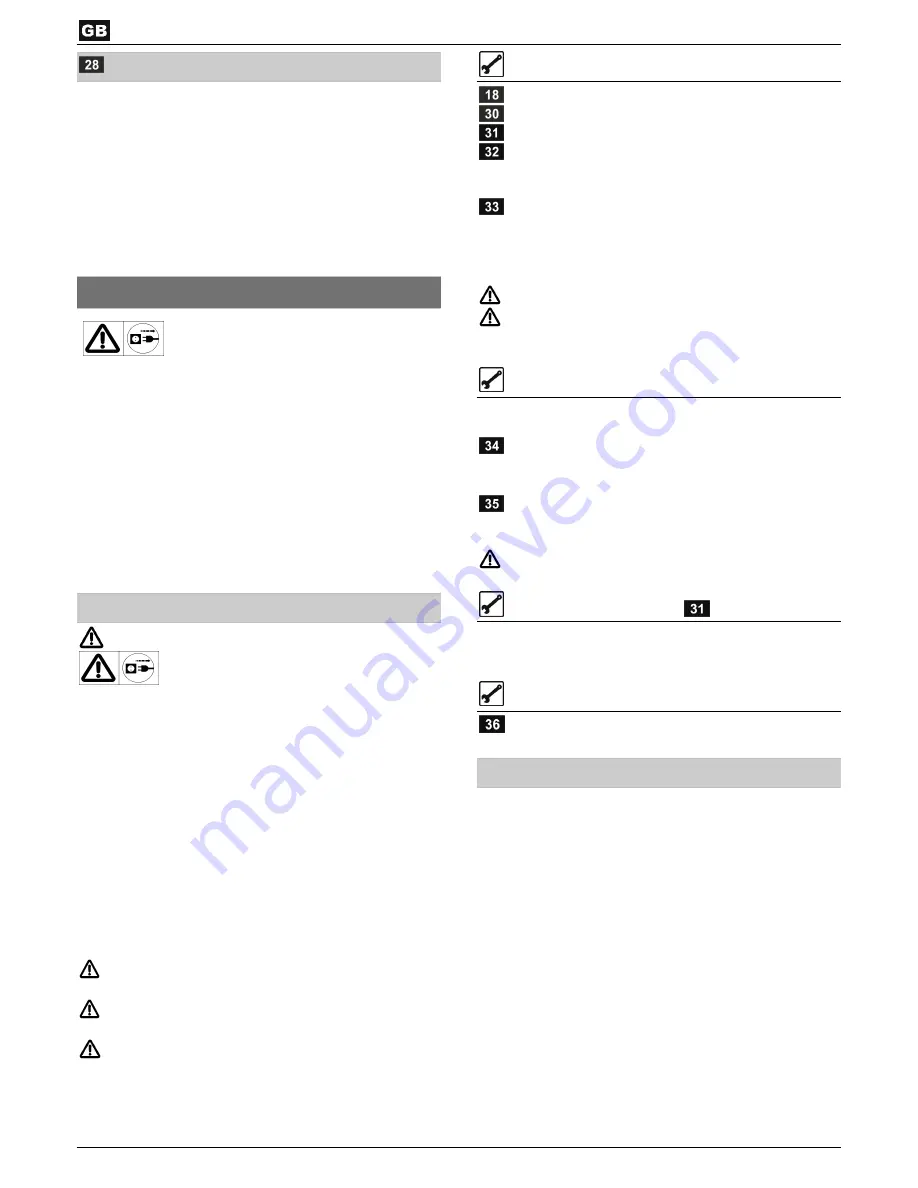
Cross cuts / mitre cuts
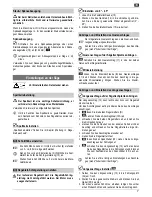
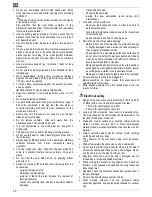
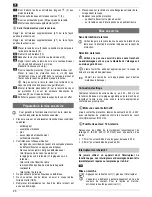
Push the transverse stop (11) into one of the guide grooves
on the table and set the transverse stop to the required
angle.
Push the longitudinal stop (13) into the required position, so
that the work piece can be securely held in place.
Place the workpiece to be cut against the stop rails.
Hold the workpiece firmly in place and push it past the saw
blade using the transverse stop (11). Use the pushing bar
(19) if necessary.
Maintenance and Care
Before each maintenance and cleaning
work
−
switch off device
−
wait for stop of chain saw
−
pull out main plug
Further maintenance and cleaning works than described in this
chapter shall only be carried out by the manufacturer or
companies named by the manufacturer.
For maintaining and cleaning, removed security devices must
unconditionally be mounted properly and proved again.
Use only original parts. Other parts can result in unexpected
damages and injuries.
Maintenance
Notes on saw blade change
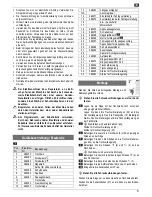
Before replacing the saw blade:
−
switch off device
−
wait for stop of chain saw
−
pull out main plug
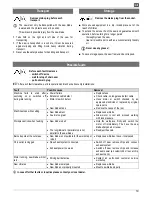
Do not use any saw blades made of HSS steel.
Do not use any cracked saw blades or such that have
changed their shape.
Only use well-sharpened saw blades.
Use only suitable saw blades.
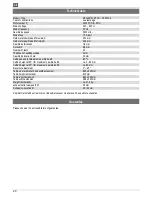
Always use saw blades whose max. speed (see
identification on the saw blade) corresponds to the motor
speed indicated on the saw (see "Technical data").
Always use saw blades whose cutting width is greater and
whose main blade thickness is smaller than the riving knife
thickness.
Danger of burning! The saw blade is still hot shortly
after cutting. Allow the saw blade to cool down.
Danger of cutting! Wear gloves when replacing the
saw blade.
If possible, carry saw blades in a container.
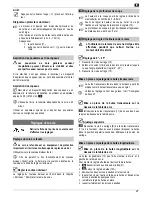
Changing the saw blade:
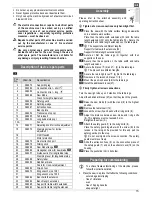
Bring the saw blade to the highest position.
Remove the safety guard (7).
Remove the table insert (12).
Place the ring wrench (30) on the saw blade flange (22)
and the ring wrench (31) on the hexagon screw (23). For
loosening, turn the ring wrench (31) in arrow direction.
Remove the hexagon screws (23) and the saw blade
flange (22).
Pull the saw blade (5) off.
Clean the flange.
Fit the new saw blade in reverse order.
Firmly tighten the saw blade.
Note the direction in which the saw blade turns (see
arrow on saw blade).
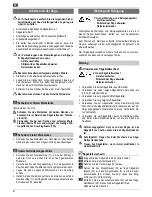
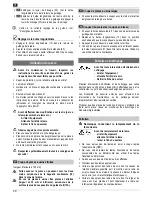
Check the distance / Adjusting the riving knife:
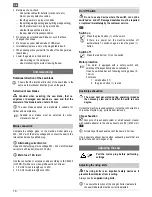
Raise the saw blade (5) with the crank (6) to the highest
position.
Measure the distance between saw blade and blade guard
(8). This distance must not exceed 5 mm.
Distance exceeds 5 mm?
Loosen the screw (A) the adjust the distance.
Retighten the screw (A).
Finally, reinstall the table insert and the safety guard.
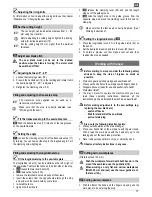
Replacing the table insert
A worn out or damaged table insert must be immediately
replaced.
Tool storage
Cleaning
Observe the following to maintain the functionality of the
saw.
Do not wash down device with water.
Remove splints and sawdust only with a brush or vacuum
cleaner.
Clean and oil all moving parts regularly.
Never use any grease!
Use for instance sewing machine oil, liquid hydraulic
fluid or environmentally acceptable spray oil.
Take care that the saw blade remains free of rust and resin.
Remove all resin residues from the saw bench top
Resin residues can be removed with a commercial
maintenance and care spray.
The saw blade is a wearing part and will become dull after
prolonged or frequent use.
renew the saw blade or have it sharpened


