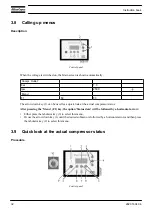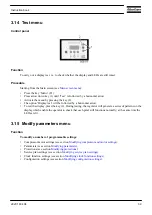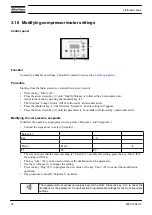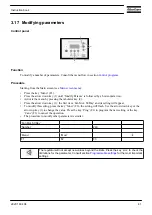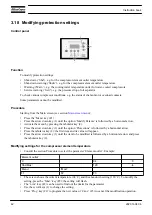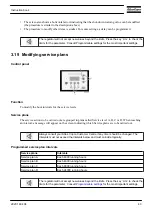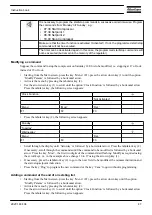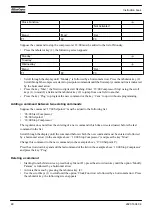
Starting from the Main screen (see section
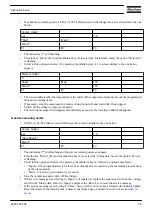
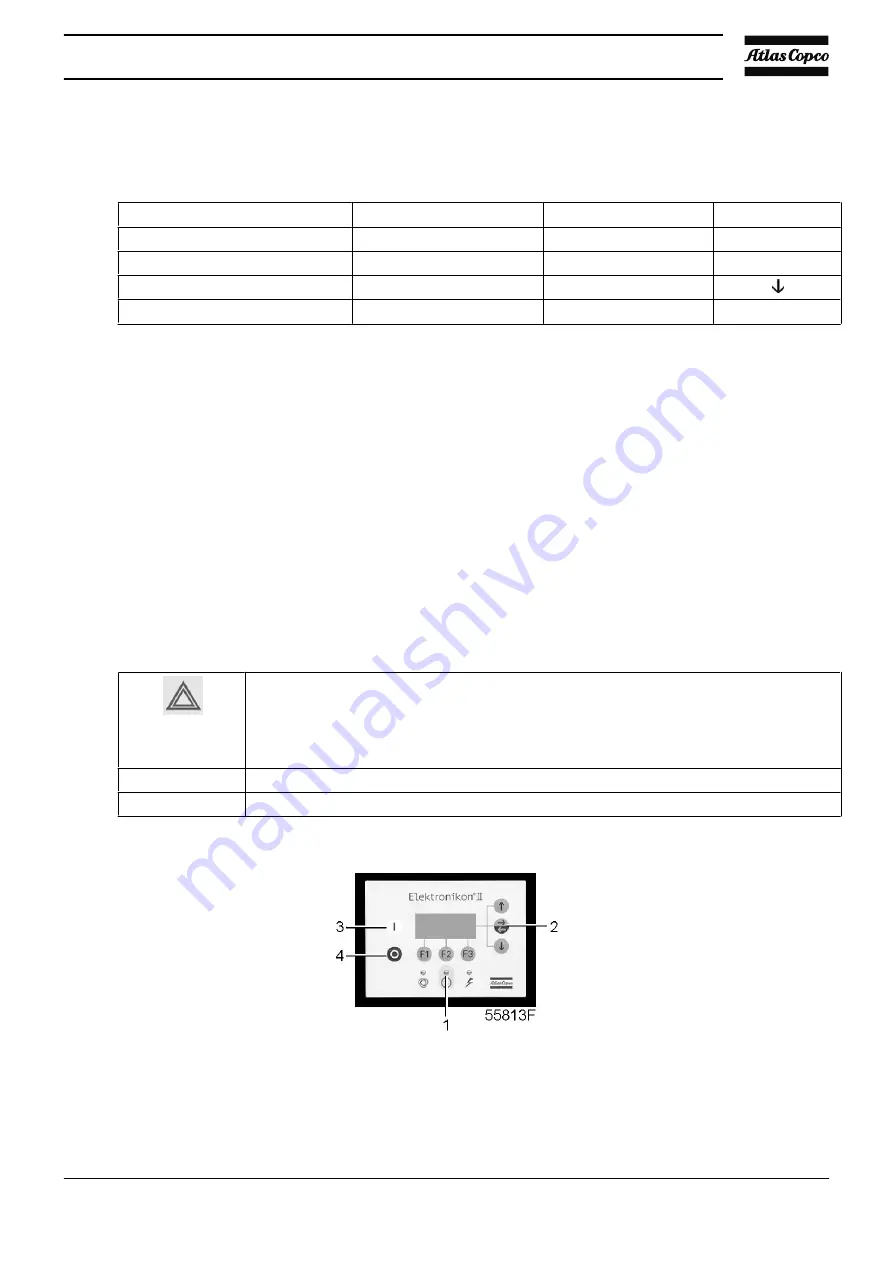
), press the arrow down key (3): A screen similar
to the one below appears:
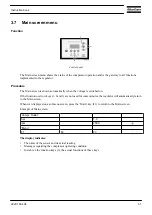
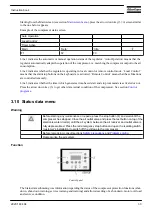
Example of the compressor status screen
‘Auto Operation’
‘Local Control’
‘Timer Active’
‘Main’
‘Help’
‘Xtra’
F1
F2
F3
Line 1 indicates the automatic or manual operation status of the regulator: ‘Auto Operation’ means that the
regulator automatically adapts the operation of the compressor, i.e. matching the compressor output to the air
consumption.
Line 2 indicates whether the regulator is operating in local control or remote control mode: ‘Local Control’
means that the start/stop buttons on the keyboard are activated. ‘Remote Control’ means that these functions
are controlled remotely.
Line 3 indicates whether the timer which generates time-based start and stop commands is activated or not.
Press the arrow down key (3) to get other data (actual condition of the compressor). See section
.
3.10 Status data menu
Warning
Before starting any maintenance or repairs, press the stop button (4) and wait until the
compressor has stopped. Close the air outlet valve and press the test button on top of the
electronic water drain(s) until the air system between the air receiver and outlet valve is
fully depressurized. Press the red emergency stop button and open the isolating switch
(customer's installation) to switch off the voltage to the compressor.
Before remedying, consult sections
and
Depressurise the air system.
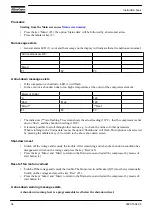
Function
Control panel
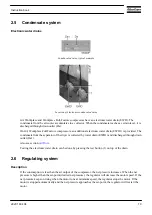
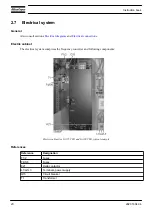
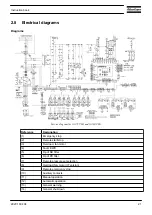
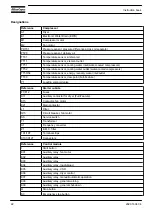
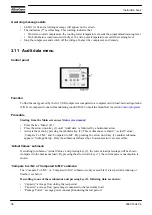
The Status data submenu gives information regarding the status of the compressor protection functions (shut-
down, shut-down warning, service warning and warning) and allows resetting of a shut-down, motor overload
and service condition.
Instruction book
2920 1634 04
33

