11
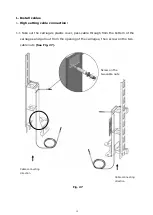
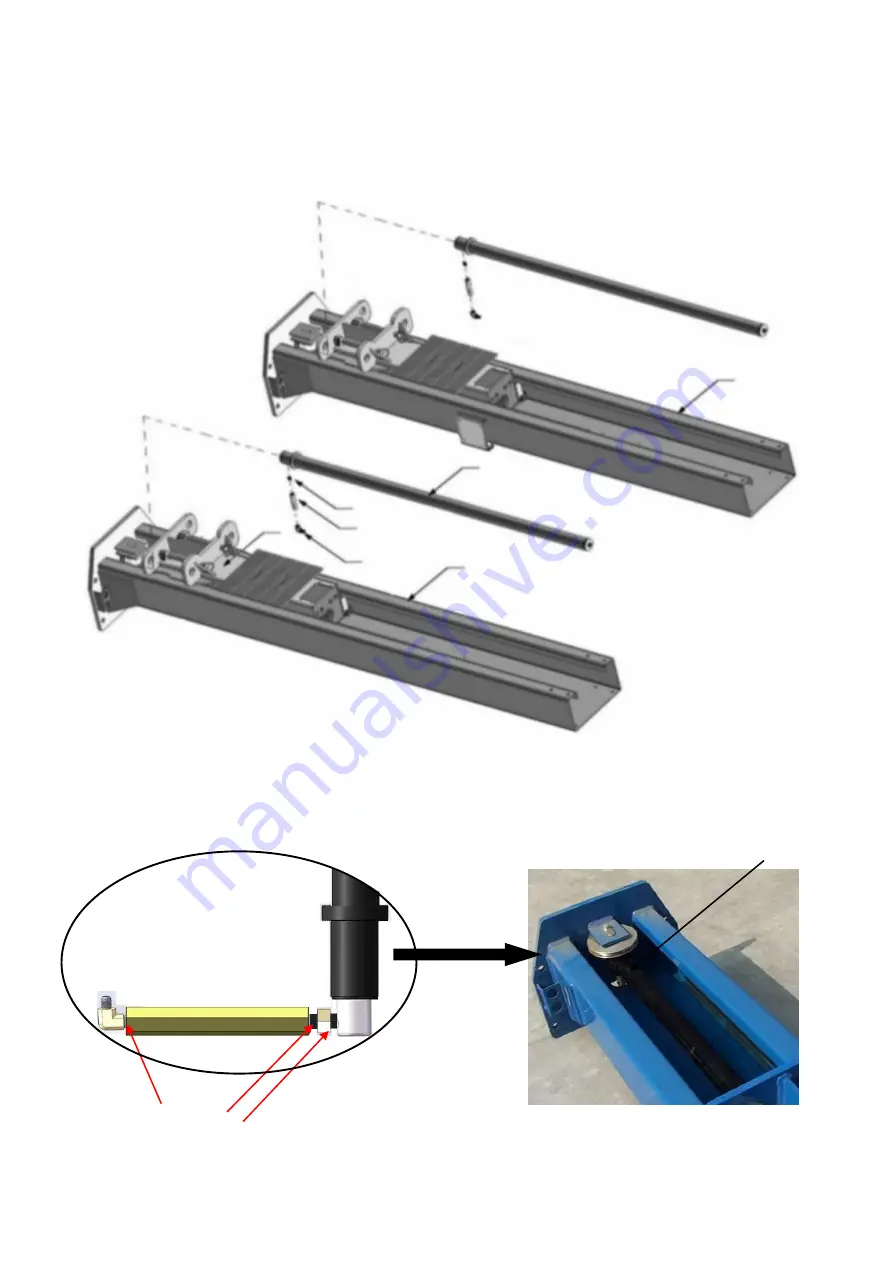
E. Install hydraulic cylinder
Apply thread tape to both ends of extended straight fitting, connect the 90° fitting,
connect both to cylinder, and then install the cylinder in the carriages
(See Fig. 17)
.
Fig. 17
Powerside column
Offside column
Place fitting in the cylinder
toward the hole in the column
Apply thread tape
Insert the installed cylinder
into Column
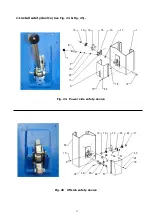
1
66
52
95
96
94
68
Summary of Contents for Atlas PV-10HPX
Page 1: ...1 Model PV10PX Revised 05 25 2021 ...
Page 10: ...10 D Install parts of extension columns See Fig 16 Fig 16 24 26 20 42 25 37 41 ...
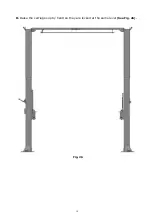
Page 18: ...18 K Raise the carriages up by hand so they are locked at the same level See Fig 26 Fig 26 ...
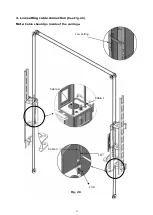
Page 22: ...22 Install power unit See Fig 30 Fig 30 ...
Page 30: ...30 IV EXPLODED VIEW Model 211SAC Fig 43 ...
Page 38: ...38 4 5 POWER UNIT EXPLODED VIEW 220V 60Hz Single Phase Fig 48 ...


