background image

www.atlona.com

Toll free: 1-877-536-3976  

Local: 1-408-962-0515

User Manual

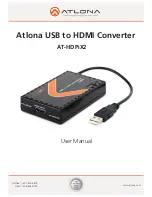
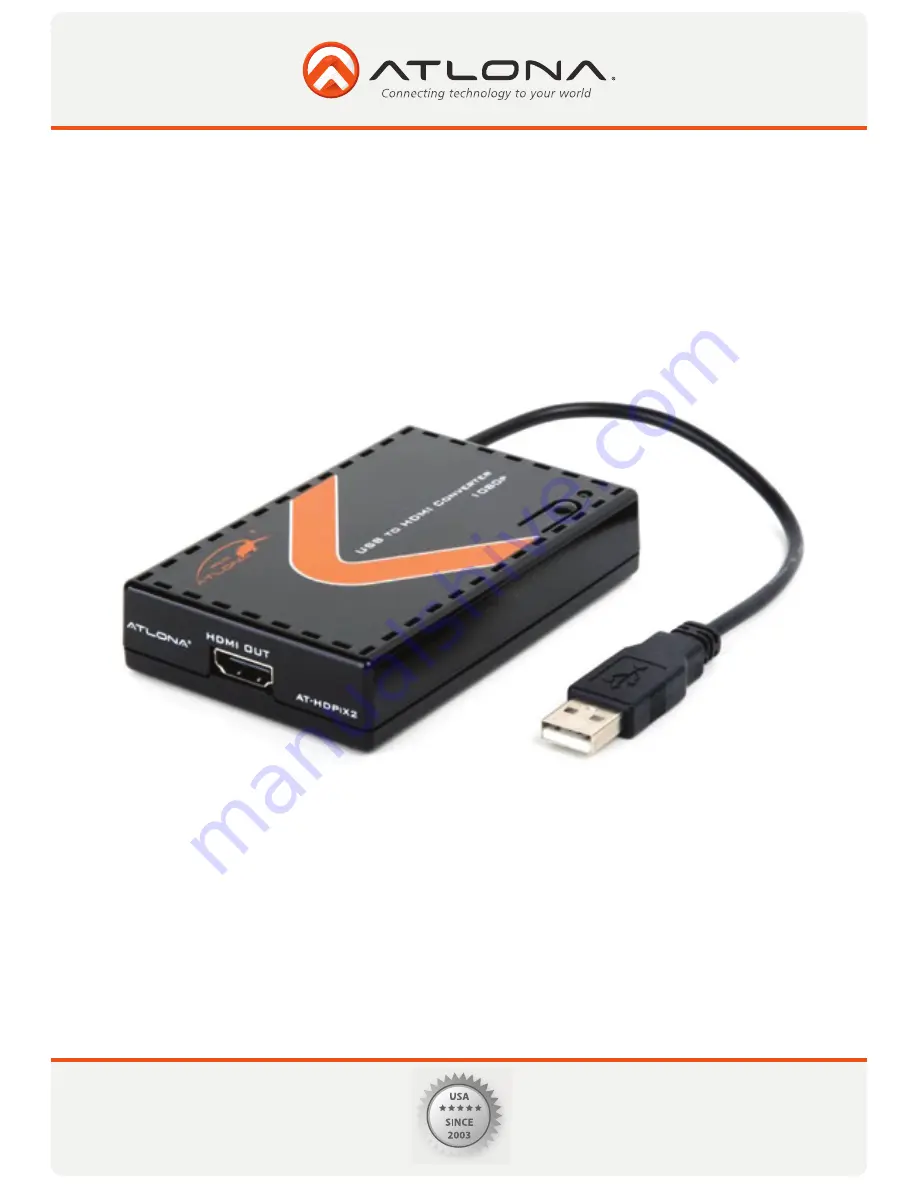
Atlona USB to HDMI Converter

AT-HDPiX2

Summary of Contents for AT-HDPiX2

Page 1: ...www atlona com Toll free 1 877 536 3976 Local 1 408 962 0515 User Manual Atlona USB to HDMI Converter AT HDPiX2 ...

Page 2: ...er 11 10 Troubleshooting 12 11 Setup Guide 13 12 Managing Multiple Displays 13 12 1 Setting the Display Resolutions 14 12 2 Rotating a Display 14 12 3 Setting the Position of Displays 15 12 3 1 Display Positions 15 12 3 2 Setting the Display to Mirror mode 15 12 3 3 Setting the Display to Extend 16 12 3 4 Using both extended and mirrored displays 16 12 3 5 Changing the main display 16 12 4 Configu...

Page 3: ...rivers from Atlona website www thehdpix com download html The AT HDPiX2 is a perfect device for viewing content from a computer on any HDTV making it the perfect device for any consumer or commercial applications HDPiX2 becomes your second video card which allows you to clone another HDTV monitor which will be an identical replication of your laptop screen or desktop Whatever you do on the comput ...

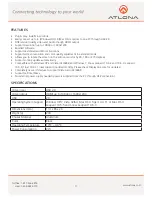
Page 4: ...ically Compatible with Windows XP and Vista 32 64bit and Window 7 Snow Leopard 10 6 2 and 10 6 3 Leopard 10 5 8 Tiger 10 4 11 new support is added monthly Please check DisplayLink com for updates Completely new architecture to support Vista Aero 32 64bit Supports all Intel Macs No external power supply needed power is supplied from the PC through USB connection Video input USB 2 0 Video output HDM...

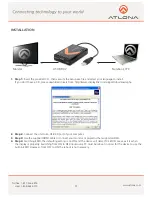
Page 5: ...rt downloads php 2 Step 2 Connect the unit to an USB 2 0 port of your computer 3 Step 3 Use the supplied HDMI cable to connect your monitor or projector that supports HDMI 4 Step 4 Switching EDID the defaulting setting is on ON and the device will detect TV s EDID Leave as it is when the display is propertly Switching from ON to OFF inputsource PC must be reboot in order for the device to use the ...

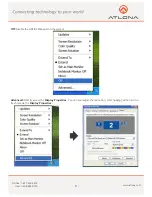
Page 6: ...ray The utility allows you to quickly change the settings and resolution for DisplayLink Manager Right clicking the icon will bring out the context menu Screen Resolution Select the screen resolution available only in extended mode NOTE When display has build in native EDID the screen will show the display s resolution if no EDID the screen have the follow resolution USING THE DISPLAYLINK MANAGER ...

Page 7: ...15 Color Quality Select the screen color quality available only in extended mode Screen Rotation Rotate the screen on the additional monitor by 90 180 or 270 degrees Extend to Reposition the extended screen to the top bottom left or right of the primary display ...

Page 8: ...7 www atlona com Toll free 1 877 536 3976 Local 1 408 962 0515 Extend Set the DisplayLink Manager to Extended mode Set as Main Monitor Set the monitor to be the main monitor ...

Page 9: ...com Toll free 1 877 536 3976 Local 1 408 962 0515 Notebook Monitor off Set the PC notebook s monitor off Mirror Set the DisplayLink Manager to Mirror mode You can see the same desktop image on the additional monitor ...

Page 10: ... 877 536 3976 Local 1 408 962 0515 Off Disable the HDPiX2 Manager on the system Advanced Directly access the Display Properties You can also adjust the resolution color quality position and re fresh rate via the Display Properties ...

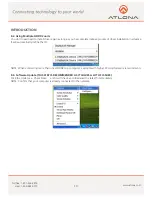
Page 11: ...llation in advance It will automatically define the ID NOTE When connecting more than one HDPiX2 to a computer a system with higher CPU performance is recommend 8 3 Software Update THIS STEP IS RECOMMENDED AS IT SOLVES A LOT OF ISSUES Click the Updates Check Now and it will check and download the latest fi immediately NOTE Confirm that your computer is already connected to the network INTRODUCTION...

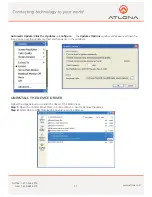
Page 12: ...ons window will appear as shown be low You can set the update method and frequency in the windows Follow the steps below to uninstall the driver of the Multi View Step 1 Open the Control Panel Start Control Panel Add or Remove Programs Step 2 Select USB to HDMI DisplayLink Adapter and click Remove UNINSTALL THE DEVICE DRIVER ...

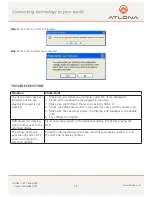
Page 13: ...ure the USB port that you are using is USB 2 0 4 Check the additional monitor is connected correctly and the power is on 5 Make sure the operating system the Display Link Manager is compatible with 6 Try a different computer DVD player not working when move it over to the extended display Try to open the program in the additional display first before playing the DVD The mouse not move pass the rig...

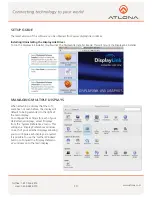
Page 14: ...ng a display that the soft ware has not seen before the display will default to being extended to the right of the main display To configure the settings for each of your USB attached displays select Displays from the System Preferences menu This will open a Display Preferences window on each of your attached displays allowing you to configure each display as required It is possible to use the Gat...

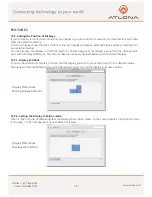
Page 15: ... enabled product and the capabilities of the connected display 12 2 Rotating a Display If you wish to rotate your display you can configure the orientation using the Rotate drop down Select the appropriate angle of rotation to match your display s set up Each time the user rotates any settings made to the mode resolution frequency or depth are remembered the next time the user switches back to tha...

Page 16: ...ng the Arrangement pane within Display Preferences This ensures that you can easily navigate between all connected displays 12 3 1 Display Positions To move the position of a display click and hold the display you wish to move then drag it to the desired position The display will be highlighted with a red border whilst you are moving the display to its new position 12 3 2 Setting the Display to Mi...

Page 17: ...rop the display you wish to mirror over the primary display Repeat this with each display you wish to mirror those untouched will remain extending 12 3 5 Changing the main display You can change which is the main display by moving the Menu Bar between displays Changing the main display affects where new windows appear and the position of the Dock The Menu Bar can be moved so that it is shown on an...

Page 18: ...lution of both the primary display and the additional display s by selecting one of the recently used resolutions Configure how many recent resolutions should be shown in this menu Open Display Preferences This release does not support OpenGL acceleration 3D hardware acceleration so therefore applications and features that require OpenGL Quartz Extreme Quartz Composer and other framework based on ...

Page 19: ...ng pools Use only accessories recommended by Atlona to avoid fire shock or other hazards Unplug the product before cleaning Use a damp cloth for cleaning and not cleaning fluid or aerosols Such products could enter the unit and cause damage fire or electric shock Some substances may also mar the finish of the product Never open remove unit panels or make any adjustments not described in this manua...

Page 20: ...or items on the product contact with fluids and physical misconduct i e kicking or punching Any replacement product will be warranted for the remainder of the original warranty period No other warranties To the maximum extent permitted by applicable law Atlona Technologies and its suppliers disclaim all other warranties either expressed or implied including but not limited to implied warranties of...

Page 21: ...creates an ownership record if your product is lost or stolen and helps ensure you ll receive notification of performance issues and firmware updates At Atlona we respect and protect your privacy assuring you that your registration information is completely secure Atlona product registration is completely voluntary and failure to register will not diminish your limited warranty rights To register ...

Reviews: