AT-VCC-RELAY
13
Configuration
13
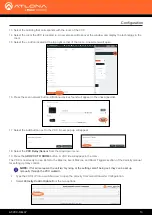
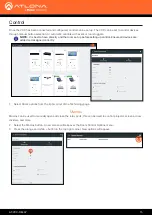
Select the building that corresponds with the room of the VCC.
14 Select the room the VCC is located in. A new screen will take over the window and display the technology in the
room.
15
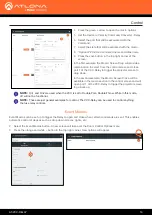
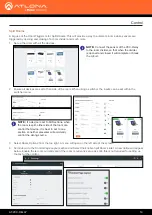
Select the + button located at the top right corner of the room. A new menu will open.
16 Press the scan network button. All Atlona devices found will appear in the unassigned list.
17
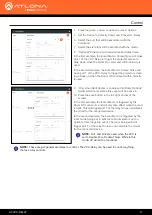
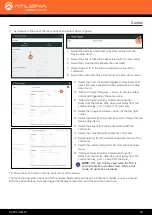
Select the Add button next to the VCC. A new pop up will appear.
18
Select the
VCC Relay/Sensor
from the drop down menu.
19
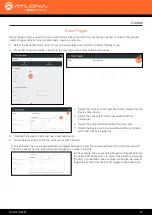
Press the
ADD VCC TO ROOM
button. A VCC tile will appear in the room.
The VCC is now ready to use. Refer to the Macros, Event Macros, and Room Triggers section of the Velocity manual
for setting up relay control.
•
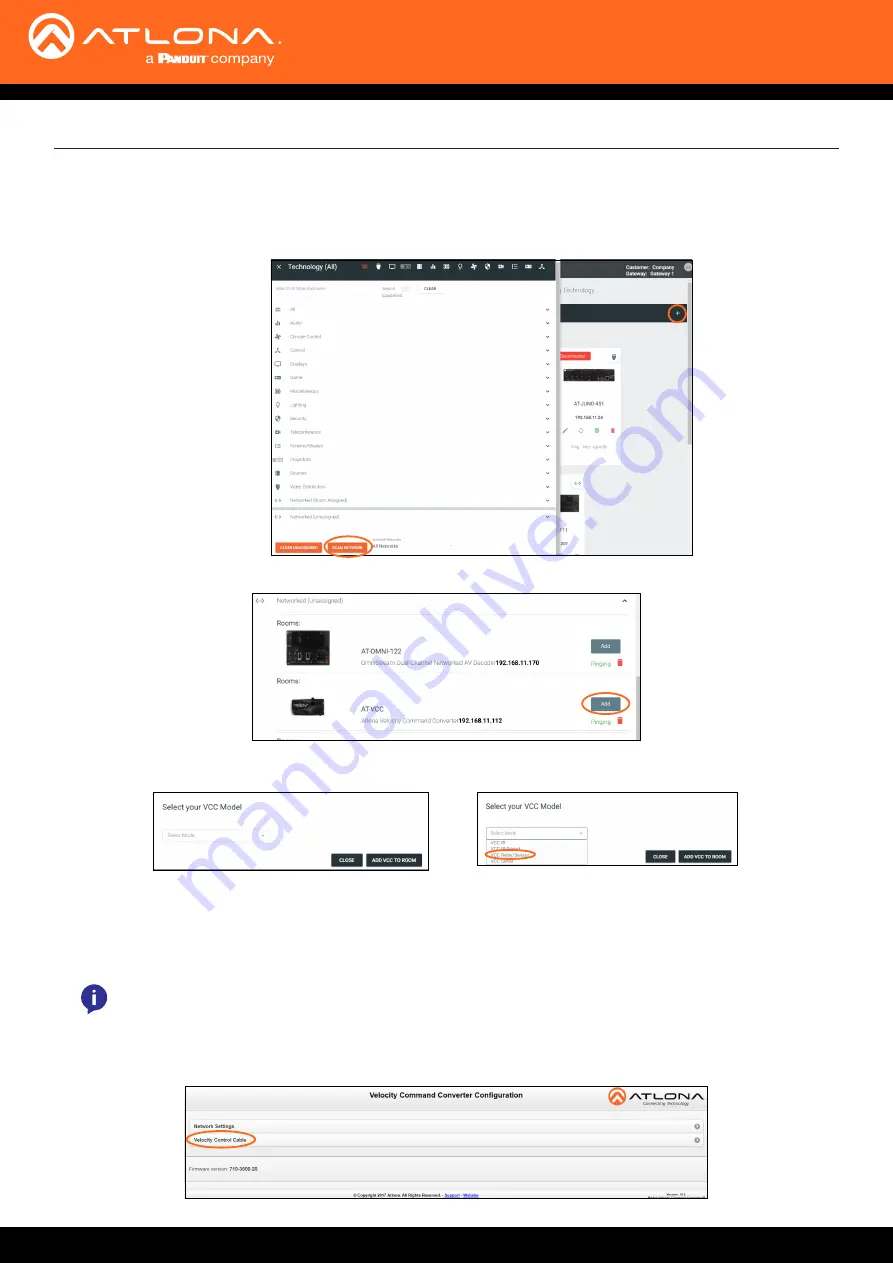
Type the VCC’s IP into a web browser to open the Velocity Command Converter Configuration.
• Select
Velocity Control Cable
from the two options.
NOTE:
If for some reason the unit isn’t syncing or the settings aren’t being set, they can be set up
manually through the VCC webGUI.


