AT-OMNI-121 / AT-OMNI-122
22
Configuration
Configuring a Static IP Address
The following section is only required to set the decoder, currently in Auto IP mode, to a static IP address. If a DHCP
server is not found within 60 seconds, decoders are automatically placed in Auto IP mode and will be assigned an IP
address within the range
169.254.xxx.xxx
. If this occurs, a static IP address can be assigned to the decoder in order
for AMS to locate it on the network.
1.
Make sure that the decoder is powered. Power will need to be supplied either by the external 48V power supply
(not included) or by connecting an Ethernet cable from the decoder to a PoE-capable switch. If using the
AT-OMNI-122, the Ethernet cable can be connected to either
ETHERNET 1
or
ETHERNET 2
.
2.
Connect an Ethernet cable from the PC, directly to one of the Ethernet ports on the decoder. Make sure that the
computer being used has AMS installed.
3.
Configure the PC to a static IP address that is on the same subnet as the decoder.
4.
Login to AMS. Refer to
Accessing Decoders in AMS (page 19)
5.
Locate the decoder under the
Unassigned
section within AMS.
6.
Click on the device.
7.
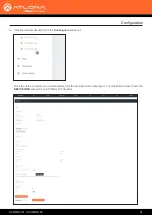
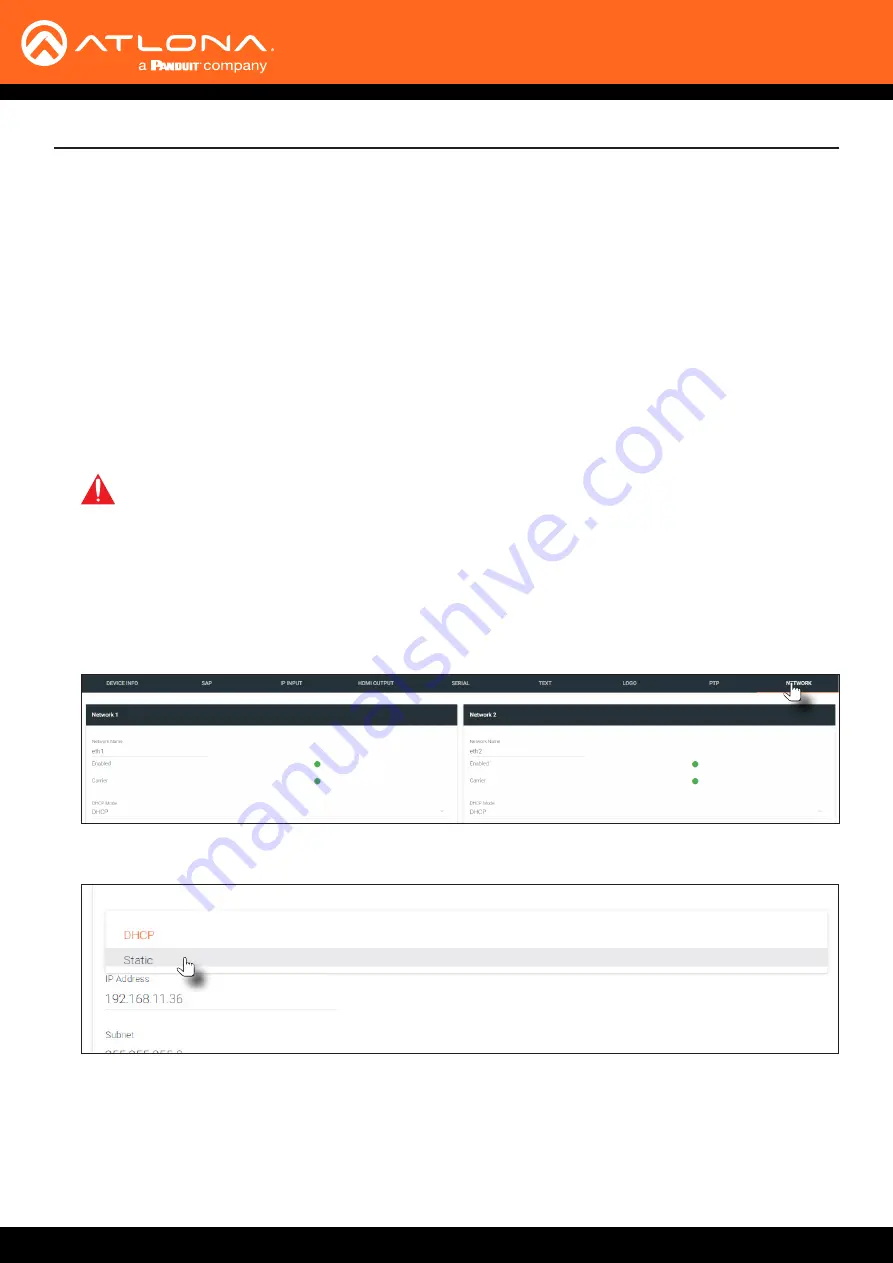
Under AMS, click the
NETWORK
tab.
8.
Click the
DHCP Mode
drop-down list and select
Static
.
IMPORTANT:
Before continuing, write down the current IP settings in order to restore them, later.
If
Obtain an IP address automatically
and
Obtain DNS server automatically
are selected, then this
step is not required.
9.
Enter the required network information for the decoder in the
IP Address
,
Subnet
, and
Gateway
fields.
10.
Click the
Save
button in the bottom-right corner, to apply the changes.
11.
Disconnect the decoder from the PC and connect it to the network.
12.
The decoder is now ready for use.

