AT-OMNI-121 / AT-OMNI-122
32
Basic Operation
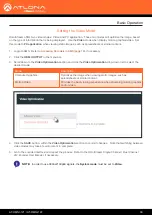
1.
Click the
LOGO
tab in the menu bar.
2.
Click the
DELETE
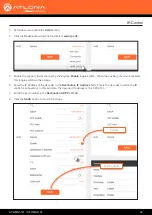
button for the desired logo box. If the
DELETE
button is disabled, do the following:
a.
Scroll down to the
Logo Insertion
boxes.
b.
Click the
Select Logo
drop-down list and select
Not Used
.
c.
Click the
SAVE
button.
d.
Refresh the page.
e.
Click the
DELETE
button to remove the logo.
Follow the instructions below to remove a logo from the
Logo
tab.
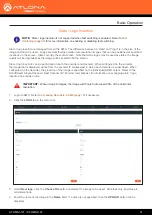
Deleting Slates / Logos
NOTE:
If the selected image will be used as a
logo
, then proceed with Steps 7 through 9. If the
image will be used as a
slate
, skip to Step 10.
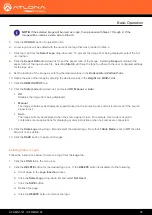
5.
Click the
UPLOAD
button to upload the file.
6.
A new logo box will be added with the name of the logo that was provided in Step 4.
7.
Click the logo from the
Select Logo
drop-down list. To prevent the image from being displayed, select the
Not
used
option.
8.
Click the
Aspect Ratio
drop-down list to set the aspect ratio of the image. Selecting
Keep
will maintain the
aspect ratio of the logo source file. Selecting
Stretch
will force the logo to adhere to the user configured settings
for the logo size.
9.
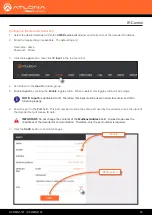
Set the location of the image by entering the desired values in the
Horizontal
and
Vertical
fields.
10.
Define the size of the image by entering the desired values in the
Height
and
Width
fields.
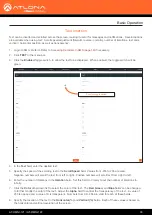
11.
Click the
HDMI OUTPUT
tab.
12.
Click the
Slate mode
drop-down list, and select
Off
,
Manual
, or
Auto
.
• Off
Disables the image from being displayed.
• Manual
The image will always be displayed, superimposed on the source signal, and will remain even if the source
signal is lost.
• Auto
The image will only be displayed when the source signal is lost. For example, this mode is useful in
conference room applications for displaying system instructions when no sources are connected.
13.
Click the
Slate Logo
drop-down list and select the desired logo. Note that if
Slate Mode
is set to
Off
, then this
field will not be visible.
14.
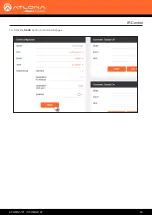
Click the
SAVE
button to apply all changes.

