4
Installation Guide
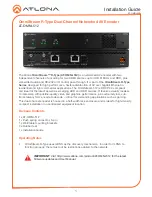
AT-OMNI-512
HDMI
PWR
LINK
TM
O
MNI
S
TREAM
ID
1
2
1
2
R
-
T
YPE
AT-OMNI-512
ETHERNET
RS-232 / IR
DC 48V
RX TX
1
2
HDMI IN
2
1
2
1
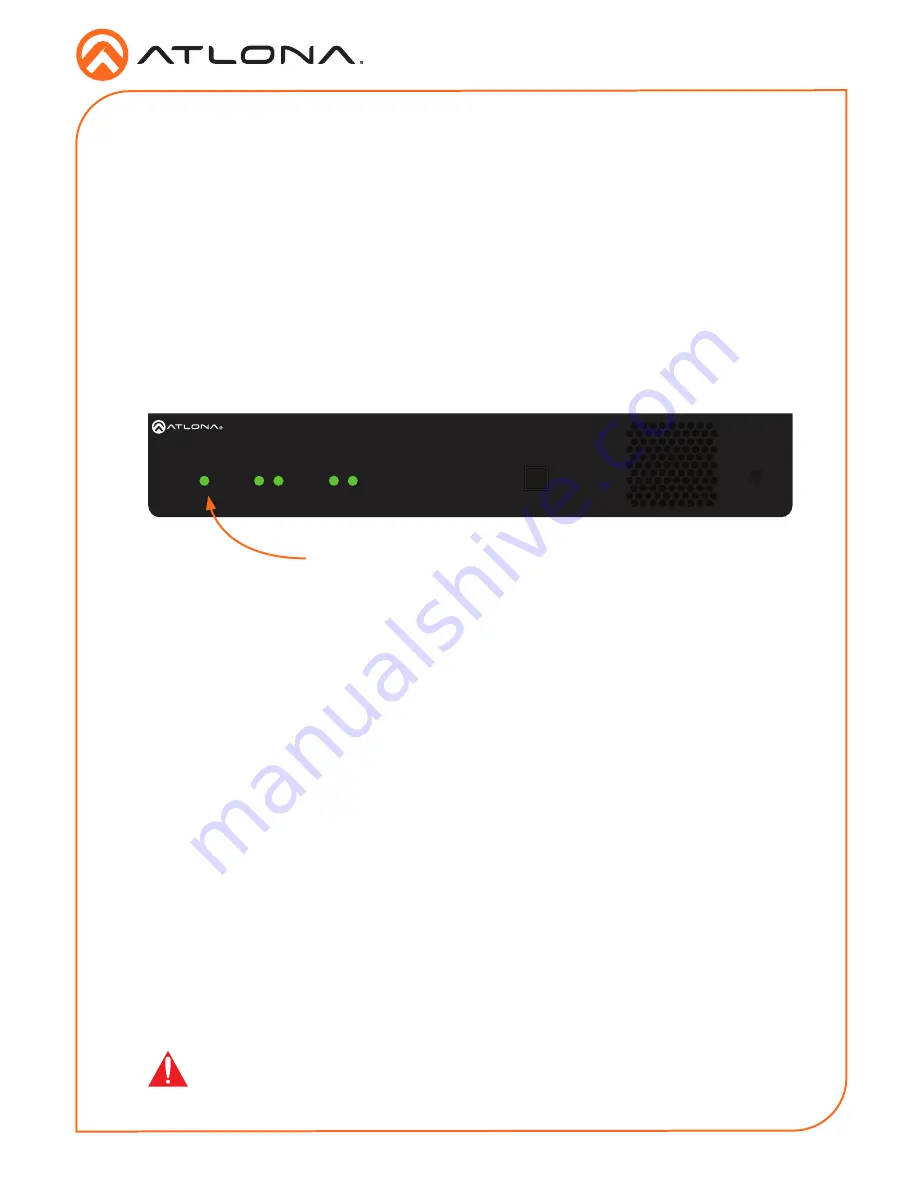
PWR indicator
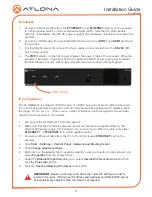
1.
Connect an Ethernet cable from the
ETHERNET 1
and
ETHERNET 2
ports on the encoder
to a PoE-capable switch on the Local Area Network (LAN). Note that if a PoE-capable
switch is not available, the 48V DC power supply (sold separately) must be connected to the
encoder.
2. Connect an HDMI cable from each HD/Ultra HD source to the
HDMI 1
and
HDMI 2
ports on
the encoder.
3.
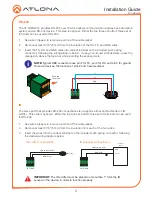
If using RS-232 and/or IR, connect the 6-pin captive screw connector to the
RS-232 / IR
port on the encoder.
4. The
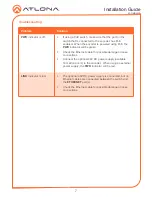
PWR
indicator, on the front panel, displays the power status of the encoder. When the
encoder is powered, using either PoE or the optional 48V DC power supply (not included),
the LED initially turns red. After a few moments it will turn amber, and finally green.
The AT-OMNI-512 is shipped in DHCP mode. If a DHCP server is not found within 60 seconds,
the unit will automatically be placed in Auto IP mode and will be assigned an IP address within
the range
169.254.xxx.xxx
. If this occurs, a static IP address can be assigned to the encoder,
allowing it to be access on the network.
1. Disconnect the AT-OMNI-512 from the network.
2.
Make sure that the encoder is powered. Power will need to be supplied either by the
external 48V power supply (not included) or by connecting an Ethernet cable, from either
ETHERNET 1
or
ETHERNET 2
,
to a PoE-capable switch.
3.
Connect an Ethernet cable from the PC, to the other unused
ETHERNET
port on the
encoder.
4. Click
Start
>
Settings
>
Control Panel
>
Network and Sharing Center
.
5. Click
Change adapter settings
.
6. Right-click on the adapter that is used to establish a wired connection to the network, and
select
Properties
from the context menu.
7. Under the
Ethernet Properties
dialog box, select
Internet Protocol Version 4
and then
click the
Properties
button.
8. Click the
Use the following IP address
radio button.
Installation
IP Configuration
IMPORTANT
:
Before continuing, write down the current IP settings in order to
restore them, later. If
Obtain an IP address automatically
and
Obtain DNS server
automatically
are selected, then this step is not required.

