8
2/ WIRELESS
In this case, your appliance will be able to find the Wireless connections available in your home.
Advise: We advises to use the WPS button to connect your appliance to your Wifi network.
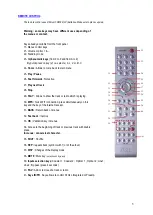
Press on the WPS button of your internet receiver and then on WPS button of the remote control (30).
Display shows « WPS in progress » then when connection is made display shows « connected ».
If the WPS is not possible, press on « scan ». You’ll see the possible Wifi network available in your place. Select
yours and, if needed enter the Wifi key.
NB: in some environments (buildings), several networks can be present. Make sure you choose yours.
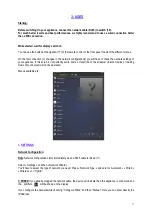
This symbol indicates the link wireless as well as the strength of the signal.
Network Info:
In this menu you’ll find all informations about the network : type of network, IP adress, Mask, Gateway, DNS…
Language:
This menu allows to select te language of all menus. You can choose between :
English, German, Spanish, French, Italian, Nederlands, Russian, Polish.
Firmware update:
This menu allows to make update of your appliance. Select “Check for update” some time to time. If there is no
update, the display will show “No new updates”.
If an update is available, the devices will automatically launch it. This may takes several times so let the device
run until it starts again.
Factory reset:
This menu allows to restart the device with the factory settings. If you press it, the appliance will start again and in
English version. Note that some menus will be refreshed such as PlayQueue or the Favorites Internet radios.
Stream audio Quality:
This menu allows to choose the quality of the audio files between 24bits/192kHz or 24bits/96kHz.
In case of low internet bandwidth prefer 24bits/96kHz quality to avoid any cuts during reading files.
Display:
This menu allows to choose the intensity of the display between Off, Low, Medium or High.
If you select « Off » the display will always get off after few seconds. The display will always get on while pressing
any keys or buttons.
This function is also available directly from the key DISP (37) of the remote control.
Power Management:
This menu allows to choose the standby timeout :
-
When the device is not working (choice between 5,10, 15 or 30 minutes).
-
When the device is working (choice between 1, 8 or 24 hours).

