Configuring Client Settings
Configuring Service Access Settings
148
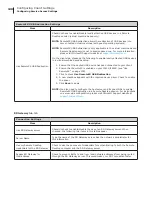
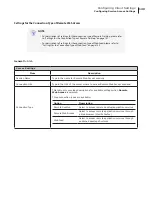
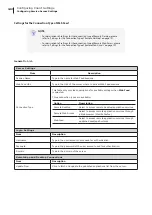
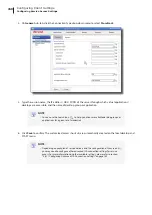
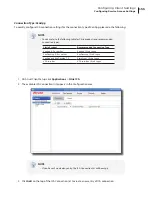
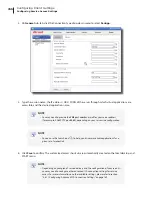
4. On
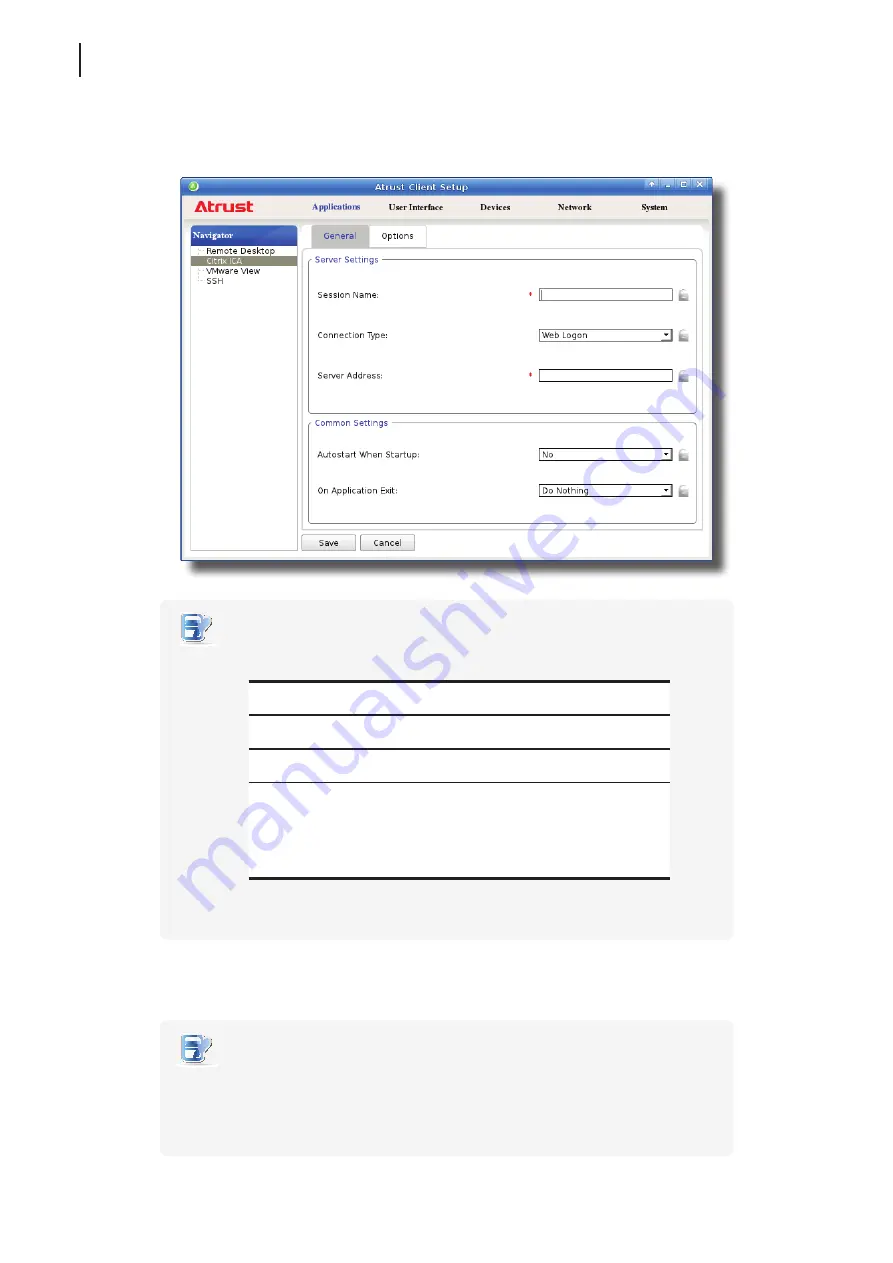
General
sub-tab, leave the connection type as
Web Logon
as default, and then type in the desired
session name and the IP address / URL / FQDN of the server through which Citrix services are accessible.
NOTE
•
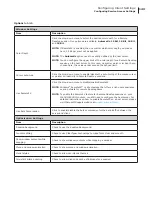
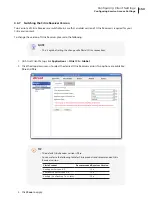
For newer versions of XenDesktop and XenApp, you may need to further specify
the
sub-path
of the server. Refer to the following table for details:
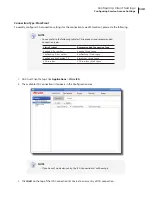
Citrix Product
Component to
Connect
Connection Address
XenApp 6.5 or
earlier
Web Interface
IP / URL / FQDN
XenDesktop 5.6
or earlier
Web Interface
IP / URL / FQDN
XenApp and
XenDesktop 7.5
StoreFront
IP / URL / FQDN
plus
sub-path
For example —
FQDN:
X75.CTX.poc
Sub-path:
/Citrix/StoreWeb (default)
Connection Address:
X75.CTX.poc/Citrix/StoreWeb
•
FQDN is the acronym of Fully Qualified Domain Name.
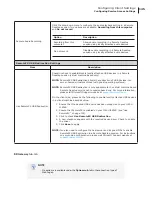
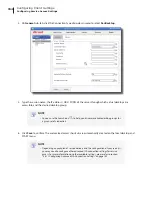
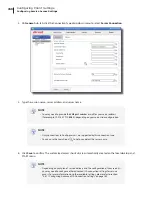
5. Click
Save
to add this ICA connection entry. The access shortcuts are automatically created on the local
desktop and START menu.
NOTE
•
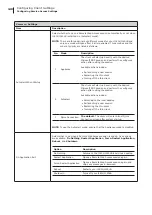
Depending on your plan of service delivery and the configuration of your server(s),
you may need to configure other advanced ICA connection settings for service
access. For more information on other available settings, please refer to section
“4.6.11 Configuring Advanced ICA Connection Settings” on page 169.
Summary of Contents for T180L
Page 2: ...UM t180L LB EN 16050510...
Page 8: ...vi...
Page 12: ......
Page 20: ......
Page 28: ......
Page 48: ......
Page 220: ...Configuring Client Settings 210...
Page 222: ......
Page 230: ...220...
Page 234: ...224...
Page 235: ...UM t180L LB EN 16050510...
Page 236: ......

