Setting Up Your t180L / t180LB
Positioning Your t180L / t180LB
11
2.1 Positioning Your t180L / t180LB
There are two ways to position your t180L:
•
Put it (with its stand) on a desk or a desired place
uprightly
.
•
Mount it on
the back of a monitor
using a VESA mount kit.
To mount your t180L on the back of a monitor, please follow the steps below:
Step 1:
Remove the Stand from Your t180L
Step 2:
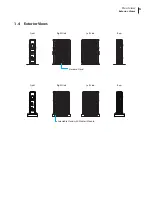
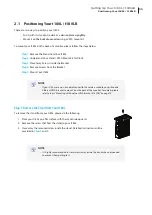
Understand Your Stand / VESA Mount Kit for t180L
Step 3:
Store Away Screws inside the Bracket
Step 4:
Remove Screws from the Bracket
Step 5:
Mount Your t180L
NOTE
•
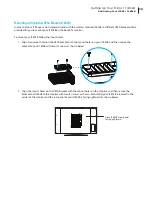
If your t180 uses a non-standard stand with the wireless module, you will need a
different VESA bracket to mount it on the back of the monitor. For details, please
refer to topic “Mounting with Another VESA Bracket (t180LB)” on page 15.
Step 1: Remove the Stand from Your t180L
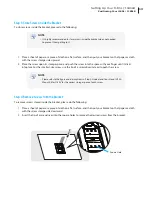
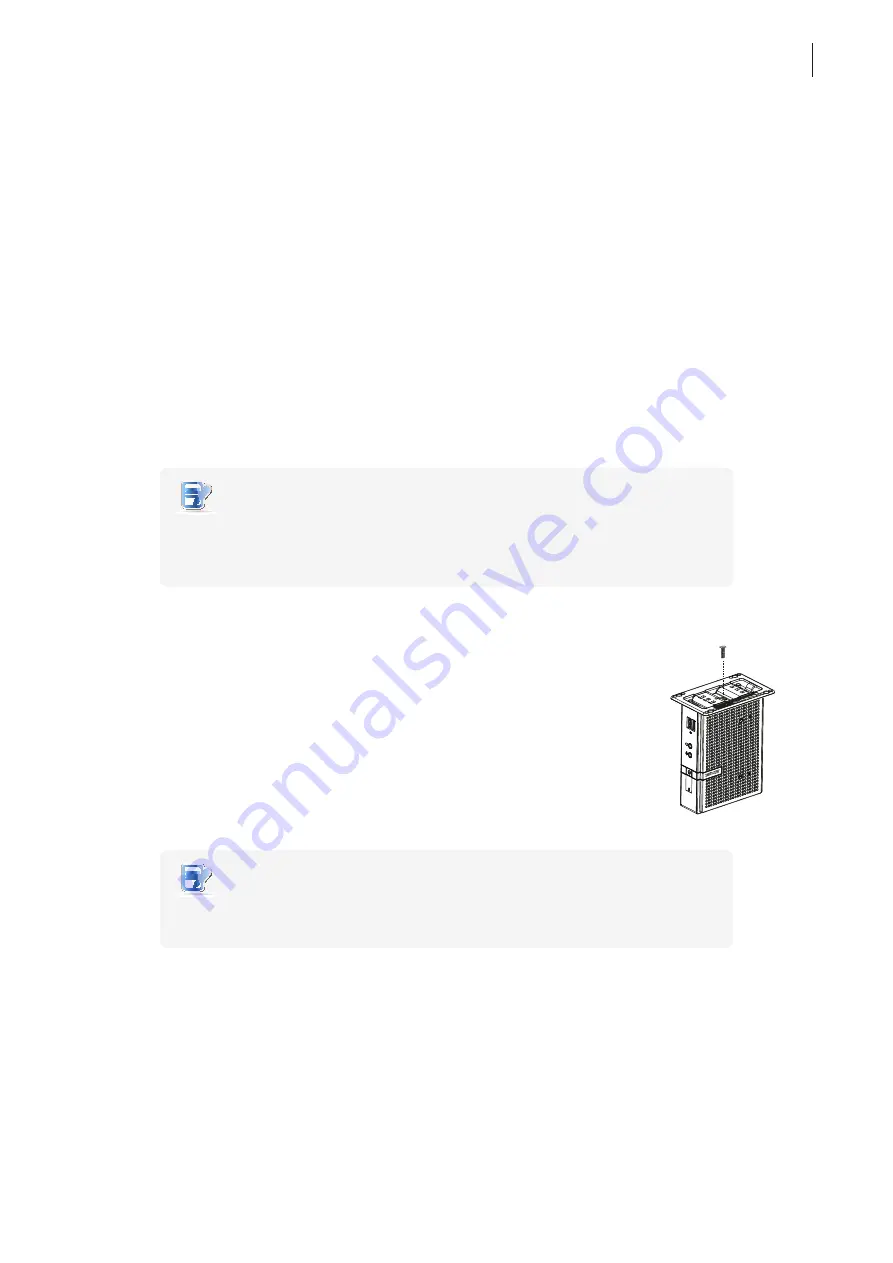
To remove the stand from your t180L, please do the following:
1. Place your t180L on a flat surface with the stand side upward.
2. Remove the screw that fixes the stand to your t180L.
3. Store away the removed screw inside the stand. Detailed instructions will be
provided in
Step 2
and
3
.
NOTE
•
It’s highly recommended to store screws away inside the stand when not needed
to prevent them getting lost.
台灣製造
/
台湾制造
/ Made in
Taiwan
JPA
A
Manufactu
rer
: Atrust Co
mputer Corp.
製造商
:
冠信電腦股份有
限公司
制造商
:
冠信电脑股份有
限公司
Model Nam
e
: Thin Clie
nt
產
品名稱
:
精簡
型電腦
产品名
称
:
精致型电脑
Mode
l
/
型號
/
型号
: Atrust t62
Input/
輸入
/
输入
: +5V 3A
Summary of Contents for T180L
Page 2: ...UM t180L LB EN 16050510...
Page 8: ...vi...
Page 12: ......
Page 20: ......
Page 28: ......
Page 48: ......
Page 220: ...Configuring Client Settings 210...
Page 222: ......
Page 230: ...220...
Page 234: ...224...
Page 235: ...UM t180L LB EN 16050510...
Page 236: ......

