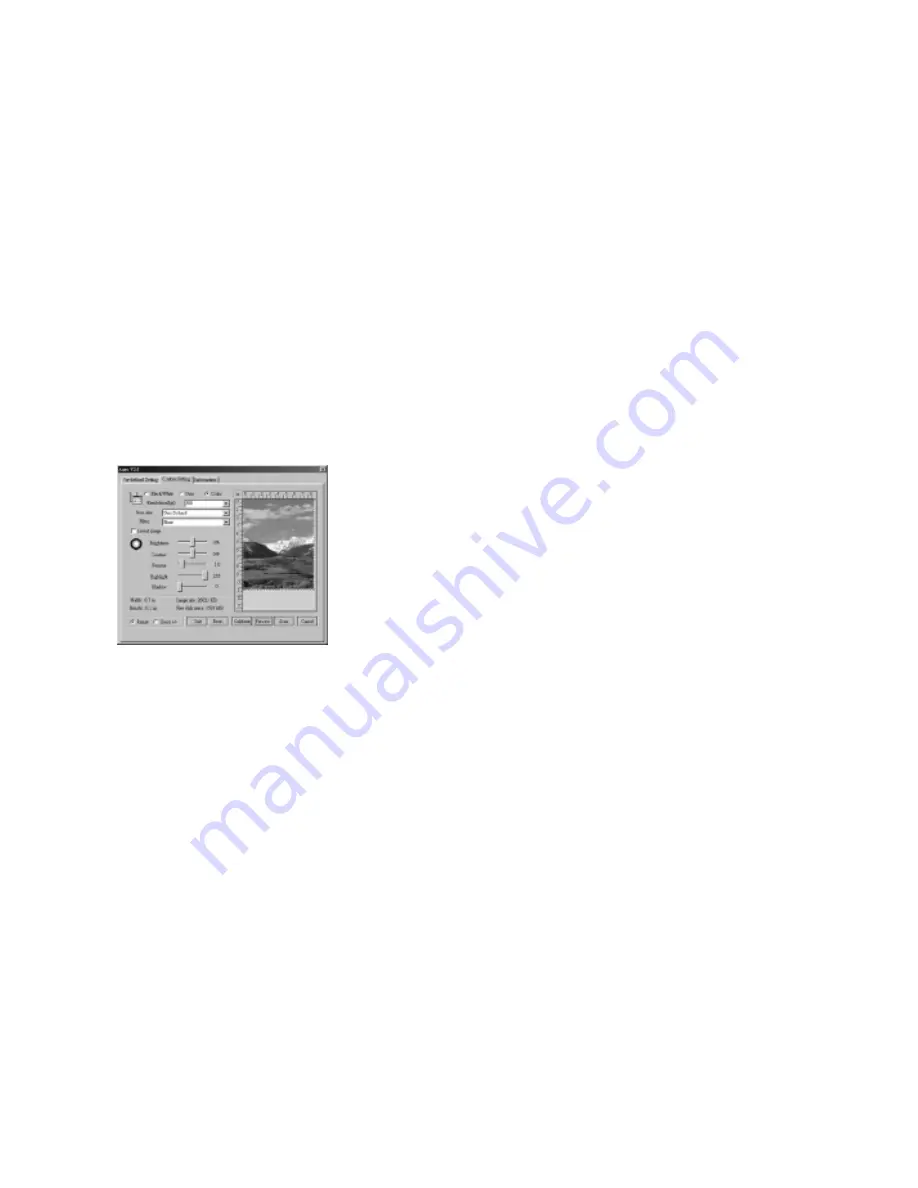
Custom Setting
To customize your own scan setting, Click on the [Custom Setting] tab to go
to the custom setting window.
Mode:
• Select [B/W] (black & white), [Gray] or [Color] mode to scan your
photos or documents.
Tool:
• Click on the [Invert] box to convert any pixel in the image to its
complement, i.e., black to white, red to cyan, yellow to blue, etc.
• Click on the [Zoom +/-] box to zoom in the image. Click on the [Range]
box to exit the zoom mode.
• Click on the [Unit] button to change the scan size from inches to
centimeters or vice versa.
• Click on the [Reset ] button to resume using default settings of the
image control setting.
• Click on the [Calibrate] button to calibrate the scanner.
• Click on the [Preview] button to scan a quick, low-resolution image
onto the preview window. Click on the zoom tool for an enlarged view
of the image. Click and drag the pointer to define your own scan size.
Your scan will be confined to the dotted selection frame. Change the
image control settings to see the changes of image quality and decide
which setting combination to scan your document.
• Click on the [Scan] button to start scanning.
• Click on the [Cancel] button to cancel the job.
Image Control Setting:
• Resolution: click on the pull down menu to choose the resolution in
which you are going to scan. It shows in dpi (dot per inch).
• Scan size: Click on the pull down menu to choose the pre-defined scan
area that you are going to scan.
• Filter: Click on the pull down menu to activate the "Descreen" filter to
remove the moiré pattern which is usually generated when scanning
printed materials. This function is not available for B/W mode.
7
8


