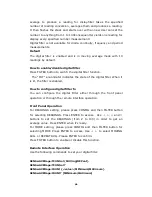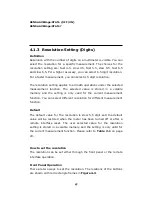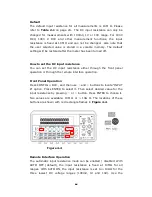
Defaults
The default settings for Auto Zero are enabled
.
The user selected
values for Auto Zero are stored in a volatile memory and the default
settings will be restored when the meter is power-off.
How to set Auto Zero
You can change the Auto Zero setting through the front panel or
through the remote interface operation.
Front Panel Operation
The following steps show how to set Auto Zero directly through the
front panel.
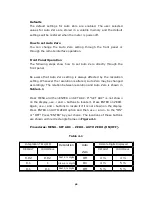
Be aware that Auto Zero setting is always affected by the resolution
setting. Whenever the resolution is altered, Auto Zero may be changed
accordingly. The relation between resolution and Auto Zero is shown in
Table 4-1
.
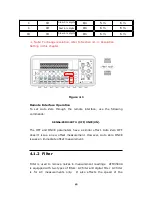
Press MENU and then ENTER on SET ADC. If “SET ADC” is not shown
on the display, use
◁
and
▷
buttons to locate it. Press ENTER on ZERO.
Again, use
◁
and
▷
buttons to locate it if it is not shown on the display.
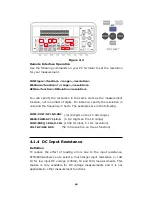
Press ENTER on AUTO ZERO option and then use
◁
and
▷
to the “ON”
or “OFF”. Press “ENTER” by your choice. The locations of these buttons
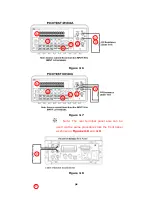
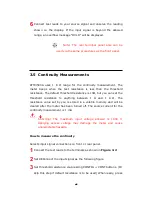
are shown with red rectangle frames in
Figure 4-1
.
Procedures: MENU
→
SET ADC
→
ZERO
→
AUTO ZERO {ON|OFF}
Table 4-1
Integration Time(PLC)
Resolution
Auto
Zero
Remote Digits Displayed
DEFAULT
COMPATIBLE
DEFAULT
COMPATIBLE
0.02
0.02
Fast 4 ½ digits
Off
4 ½
4 ½
0.1
1
Slow 4 ½ digits
On
4 ½
5 ½
0.1
0.1
Fast 5 ½ digits
Off
5 ½
5 ½
52

