DPX16: Instructions for Basic Operation and Installation
Page 23
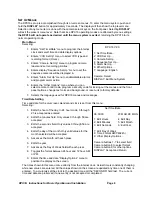
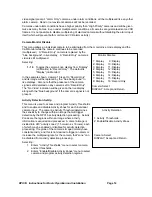
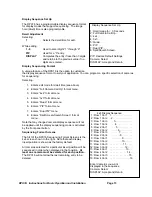
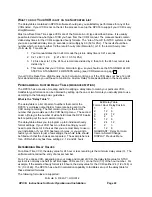
Formula B DELAY = HOUR/ 3
Formula C DELAY = HOUR
Custom, where the HOUR and DELAY can be independently entered.
Your time-lapse VCR manual should list delay times (in seconds) for each record hour setting. If you have
these values, use the following formula to determine the delay value:
DELAY VALUE = (Delay Time) x 60 for NTSC
DELAY VALUE = (Delay Time) x 50 for PAL
For example, if the 24 hour delay time is 0.22 seconds, DELAY = 0.22 x 60 = 13.2
The number will often be a fraction (such as 13.2), so “round” the number to the next nearest whole
integer (which would be 13). To set up the DPX16 delay entry for this case, you would enter “24” in the
“Hours” column and “13” in the “Delay” column.
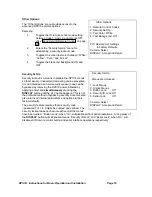
Edit Delay Table
The delay table is used to set the field delay value needed for any selected VCR so that the multiplexing
rate of the DPX16 matches the recording rate of the VCR. The custom delay table allows the DPX16
multiplexing rate to be programmed to match a VCR not in the standard table. For further information
regarding delay table values, refer to the previous section “Programming a Custom Delay Table”. The
default custom table is the same as “STANDARD 12 HR STEPS”. Note that when any delay table is
modified, it becomes the new custom delay table. This allows you to set up and test other VCR formats
without loosing a custom version. You can return to a previously customized table by making the selection
here, as long as the custom table has not been re-edited.
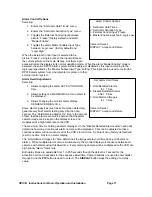
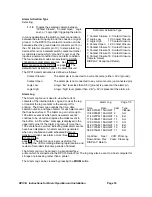
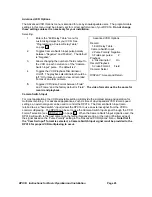
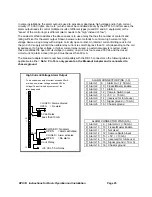
To edit the delay table and create a custom delay table, select the “VCR Set Up” menu (option 2) from the
“Main Menu”. Then select “Advanced VCR Options” (option 5). Select “Edit Delay Table” (option 1) and
the menu shown here will appear.
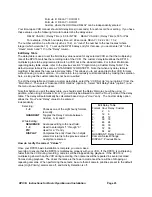
Note that before you edit the delay table, you should select the Delay Formula you will be using. In
addition, when using Formulas A, B, or C, you will only be allowed to enter the “Hour” portion of the delay
table. The delay will automatically be calculated based on your “Hour” entry. The Custom delay option
allows the “Hour” and “Delay” values to be entered
independently.
Selecting:
1 - 8
Chooses one of the eight hourly formats
to modify.
QUADRANT
Toggles the Delay Formula between
Custom, A, B, and C.
While Editing:
SEQUENCE
Advances editing to the next field.
1 - 9
Used to enter digits “1” through “9”.
PIP
Used for a “0” entry.
DISPLAY
Completes the entry if less than 3 digits
entered or returns to the previous value if
no digits are entered.
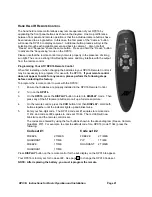
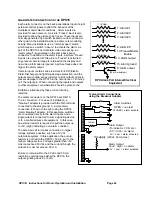
How do I verify the correct “Values”?
Once your DPX16 basic installation is complete, you can make a
recording to ensure that the DPX16 is multiplexing properly with your VCR. If the DPX16 is multiplexing
faster than the VCR during recording, cameras will be dropped during playback. If the DPX16 is
multiplexing slower than the VCR during recording, then cameras will be repeated in several recorded
frames during playback. The closer the rates are the fewer occurrences there will be of dropping or
repeating cameras. When performing these tests, be sure that all camera priorities are set to the default
value (High Priority), alarms are off, and Activity Detection is off.
Edit Delay Table
Format Hour Delay: Custom
1: 2 3
2: 12 6
3: 24 12
4: 36 18
5: 48 24
6: 60 30
7: 72 36
8: 84 42
QUADRANT: Delay Formula
Camera: Select/Change
DISPLAY: Previous Menu

