CHAPTER 9: MAINTENANCE TAB
9-6
DigiVu
®
Series Multichannel MPEG-2/H.264 Encoder/Multiplexer with QAM &/or IP Output - Installation & Operation Manual
2. Click
Export Settings
button.
3. A window opens allowing the selection of the dataset to be exported from this DigiVu. After selection click
Export
.
4. A new window will open with a web-link to download the settings file.
5. Click this hyper-link.
6. Another new window opens with a prompt to act on the file, (it’s format depends on the browser used and it’s version)
asking to open or save this file.
7. Save this file in a known location on the PC. You may accept the offered file name or change it in any way you want
to personalize it to identify the DigiVu it is saved from. Without renaming, every DigiVu export file will be named
identically.
8. This file can be used later to be uploaded into a DigiVu through the DVIS Update page, in same way as new firmware
would be loaded. The execution of such uploaded file happens in same way as when firmware files get uploaded, and
after that process is done the receiving DigiVu will have same parameter settings as originating DigiVu.
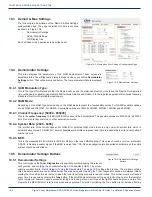
9.7 Network Settings
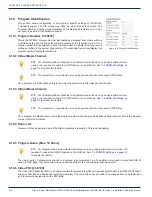
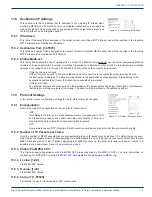
This section defines the setting for the Ethernet GUI port on the DigiVu 1RU Mini front
panel and the DigiVu 3RU back panel. The configuration of the Gigabit Ethernet card
is detailed in
NOTE:
Any change to network parameters triggers a reboot when
applying the changes with the ‘Set Network’ button.
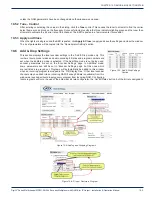
9.7.1 Static IP Address:
An IP (Internet Protocol) address is a numerical identification assigned to devices participating in a computer network utilizing
the Internet Protocol for communication between nodes. When a computer is configured with a Static IP address it always
uses the same IP address. When a computer is configured with Dynamic IP addressing it automatically procures an IP address
from a DHCP server when required. If the installation requires a static IP address that value would be entered here. This value
is greyed out when DHCP Client Mode is enabled. The greyed out address is not the address procured from the DHCP server.
The DHCP assigned address shows up if the button ‘Network Info.’, see Figure 9-13. The address range that is supported as
well as the default IP address settings are outlined in the following tables:
IP Address Range Supported
IP Class
Start Address
End Address
A
10.0.0.0
127.255.255.255
B
128.0.0.0
191.255.255.255
C
192.0.0.0
223.255.255.255
Factory Default IP Addresses
IP Address
192.168.0.23
Subnet Mask
255.255.255.0
Web Server Port
80
Gateway
192.168.0.1
DNS IP Address
Not Defined
9.7.2 Web Server Port:
This is the TCP/IP port that is used to remotely access the DigiVu. The default value is port 80 which is the well known port
for HTTP protocol web servers and is the default value used by a web browser if no port is specified. For additional security or
to allow the product to work properly behind some firewall configurations, the port used for access may need to be changed.
If the port is changed to 8000, for example, the product would then be accessed by a web browser with the following address
notation: http://xxx.xxx.xxx.xxx:8000 where the actual public IP address replaces the x’s
9.7.3 Subnet Mask:
A subnet mask must be set to define what part of the network address is applicable to the subnet that the DigiVu exists on.
This should be set according to the overall network design. The default value of 255.255.255.0 will work fine with the default
Figure 9-10:
Network Settings Section

