SIP Hardware Installation Manual
58
Document #: LTRT-94701
3000 Series Gateways & Media Servers
3.3.5
Connecting the RS-232 Port to a PC
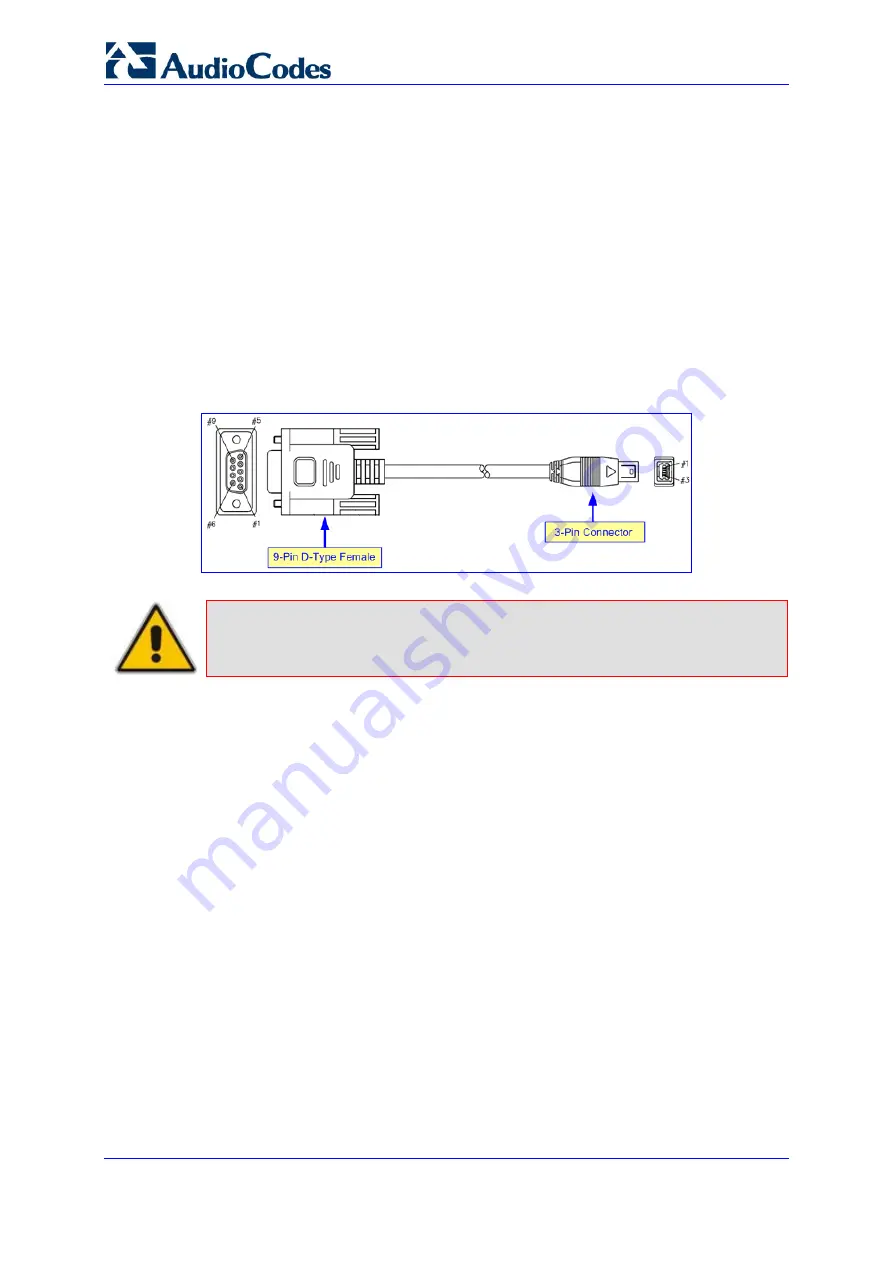
For RS-232 interface, a crossover RS-232 cable adapter (of approximately two meters) is
supplied. This cable adapter provides a 3-pin connector for connecting to the blade's RS-
232 port (located on the front panel) and a DB-9 connector (on the other end of the cable)
for the COM1 or COM2 RS-232 communication port on your PC.
¾
To connect the device's RS-232 port to your PC, take these 2
steps:
1.
Plug the RS-232 cable adapter's 3-pin connector into the RS-232 port (labeled
1010
),
located on the blade's front panel.
2.
Connect the DB-9 female connector (on the other end of the RS-232 cable adapter) to
your PC's COM1 or COM2 port.
Figure
3-15: RS-232 Cable Adapter (Supplied)
Note:
The RS-232 port is not intended for permanent connection.
3.3.6 Connecting
Power
The device is supplied with two PEM modules. Each PEM module is equipped with a DC
power inlet (Phoenix Contact type MSTB2.5/2-STF, 5.08 mm). The DC input is floating with
a maximum input current of 5.25 A.
Depending on customer requirements, the power cabling is available in one of the following
configurations:
DC terminal block with a screw connection type:
the device is shipped with this
terminal block pre-installed in the chassis (DC inlet). This terminal block accepts up to
10-AWG power feed cables.
DC terminal block with a crimp connection type:
the device is supplied with a 48-
VDC power feed cable crimped to this terminal block. The connector types that
constitute this connection is as follows:
•
Phoenix contact type crimp terminal female 14-16 AWG (P/N: STG-MTN 1,5-2,5)
•
Phoenix female terminal block shroud 7.62 mm 2 pole cable mounting (P/N:
PCC4/2-ST-7,62)


