background image


Important 


The  electrical  specifications  of  your  home  country  must  meet  the 
electrical specifications printed onto the back panel. 


The EPX is a Class I unit and must be earthed. Please ensure a stable 
earth  connection.  The  Phase  ('hot'  pin)  is  marked  '

PHASE

'  on  the 

back panel for the mains input. 


Never pull the mains plug while the EPX is switched on! Before you 
pull  the  mains  cord  off  the  socket,  power  down  the  unit  to  stand-by 
mode. 


Only in cases of extended absence – like vacations – or if massive trouble 
on the mains power is to be expected you should switch off the EPX from 
the mains using the mains switch. To disconnect the unit completely from 
mains pull the mains plug. 

4.3  Connecting the mother unit 

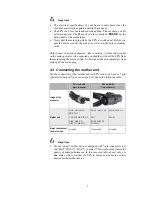
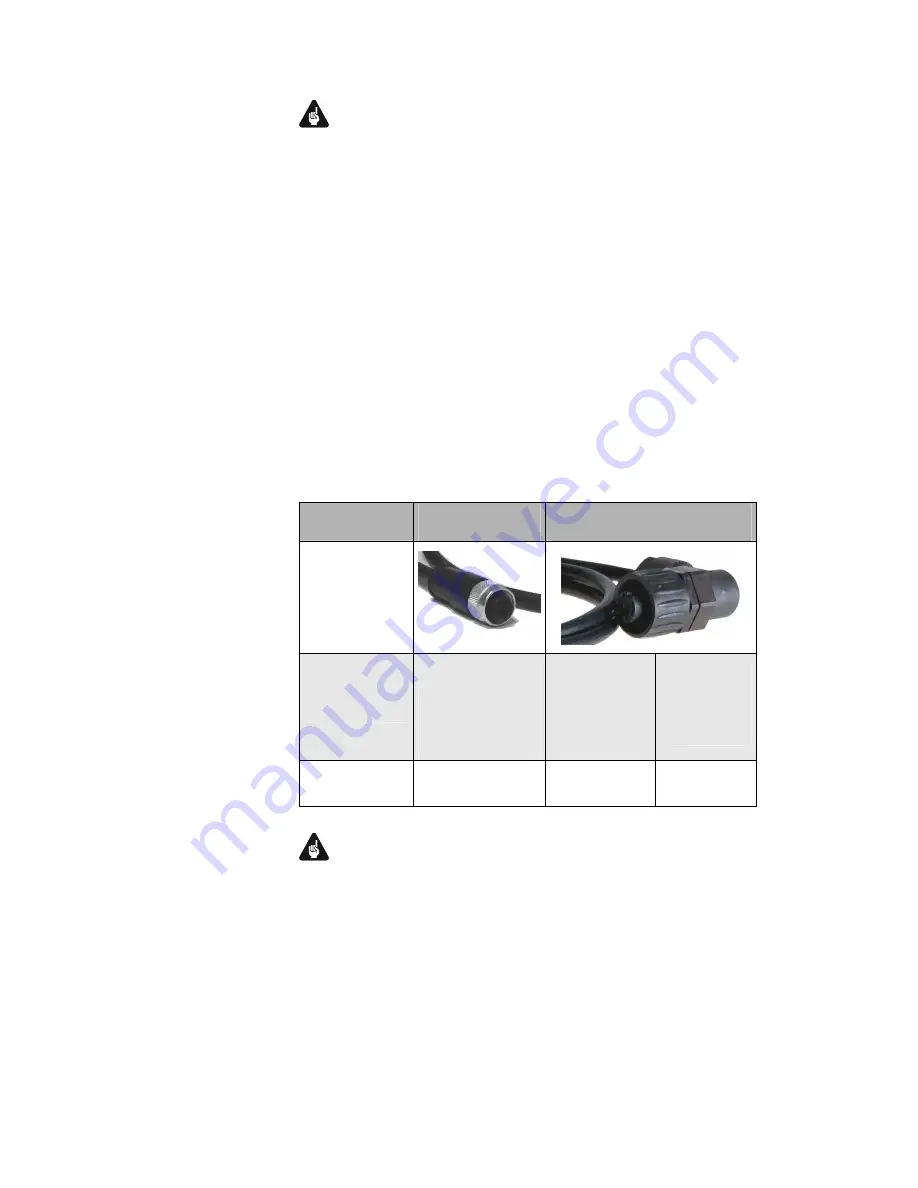
For  the  connection  of  the  mother  unit  an  EPX-cord  with  5-pin  or  7-pin 
connector is needed. An overview can be found in the following table. 


EPX -cord with 

5-pin connector


EPX -cord with 

7-pin connector


Image of the 
connector


Mother unit 

DNP, DNA, DNC, 
PRE 1 G3  

VIP, VIP G2, VIP G3 

ART, ART V2, 


ART G2, ART G3 

PRE 1, PRE 1 G2 
 

CAT 

PAM, PAM V2,  
PAM G2 

MAP, MAP V2 
 

MAP 1 


Mains connection of 
the mother unit 

Needed 

Not needed 

Needed 


Important


Do  not  connect  mother  devices equipped  with  7-pin  connectors  (ex-
cept MAP, MAP V2, MAP I) to mains! This would compromise the 
quality of audio performance. In this case (see table above) only use 

one 

mains  cord  to  connect  the  EPX  to  mains,  and  no  mains  cord  is 

needed for the mother device. 

Summary of Contents for EPX

Page 1: ...1 External Power Supply User s Manual ...

Page 2: ...panel 5 4 Installation and connection 6 4 1 Placement 6 4 2 Mains connection 6 4 3 Connecting the mother unit 7 5 Usage 8 5 1 Powering up 8 5 2 Switching on off 8 5 3 Mains phase detection 9 6 Protection system 9 7 Technical Information 10 7 1 Features 10 8 Security advice 11 9 Technical data 12 ...

Page 3: ...it In case of occurring ques tions please do not hesitate to contact your local Audionet dealer or our factory directly 1 1 Included Included you will find the following items The Enhanced Power Supply EPX The user s manual that you are currently reading One EPX connection cable One standard mains cord 1 2 Transport Important Please transport the EPX only in the included package Always use the pla...

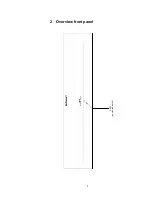
Page 4: ...4 2 Overview front panel LED power indicator ...

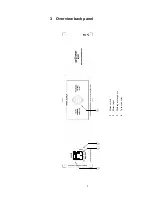
Page 5: ...5 3 Overview back panel 1 Mains switch 2 Mains input 3 Marking mains phase 4 7 pin connector 1 4 3 2 ...

Page 6: ...ke radiators Do not place the EPX on top of other units especially not on top of power amplifiers pre amplifiers or similar that produce heat Both units could suffer damage from thermal overload Do not use the unit in places where it is exposed to vibrations Do not place the unit close to loudspeakers or into the corner of a room where it is exposed to high levels of sonic energy which might reduc...

Page 7: ...ch To disconnect the unit completely from mains pull the mains plug 4 3 Connecting the mother unit For the connection of the mother unit an EPX cord with 5 pin or 7 pin connector is needed An overview can be found in the following table EPX cord with 5 pin connector EPX cord with 7 pin connector Image of the connector Mother unit DNP DNA DNC PRE 1 G3 VIP VIP G2 VIP G3 ART ART V2 ART G2 ART G3 PRE ...

Page 8: ...he mother unit to stand by mode and switch off the EPX on the back panel 5 2 Switching on off Please first turn on the mother device by its mains switch on the back panel Then operate the mains switch on the back panel of the EPX to set it to stand by mode The position of mains switch of mother devices that need no additional mains connection see section Connecting the mother unit on page 7 is neg...

Page 9: ...f your mains socket and mains cord You have to ensure a stable connection to earth for the mains phase detection of the EPX to work correctly 6 Protection system Your Audionet EPX is equipped with a powerful protection system that safeguards the mother device and itself In case of an error the EPX will show this error state by a special LED flash code If the EPX LED flashes like this x _ x _ x _ x...

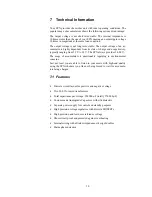
Page 10: ...des 24 00 V The usage of accumulators is questionable regarding to environmental concerns Last not least you are able to listen to your music with high end quality using the EPX whenever you like not being forced to wait for accumula tors being charged 7 1 Features Discrete circuit layout for positive and negative voltage Two 200 VA toroid transformers Total capacitance per voltage 288 000 μF tota...

Page 11: ...re and operate the unit in a dry room at a reasonable room tempera ture only Avoid moisture any liquids dirt or small objects getting into the unit Set up the unit in a sufficiently ventilated environment Do not cover the unit Do not open the unit Unauthorised opening will void warranty Use dry cloth for cleaning ...

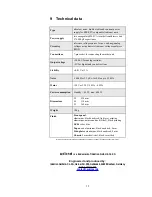
Page 12: ...dB or 1 5 µVeff for 0 Hz up to 22 kHz Mains 120 V or 230 V 50 Hz 60 Hz Power consumption Standby 0 5 W max 400 W Dimensions W 430 mm H 110 mm D 360 mm Weight 18 kg Finish Front panel aluminium black anodized light grey printing aluminium nature anodized silver black printing LED red or blue Top cover aluminium black anodized 4 mm Side plates aluminium black anodized 8 mm Chassis 2 mm sheet steel b...

Reviews: