RM500SL
®
User's Guide Version 3.4
June 2011
supported.
In Windows2003 Server you must add permission to allow Anonymous Logon to
print to the shared printer.
1. Press <Setup>, then highlight and <PICK> [Printing].
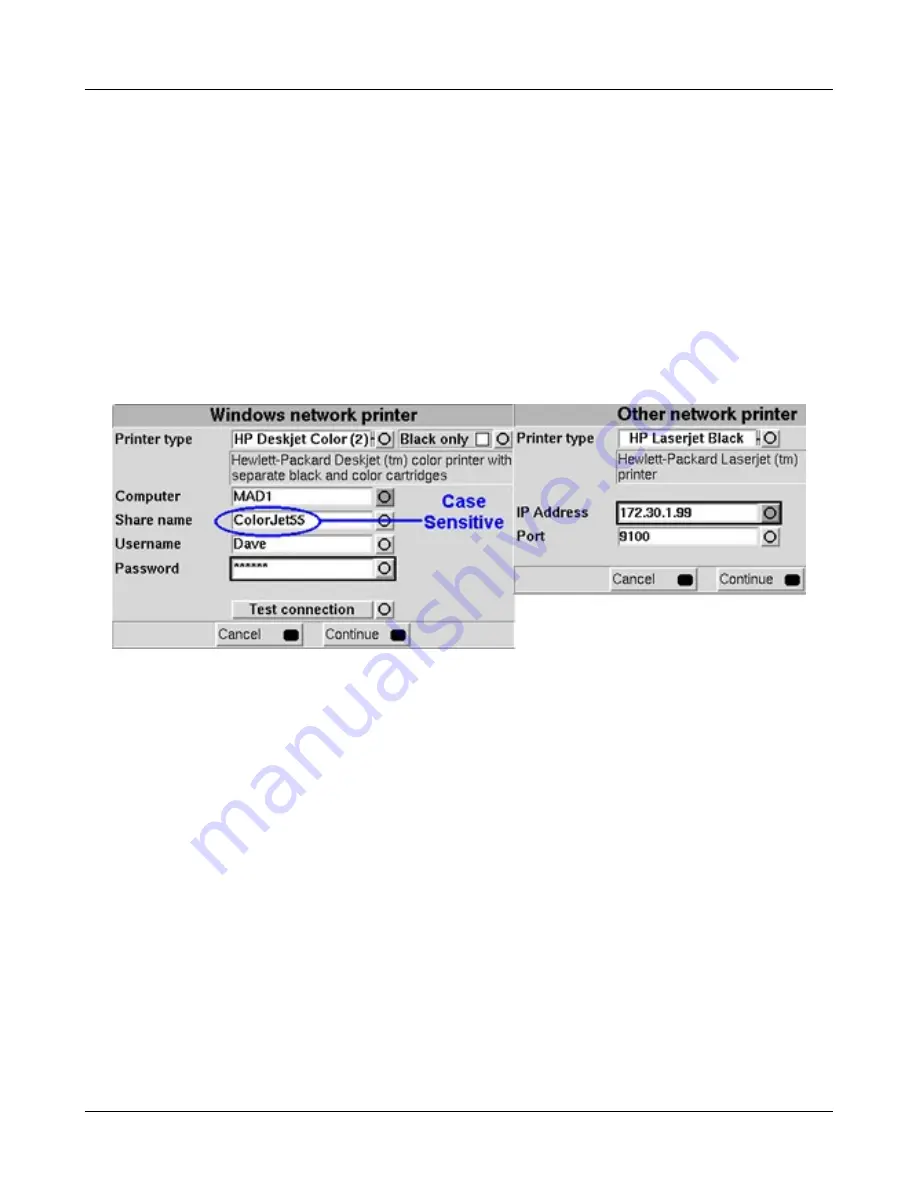
2. Highlight & <PICK> [Other network printer] or [Windows shared printer].
3. Highlight & <PICK> [Printer details] (automatic if printer type is set to None).
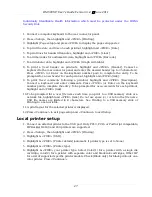
4. Highlight & <PICK> [Printer type], then select from Deskjet Color(1) (single ink
cartridge), Deskjet Color(2) (both color and black ink cartridges), Laserjet Black,
PostScript or Other HP (a list of supported specific printer models). Check [Black only]
for black printouts on a color printer.
5. Connect a computer keyboard to the rear connector panel and fill in the boxes with the
requested information. Highlight and <PICK> each box to open it for data entry and
again to close it (or use the Enter key on the keyboard’s numeric keypad). Obtain needed
information from your network administrator.
Printing to a network file
To save the screen image as a file on a network PC, you must first enable networking. See
Networking. You must also "share" a folder in the PC root directory (e.g. c:\MyData) and
ensure that Change permissions are enabled.
1. Press <Setup>, then highlight and <PICK> [Printing].
2. Highlight and <PICK> [Print to file].
3. Highlight and <PICK> the file type [Bitmap (bmp)] or [Internet GIF (gif)].
4. Highlight and <PICK> [Full screen], [Main window] (full screen without the message
line or [Active window] (foreground image only).
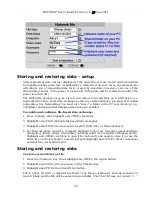
5. Connect a computer keyboard to the rear connector panel and fill in [Computer], [Share
name], [Username] and [Password] (not needed for Windows 95/98). Highlight and
<PICK> each box to open it for data entry and again to close it (or use the Enter key on
the keyboard’s numeric keypad).
6. Highlight and <PICK> [Test connection] and wait for a successful report.
7. To input a file name each time you <Print>, highlight and <PICK> [Page setup], then
highlight & <PICK> [Ask].
Do not use space $ \ / or tab in the file name.
This may
create electronic Protected Health Information (ePHI).
29
Summary of Contents for RM500SL
Page 1: ...RM500SL User s Guide Version 3 4 March 2010...
Page 9: ...RM500SL User s Guide Version 3 4 June 2011 EC Declaration of Conformity 9...
Page 10: ...RM500SL User s Guide Version 3 4 June 2011 10...
Page 37: ...RM500SL User s Guide Version 3 4 June 2011 37...
Page 43: ...RM500SL User s Guide Version 3 4 June 2011 telecoil test 43...
Page 51: ...RM500SL User s Guide Version 3 4 June 2011 51...
Page 57: ...RM500SL User s Guide Version 3 4 June 2011 57...
Page 64: ...RM500SL User s Guide Version 3 4 June 2011 64...
Page 78: ...RM500SL User s Guide Version 3 4 June 2011 Screen tour unaided screen 78...
Page 97: ...RM500SL User s Guide Version 3 4 June 2011 97...
Page 98: ...RM500SL User s Guide Version 3 4 June 2011 98...
Page 99: ...RM500SL User s Guide Version 3 4 June 2011 99...
Page 102: ...RM500SL User s Guide Version 3 4 June 2011 102...
Page 112: ...RM500SL User s Guide Version 3 4 June 2011 112...
Page 113: ...RM500SL User s Guide Version 3 4 June 2011 113...

