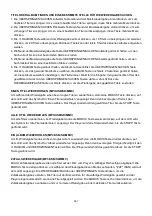
PLAY THE RADIO
NOTES:
HANDLE AND MAINTAIN A COMPACT DISC.
1. Slide the FUNCTION switch to the RADIO position, the POWER Indicator will light up.
2. Select the desired band with the BAND switch.
3. Tune to the desired station by rotating the TUNING control. (Move the control back and forth
until you get the strongest clearest sound).
4. The built-in AM (MW) antenna and external FM TELESCOPIC ANTENNA are directional.
When receiving an FM broadcast, fully extend the TELESCOPIC ANTENNA and
position for the best reception.
For AM (MW) broadcasts, rotate the whole set until the best reception is heard.
5. Adjust the volume level to a comfortable listening level.
6. To turn off the radio, slide the FUNCTION switch to the OFF position.
If a particular FM (STEREO) station is weak, or you hear too much background
noise, try moving the position of the band selector switch to the FM (MONO)
position. This can often result in a much clearer reception.
When the band selector switch is set to FM STEREO and a stereo broadcast is
being received, the FM STEREO indicator will be lit.
Follow the instructions below to handle and maintain your disc in order
that long time and trouble free performance can possibly be obtained:
Ensure not to caress the rain bow side of the disc; handle the
disc by the edge.
Long time exposure to sunshine, high temperatures and
humidity will damage the disc. Keep the storage area clean.
Avoid sticking labels on both sides of a disc. Writing with pointed
articles on the disc should be strictly avoided.
Clean the disc wiping the centre and then working out to the
edge with a dry & soft cloth or a disc brush. Avoid any cleansing
lotion or chemical eradicator.
Store them in their cases when they are not to be used.
=
=
=
=
=
=
=
=
=
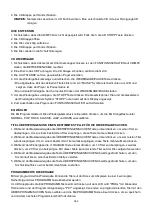
LOAD A DISC
NOTE:
NOTE:
REMOVE A DISC
1. Slide the FUNCTION switch to the CD/MP3 position.
If slide the FUNCTION switch to CD/MP3 position, please make sure other
external devices should be disconnected.
2. Open the CD door.
3. Insert a disc with the label side facing upward (if the disc is upside down, the display will
show "NO DISC").
4. Close the CD door by hand.
Never touch the laser lens inside the CD compartment. If it ever gets dirty, clean it
with a CD cleaner disc.
1. Make sure the CD/MP3 disc is not playing. If it is, press the CD STOP button.
2. Open the CD door.
3. Gently remove the disc.
4. Close the CD door by hand.
5. Replace the disc in its protective storage box.
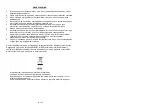
HANDLE DISC ONLY AS SHOWN
CLEAN FROM CENTER TO EDGE
DO NOT STORE NEAR HEAT
GB-4
GB-3
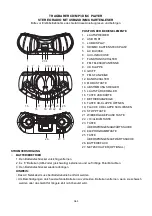
PORTABLE CD/MP3 DISC PLAYER
STEREO RADIO WITH USB&SD/MMC CARD READER
Please read and follow these instructions before using your unit.
1
2 3
1
4
6
7
8
9 10 11 12 13
15
16
17
18
20 22
23
24
25
14
19 21
26
27 5
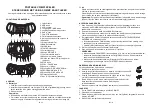
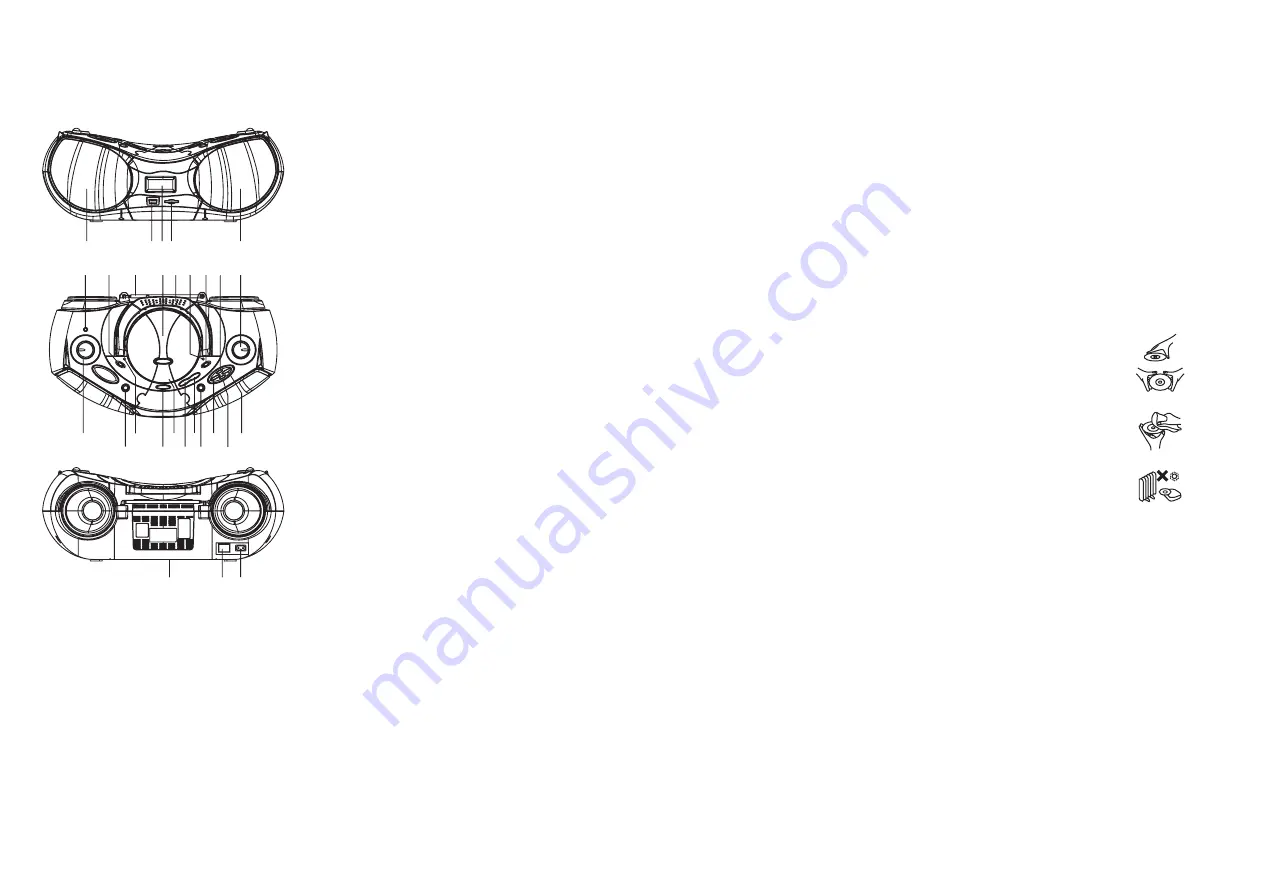
LOCATION OF CONTROLS
1. SPEAKERS
2. USB PORT
3. LCD DISPLAY
4. SD/MMC CARD SLOT
5. AC SOCKET
6. AUX IN JACK
7. FUNCTION SWITCH
8. FM TELESCOPIC ANTENNA
9. CD DOOR
10. HANDLE
11. FM ST. INDICATOR
12. BAND SWITCH
13. MODE BUTTON
14. TUNING CONTROL
15. VOLUME CONTROL
16. USB/CARD BUTTON
17. POWER INDICATOR
18. CD DOOR OPEN BUTTON
19. CD DOOR PUSH CLOSE AREA
20. STOP BUTTON
21. PLAY/PAUSE BUTTON
22. +10/ALBUM BUTTON
23. SKIP/SEARCH DOWN BUTTON
24. EQ/PROGRAM BUTTON
25. SKIP/SEARCH UP BUTTON
26. BATTERY COMPARTMENT
27. MAINS POWER SWITCH
(OPTIONAL)
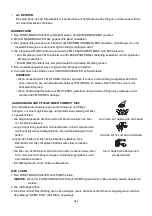
POWER SUPPLY
BATTERY OPERATION
NOTE:
AC OPERATION
q
q
1. Remove the battery compartment cover gently.
2. Install 8 x 'C' size batteries (UM-2 or equivalent) taking care that the correct polarities
are observed.
3. Replace the battery compartment cover.
The AC line cord must be removed for battery operation.
To avoid damage which may result from leaking batteries, remove the batteries
when they become weak or when the unit is not to be used for long period of time.
Insert one end of the AC power cord to the socket located at the rear of the player, and
the other end to the wall outlet.
=
=

