background image

10

E-MAIL: support@audiotricity-hifi.com

www.audiotricity-hifi.com

TELEPHONE (+351) 916 236 200

1600-238 LISBON, PORTUGAL

OWNER’S MANUAL

CHIMERA SIGNATURE


POWER


CONDITIONER

OWNER’S MANUAL

UNPACKING AND INSTALLATION

Initial inspection

Inspect the shipping container for damage. If any portion of the shipping container, packing 
material, power conditioner, or accessories are damaged or missing, notify Audiotricity or your 
dealer and the shipper (if a claim is to be made) immediately.

NOTE:

  Many  shippers  require  notification  and  inspection  within  24  hours  of  delivery  to 

determine the nature of damages incurred.

Your Chimera Signature has undergone extensive performance evaluations such as: listening 
tests, quality control inspections, and a minimum 72 hour burn-in period prior to shipment and 
should therefore be in perfect operating condition upon delivery. If the power conditioner does 
not operate correctly, please notify your Audiotricity or your dealer immediately.

We strongly suggest that you save all of the packing materials. If the power conditioner is returned 
to Audiotricity or your dealer, the original packing materials must be used for shipment to avoid 
possible damage. Neither Audiotricity nor the shipper can be held responsible for damages 
incurred during transit if the original factory packing is not used. All factory returns require that 
Audiotricity issue a Return Authorization (RA) number prior to shipment.

Package contents

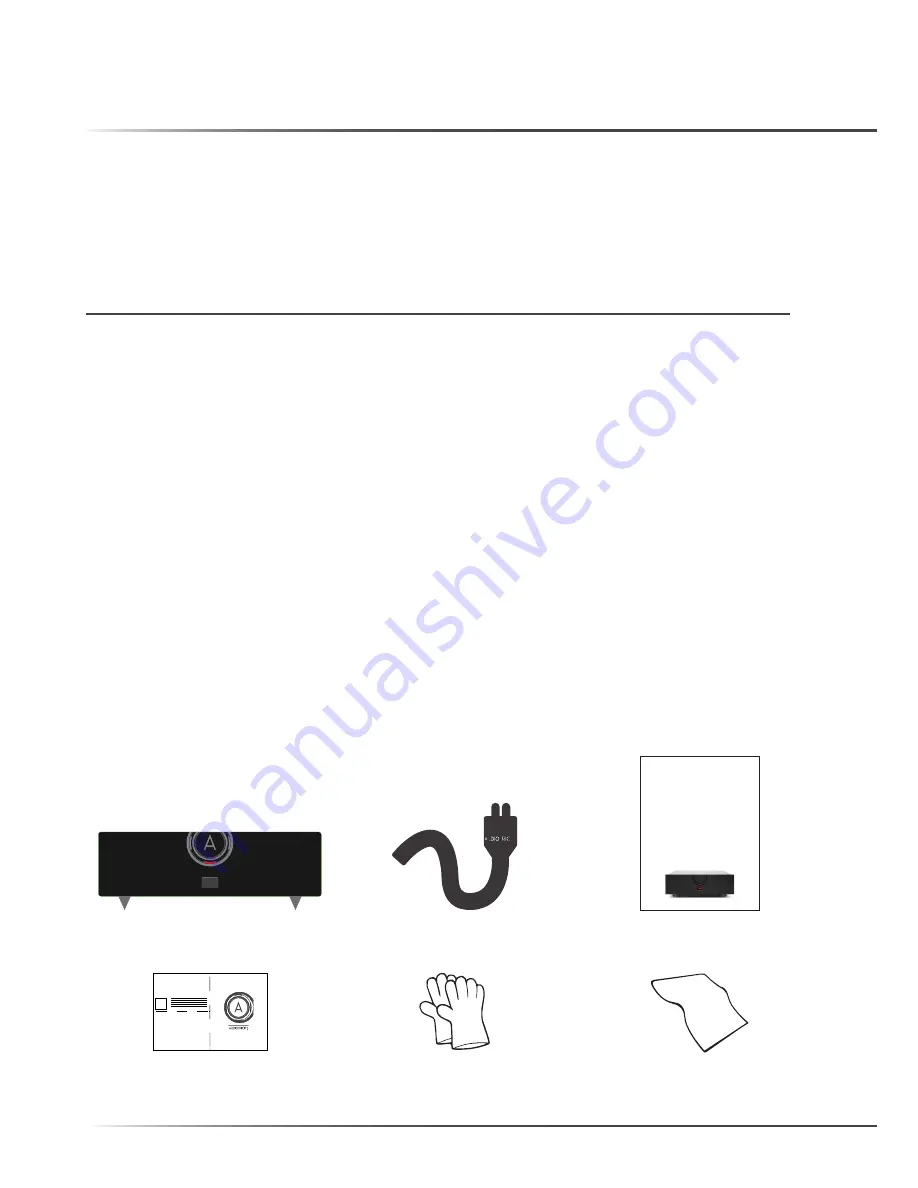
Ensure that all of the auxiliary components listed below are enclosed within the shipping carton 
and accessory box. Refer to the illustrations and verify that the proper components are included.

235

CHIMERA SIGNATURE

AC POWER CABLE

WARRANTY CARD

WARRANTY CARD

PROTECTION GLOVES

MICROFIBER CLOTH

CHIMERA 

SIGNATURE

EXCLUSIVE POWER


C O N D I T I O N E R

O W N E R ’ S   M A N U A L

Summary of Contents for CHIMERA

Page 1: ...CHIMERA SIGNATURE EXCLUSIVE POWER C O N D I T I O N E R O W N E R S M A N U A L...

Page 2: ......

Page 3: ...e spent designing testing and building was to prove the idea that A top performer should look and sound like one and that s the reason why I started In addition when I started I had the goal to build...

Page 4: ......

Page 5: ...NOTIFICATIONS PRODUCT FEATURES UNPACKING AND INSTALLATION FRONT PANEL REAR PANEL MAKING CONNECTIONS OPERATION POWER OFF MAINTENANCE PERFORMANCE OPTIMIZATION UPGRADE PROGRAM LIMITED WARRANTY SPECIFICAT...

Page 6: ......
Page 7: ...open the power conditioner chassis or remove any of its screws Please contact Audiotricity or your dealer if you have any problems WARNING Do not expose this power conditioner to moisture or excessiv...

Page 8: ...even with large amplifiers without any constraints IAGDB Surge protection optional This product uses our surge protection proprietary technology It protects your system against surges without any per...

Page 9: ...ase on the power conditioner performance and on all neighbor components Aluminum chassis The Aluminum chassis massively reduces the possible absorption of the noise fields placed near the power condit...

Page 10: ...in perfect operating condition upon delivery If the power conditioner does not operate correctly please notify your Audiotricity or your dealer immediately We strongly suggest that you save all of the...

Page 11: ...pport the Chimera Signature power conditioner must be capable of safely supporting the nearly 16kg weight of the power conditioner The power conditioner doesn t need too much ventilation it can be mou...

Page 12: ...UGAL OWNER S MANUAL CHIMERA SIGNATURE POWER CONDITIONER FRONT PANEL 235 1 2 1 Operation Indicator LED When the Chimera Signature is in operation this led is illuminated 2 Digital Voltmeter display Whe...

Page 13: ...ove performance of analog components Max 5A each 4 Digital outlets Specially designed to reduce high frequency noise that particularly affects the performance of digital components Max 5A each 5 Centr...

Page 14: ...component into central ground point 6 Plug the power cable to the wall outlet 7 Put the hydraulic breaker in the ON position Turn on the hydraulic breaker 6 If the breaker trips automatically right af...

Page 15: ...he NEUTRIK 32A powerCON input with the cable connected to the wall outlet 8 Turn each of the system components ON Turn each system component on starting with your sources first ending with amplifiers...

Page 16: ...y turn off the power conditioner if you won t need it for a long period of time or if it exists any operational problem The Chimera Signature power conditioner requires no adjustments during normal op...

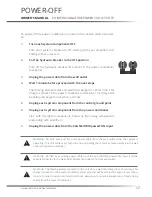
Page 17: ...e between turn off and unplug cables from the power conditioner To power off the power conditioner proceed in the inverse order of power on 1 Turn each system components OFF Turn each system component...

Page 18: ...rotected by a durable black anodized finish and can be cleaned with the provided cloth or other soft cotton cloth dampened with plain water Water should be applied directly to the cloth and not the ch...

Page 19: ...o reduce vibration from the underlying platform You may wish to experiment with other after market products AC wall outlets We strongly recommend that you replace the wall outlet at least with a high...

Page 20: ...chnology generations This way with a single upgrade you can give your audio system two level upgraded Here s how upgrade program works All Audiotricity power conditioners Mormo Pholus Chimera Chimera...

Page 21: ...iotricity dealer Damage resulting from service by other parties is not covered under this warranty 5 All products returned for service must be packaged in the original container and must include a pho...

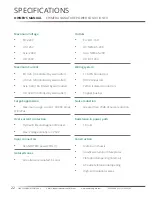
Page 22: ...ession Maximum surge current 30 000 Amps 8 20 s Over current protection Hydraulic Electromagnetic Breaker Max Voltage Isolation 3 750V Input connectors 32A NEUTRIK powerCON 1 Outlets EU EU1 16R US NEM...

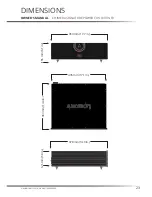
Page 23: ...23 AUDIOTRICITY 2014 ALL RIGHTS RESERVED OWNER S MANUAL CHIMERA SIGNATURE POWER CONDITIONER DIMENSIONS 235 450 mm 17 7 in 155 mm 6 1 in 363 mm 14 3 in 435 mm 17 1 in 126 mm 5 0 in 378 mm 14 9 in...

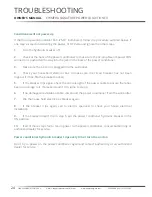
Page 24: ...ake sure the circuit breaker has not been tripped If it has flip the breaker back on 5 If the breaker trips again check the entire length of the power cable to ensure there has been no damage to it If...

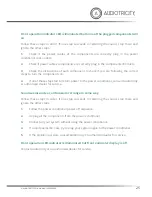
Page 25: ...indicator LED is illuminated but none of the plugged components turn on Follow these steps in order If one step succeeds in restoring the sound stop there and ignore the other steps 1 Check if the pow...

Reviews: