WARNING: TO PREVENT FIRE OR SHOCK HAZARD, DO NOT
EXPOSE THE UNIT TO RAIN OR MOISTURE.
TO AVOID ELECTRICAL SHOCK, DO NOT OPEN THE
CABINET.
REFER SERVICING TO QUALIFIED PERSONNEL ONLY.
POWER SOURCES
Using With Batteries
Insert two size AA batteries (LR6 or MN1500 alkaline) according to the “
” and “
” marks correctly
aligned.
Notes on batteries
• Insert batteries with correct polarity.
• Do not use old batteries together with new ones or different types of batteries together.
• If the electrolyte inside the battery should leak, wipe the contaminated parts in the battery
compartment with a cloth and replace the old batteries with new ones.
• When the unit is not to be used for a long period of time, remove the batteries.
• Do not mix old new batteries.
Do not mix ALKALINE, standard (CARBON-ZINC) or rechargeable (NICKEL-CADMIUM) batteries.
Notes on “
”
• During playback (batteries are in use), “
” is off.
• When the battery voltage level is low, “
” and “Low Battery” will display for approx. 10 ~15 minutes,
playback still continues in this period.
• Playback would automatically come to a stop when the batteries have no more power. Do not
repeat pressing “
” as the unit may operate incorrectly. Replace all the batteries with new ones.
• “
” would not be on if an AC adaptor is used.
Using on house current
If the unit you purchased does not include an AC power adaptor, please use a 6V 450mA AC power
adaptor. Plus pole “
” to the centre pin of the 5.5mm socket.
When the unit is not to be used, be sure to disconnect the AC power adaptor.
Recharging Nickel-Cadmium / Nickel-Metal Hydride batteries (size “AA”)
Your mains adaptor also works as a charger. This is only possible with Nickel-Cadmium / Nickel-Metal Hydride
batteries (size “AA”) .
•
Insert two size “AA” RECHARGEABLE BATTERIES according to the "
" and "
" indications in
the battery compartment.
•
Fully charge the RECHARGEABLE BATTERIES before using it for the first time and also if the batteries
have not been used for a long period.
•
Connect the AC power adaptor to CD player and then to the wall outlet.
•
The batteries will be fully charged approximately in 12 - 15 hours.
•
The ambient temperature for recharging should be between 5
o
C and 40
o
C.
•
The player can be operated while the batteries are being recharged.
•
Do not charge continuously for 24 hours or more. Doing so can cause the performance of the
rechargeable batteries to deteriorate.
•
More time may be required for charging in cold temperatures.
•
Replace the rechargeable batteries if the operating time decreases drastically even when they are
properly charged.
WARNING: DO NOT CHARGE NORMAL BATTERIES AS IT MAY CAUSE EXPLOSION. CHARGE ONLY
RECHARGEABLE NI-CAD AND NI-MH BATTERIES.
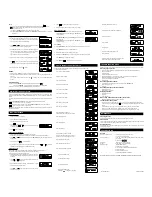
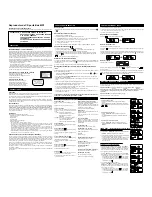
FUNCTION OF CONTROLS
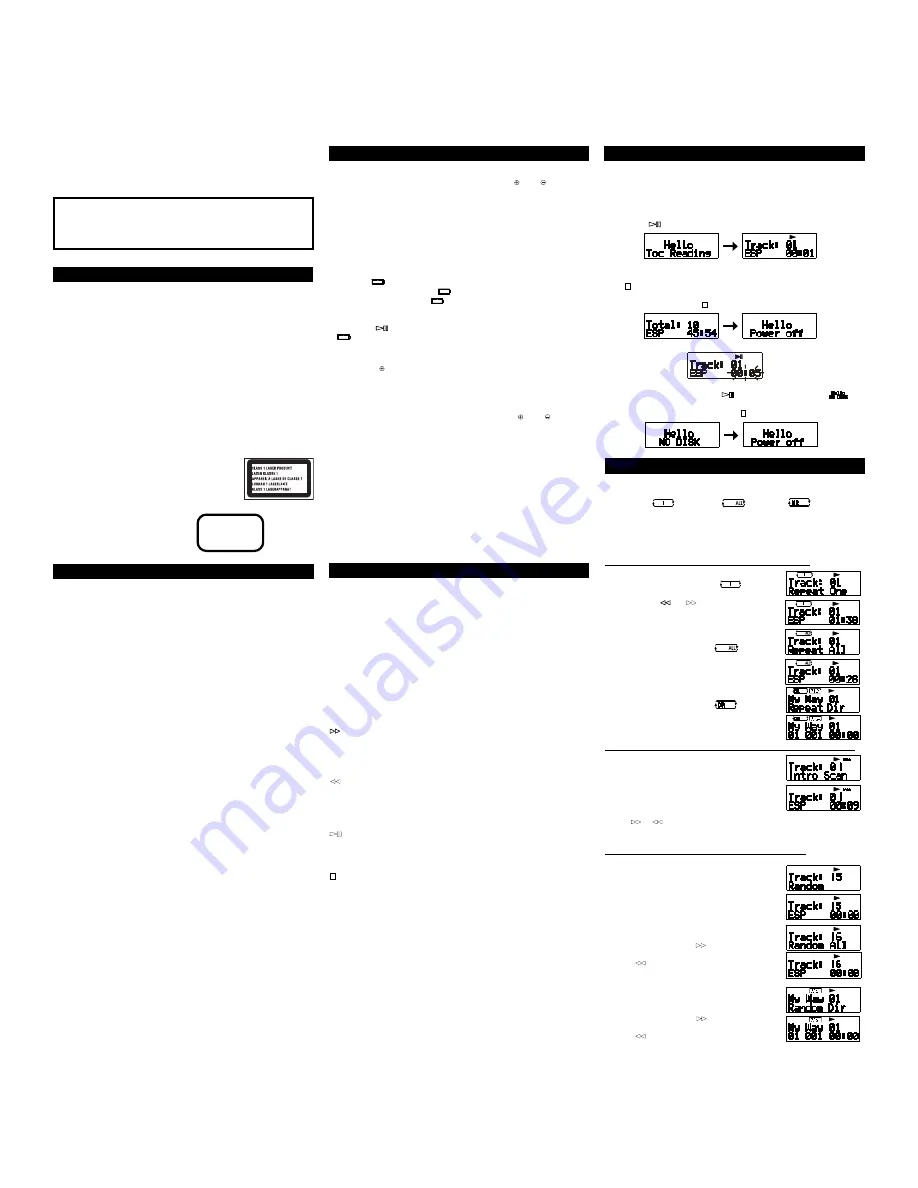
DISC PLAYING
1. Open the CD tray with the “OPEN” button.
2. Insert the CD with the printed side facing upwards and push the disc gently until it clicks so that the disc
fits into the pivot.
3. Press the CD door to close.
On display windows
When you press “
” , the display window shows:
During play
The track number of the current selection appears.
When "
" is pressed during play, total number of tracks on the disc will be displayed and the unit is still on.
The unit will be returned to full stop mode automatically after approximately 30 seconds if no button is pressed
again within the 30 seconds. Or press "
" for few minutes to stop the unit.
During pause
The elapsed time will flash.
When no disc is inserted into the player and when “
” is pressed, the display window shows "
".
The unit cannot be operated when the message is displayed. After approx. 30 seconds the unit will return to full
stop mode, or reset the player by pressing and holding “
” and then insert a disc to start playing.
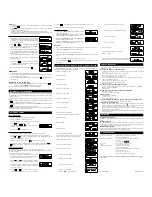
VARIOUS PLAYING MODES
During playback, every time the PLAY MODE key is pressed, the mode would be changed to the next one as
follows:
NORMAL play -> (
) Repeat One -> (
) Repeat All -> (
) Repeat Dir (for MP3
play mode only) ->(INTRO) Intro Scan -> Random -> Random All -> Random Dir (for MP3 play mode
only) -> Repeat Off
NORMAL play - Playing the whole disc
The CD is played once from beginning to end.
REPEAT PLAYBACK (Repeat One / Repeat All/Repeat Dir)
•
To repeat the same track
Press “ PLAY MODE ” during play until “
Repeat One”
appears in the display window. Select desired track to be played only
once by pressing “
” or “
” or by Multi-Jog Rotary.
•
To repeat the whole disc
Press “ PLAY MODE ” during play until “
Repeat All” ap-
pears in the display window.
•
To repeat the directory of MP3 disc
Press “ PLAY MODE ” during play until “
Repeat Dir” ap-
pears in the display window.
INTRO PLAY - Playing the First About Ten seconds of all the selections:
1. Press “ PLAY MODE ” button during play until “Intro Scan” appear in
the display windows.
2. It starts intro playing automatically (play each track for approx 10
second).
* Automatically “ Intro ” play always starts from the track that
immediately follows the current running one.
*
By
or
button or Multi-Jog Rotary, you may start intro
play from the track selected.
RANDOM PLAY - Playing the selections in random order
1. To random
Press “ PLAY MODE ” button during play until “ Random ” appears in
the display window. After all files are played , system will stop auto-
matically.
2. To random all
Press “ PLAY MODE ” during play until “ Random All ” appear in the
display window. All tracks will play without sequence repeated.
* To locate the next track: press “
” or use multi-rotary button by
clockwise. However, you cannot locate a previous track even if you
keep “
” pressed.
3. To random dir (only for MP3 )
Press “ PLAY MODE ” during play until “ Random Dir ” display in the
display window. It can play all tracks of a directory on MP3 disc with-
out sequence repeated.
* To locate the next track: press “
” or use multi-rotary button by
clockwise. However, you cannot locate a previous track even if you
keep “
” pressed.
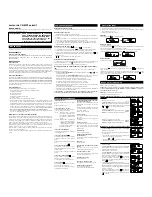
Portable MP3 CD Player
Operating Instructions
Before operating the unit, please read this manual thoroughly and retain it for future reference.
CAUTION
The use of optical instruments with this product will increase eye hazard.
INFORMATION (For the customers in USA)
This equipment has been tested and found to comply with the limits for a Class B digital device, pursuant to
Part 15 of the FCC Rules. These limits are designed to provide reasonable protection against harmful
interference in a residential installation. This equipment generates, uses and can radiate radio frequency
energy and, If not installed and used in accordance with the instructions, may cause harmful interference to
radio communications. However, there is no guarantee that interference will not occur in a particular installation.
If this equipment does cause harmful interference to radio or television reception, which can be determined by
turning the equipment off and on, the user is encouraged to try to correct the interference by one or more of
the following measures:
-
Reorient or relocate the receiving antenna.
-
Increase the separation between the equipment and receiver.
-
Connect the equipment into an outlet that is on a circuit different from the one the receiver is connected.
-
Consult the dealer or an experienced radio / TV technician for help.
You are cautioned that any changes or modifications not expressly approved in this manual could void your
authority to operate this equipment.
For the Customers in the United Kingdom and / European countries
This Compact Disc player is classified as a
CLASS 1 LASER product.
The CLASS LASER PRODUCT label is located
on the bottom exterior.
For the Customers in Canada
This apparatus complies with the Class B limits
for radio noise emissions set out in radio
interference regulations.
This product contains a low power laser device.
PRECAUTIONS
On safety
As the laser beam used in this compact disc player is harmful to the eyes, do not attempt to disassemble the
casing. Refer servicing to qualified personnel only.
Do not put any foreign objects in the safety slot inside the disc compartment. If you do so, the laser beam may
come out when the lid is opened.
Do not put any foreign objects in the DC in 6V (external power input) jack. Should any solid objects or liquid
fall into the unit, disconnect the power supply and have the unit checked by qualified personnel before oper-
ating it any further.
On operation
Since the CD system offers a wide dynamic range, the peaks of the high level inputs are recorded with high
fidelity, and the noise level is very low. Do not turn up the volume while listening to a part of the disc with
no audio signals or very low level inputs. If you do so, the speakers may be damaged when the peak level
of the sound is played. The lens on the disc table should be kept clean. Do not touch the lens or poke at it. If
you do so, the lens may be damaged and the unit will not operate properly.
On installation
Never install the unit where it would be subjected to:
-
heat sources such as radiators or airducts.
-
direct sunlight.
-
excessive dust.
-
moisture or rain.
-
mechanical vibration or shock.
-
uneven surface.
•
Do not place any heavy object on top of the unit.
•
When the unit is used with an AC power adaptor, do not wrap the unit in a cloth, blanket, etc. If you do
so, the temperature inside and outside the unit may rise considerably, resulting in malfunctioning of the
unit or serious accidents.
•
If the unit is brought directly from a cold to a warm location, or is placed in a very damp room, moisture
may condense on the lens inside the unit. Should this occur, the unit will not operate. In this case,
remove the disc and leave the unit in a warm place for several hours until the moisture evapo-
rates.
•
For the unit to operate at its best, it should not be subjected to temperatures below 5
o
C (41
o
F) or above 35
o
C (95
o
F).
Notes on headphones / earphone
Do not use headphones / earphone while driving, cycling, or operating any motorized vehicle, it may create a
traffic hazard and is illegal in some areas. It can also be potentially dangerous to play your headsets at high
volume while walking, especially at pedestrian crossings. You should exercise extreme caution or discontinue
use in potentially hazardous situations.
Avoid using headphones / earphone at high volume. Hearing experts advise against continuous, loud and
extended play. If you experience a ringing in your ears, reduce volume or discontinue use.
Keep the volume at a moderate level. This will allow you to hear outside sounds and to be considerate to the
people around you.
If you have any questions or problems concerning your unit, please consult your nearest dealer.
POWER SOURCES
CAUTION
INVISIBLE LASER RADIATION
WHEN OPEN AND INTER.
LOCKS DEFEATED.
AVOID EXPOSURE TO BEAM.
Pause mode of the first track
SMART FIND BUTTON
It activates smart find mode for MP3 disc.
It changes smart find mode.
PLAY MODE BUTTON
It changes playing mode as follows (In case of non
seven key option).
For CD : Repeat one -> Repeat all -> Intro scan
-> Random -> Random all -> Repeat off
For MP3: Repeat one -> Repeat all -> Repeat Dir
-> Intro Scan -> Random -> Random all
-> Random Dir -> Repeat off
PROGRAM BUTTON
It reserves songs to play in the program play mode.
SKIP/SEARCH BUTTON
It activates skip to next track (or directory) and ac-
tivates high-speed forward search.
It activates character input position to right direc-
tion.
SKIP/SEARCH BUTTON
It activates skip to previous track (or directory) and
activates high-speed reverse search.
It activates character input position to left direc-
tion.
PLAY/PAUSE BUTTON
It release stand by mode, playing starts from stop
mode.
It toggles playing and pause.
STOP BUTTON
It activates stop mode from playing mode, activates
standby mode.
It clears all program memory in the program
memory mode.
DIR/FILE and ANTI-SHOCK ON/OFF BUTTON
It changes from ESP/BYPASS mode to BYPASS/ESP
for CD disc (default ESP mode).
It changes skip condition by file level or directory level
for MP3 disc (default file skip mode).
It changes smart find mode.
ENTER BUTTON
It enters selected character for smart find mode.
It activates playing selected title or album.
MULTI-JOG ROTARY
Select character for smart find mode and select al-
bum or title for MP3 disc. And it is also used to search
track in high speed.
OPEN SWITCH
It activates open or close door.
LOCK / UNLOCK SWITCH
It activates lock or release all button from button lock.
DC IN 6V
Main socket.
BASS BOOST ON/OFF SWITCH
It activates dynamic bass boosting.
LINE OUT JACK
For connecting an external amplifier (stereo unit, ac-
tive loudspeakers etc.).
VOLUME CONTROL
Adjust the volume.
PHONES JACK
For connecting the headphones / earphone.
CHARGE SWITCH
(On the underside of the appliance.)
It can charging rechargeable batteries.
Summary of Contents for CE149MP
Page 3: ......


