NOTE:
•
In any play mode, it starts operation automatically after seconds without pressing
button.
•
button works during any play mode to hold or resume the current play mode.
•
To cancel current play mode
1. By Pressing “ PLAY MODE ” button during play to change play mode.
2. By Pressing PLAY MODE button during play until “Repeat Off” appears on the display. It goes back
to normal play.
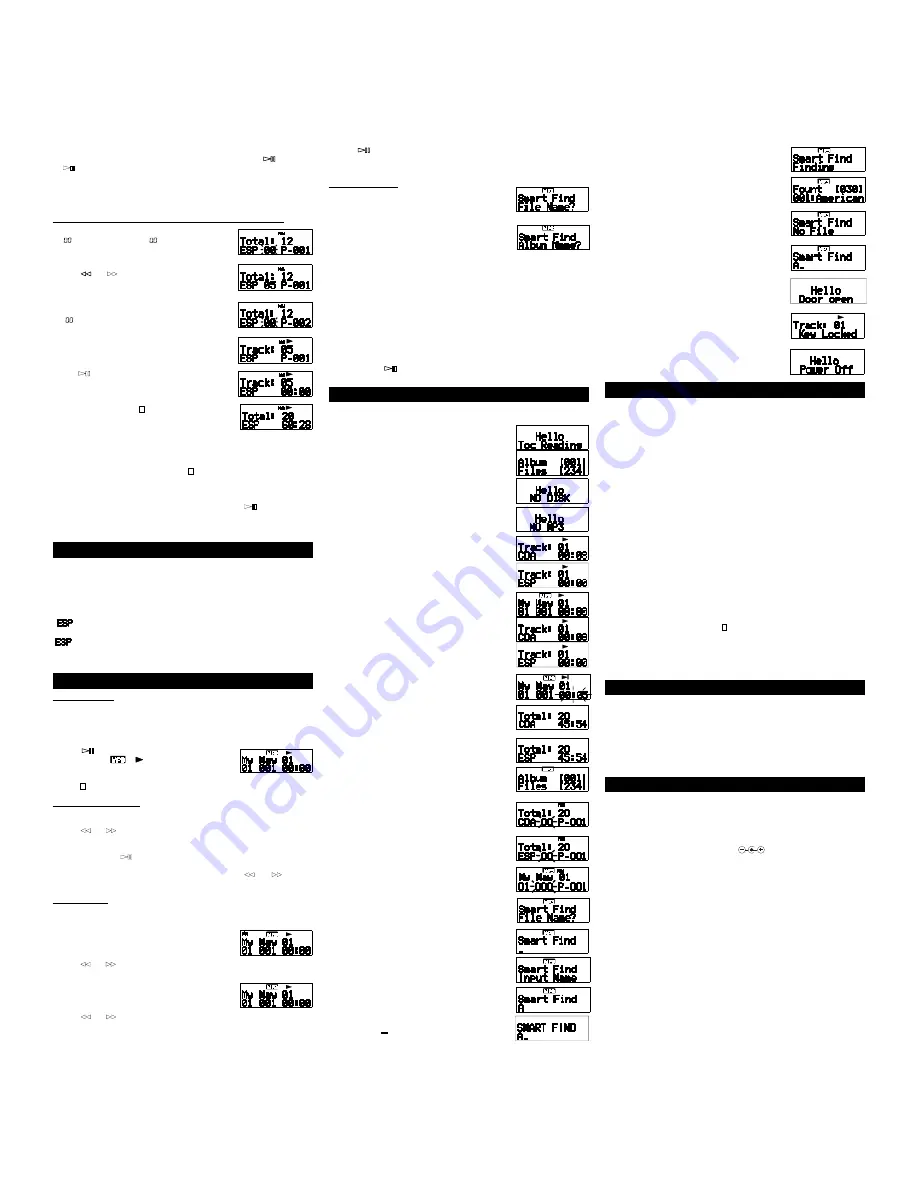
Program (PGM) Play - Playing the selections in the desired order
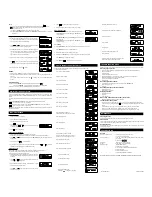
1. In stop mode press PROGRAM button until “PGM ” and a flashing “
” appear in the display window.
means track number indica-
tion, P-001 means program number indication.
2. Press “
” or “
” or Multi-Jog Rotary to select. For example
track number 5 as first selection, the display shows:
3. Press PROGRAM button , your first selection 5 will be registered. At
this moment, the trace number indication will return to a flashing
“
“ and the program number indication will skip to P-002.
Now it is ready to begin your second selection.
4. Repeat steps 2 and 3 until memory is full (possible up to 32 songs).
5. Press
button, your first selection 5 and its’ program registered
number P-001 appear on the display. It starts play from first selection
6. To stop the program , press the “
” button.
NOTES:
*
Repeat play and “ INTRO ” play can be performed during program play.
*
The program is also erased when the disc compartment is opened or the auto power off function turns the
power off.
*
If the program mode is exited by means of the “
” button, all the programs would still remain in
memory.
Program Edition
To check: Press “ PROGRAM ” lightly during programming before you press “
” .
Each time “ PROGRAM ” is pressed the track number appears in the display window.
To delete: When open the CD door including that program will be cancelled.
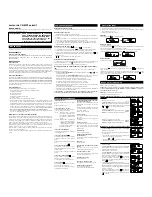
DIGITAL ANTI-SHOCK SYSTEM
With a conventional portable CD player, you might have experienced that the music stopped. e.g. When
jogging the ELECTRONIC SKIP PROTECTION protects against loss of sound caused by vibrations and
shocks.
Continuous playback is ensured. However, it does not protect the set against any damage caused by drop-
ping!
• Press the ANTI-SHOCK ON/OFF button during playback to activate the shock protection.
“
” is shown and the protection is activated.
• To deactivate the shock protection, press the ANTI-SHOCK ON/OFF button to OFF the ESP.
“
” goes off and the protection is deactivated.
NOTE: When playing MP3 tracks, the ESP feature is automatically activated, regardless of the ANTI-
SHOCK button setting.
MP3 - CD PLAYBACK
To play MP3-CDs
•
This set can read CD-DA, MP3 disc.
1. Place a MP3 CD-ROM with the label side up.
Push the CD centre lightly to set it in position.
2. Press “
” to start playback.
The display shows “
” and the current track number and
its’ elapsed playing time.
3. Press “
” button to stop playback.
Searching a track/album
•
You can search a track/album at playback mode or stop mode.
•
In stop mode. The display will show the total number of tracks, and the total number of albums.
1. Press “
” or “
” to search a track/album. By the MULTI-JOB rotary, user can search a track (file)
in high-speed.
2. If in stop mode, press “
“ to start playback.
3. If you wish to start playback from another track within the album, press “
” or “
” briefly and
repeatedly until the display shows the desired track number.
Searching a file
Basically this system support two kinds of file search mode to search a file at high-speed.
The one is to search a directory level; the other is to search a file number.
Following sequence is the method to search a file.
1. Press the DIR/FILE button to make directory search mode (default is
file search mode). Wording “DIR” appears in the left upper corner of
the display.
2. Press “
” or “
” or Multi-Jog Rotary to search a directory and
then directory number is displayed.
3. Press DIR/FILE button again, wording “DIR” disappears . It goes
back to the default (file search mode).
4. Press “
” or “
” or Multi-Jog Rotary to search a file and then
file number is displayed.
5. Press “
“ to play the file if system is in stop mode.
6. During searching the file, file number is shown on the display.
Smart find function
1. Press the SMART FIND button at stop mode. The display shows:
Press ENTER button to select. Display shows “Smart Find” “ _” and
is ready for editing.
2. Press SMART FINE button or press DIR/FILE button to changes to
album find mode.
Press ENTER button to select. Display shows “Smart Find” “ _” and
it is ready for editing.
For Editing
3. Rotate MULTI-JOG to select character. Character will be changed from 0~9 to A~Z.
4. Press ENTER button to input a selected characters.
5. Repeat steps 3 and 4. Up to 8 characters can be input.
6. If mistake, press SEARCH button to change input position. And repeat steps 3 and 4.
7. Press ENTER button to search file or album.
8. Press ENTER or “
“ button to play searched file or album.
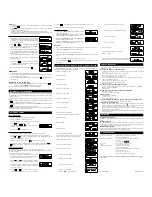
DISPLAY FORMAT FOR DOT MATRIX LCD
Following display format is based on two line X12 characters dot-matrix LCD display.
Some ICONs can be inserted
•
When power on and TOC reading
• When MP3 volume reading
•
When cannot detect disc
• When cannot detect MP3 file
•
When search a track (CD-DA)
• When search a track (ESP)
• When search a track (MP3)
•
When playing a track (CD-DA)
• When playing a track (ESP)
•
When pause (CD-DA, ESP, MP3)
Elapsed time will be blink 0.5 seconds interval
•
When stopped (CD-DA)
•
When stopped (ESP)
•
When stopped (MP3)
•
While programing memory (CD-DA)
“00” means waiting mode until a track is
specified, “P-001” means programmed order
•
While programing memory (ESP)
•
When programing memory (MP3)
•
When Smart Find function is enabled
By pressing ENTER button
By pressing ENTER button
By rotating MULTI-JOG
By pressing ENTER button
A flashing “
” will appear on the display.
By pressing ENTER button one more
When found 30 files with file name “AXXXXXX”
When file is not found
After 2 seconds
•
When door open
•
When a switch was setting LOCK mode
During 2 seconds
•
When STOP button was pressed to go stand by mode
System will be power off after a few seconds
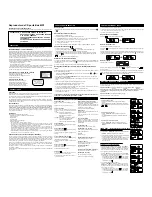
TROUBLE SHOOTING GUIDE
Should any problem persists after you have made the following checks, consult your nearest service facility.
Disc play does not start:
•
The disc is inserted upside down or incorrectly. Insert the disc correctly with the label surface up
•
Dusty or defective disc
•
Dirty or dusty lens
•
The disc compartment lid is not closed
•
Moisture condensation -> Leave the unit in a warm place until the moisture evaporates
•
The AC power adaptor is not plugged into the wall outlet
•
The unit is not placed on a level surface
•
Weak batteries
No sound from the headsets:
•
The headphones / earphone plug is not firmly connected to the “ PHONES ” jack
•
Adjust the “ VOL ” control
•
Dirty plug
No sound from the connected speakers:
•
Check the connections
•
The amplifier is not turned on
Skipping of sound:
•
Dirty or defective disc
•
Dirty lens.
•
Strong vibration
When using with batteries the battery life is short:
•
Manganese batteries are used. Use alkaline batteries
The unit cannot be operated:
•
No disc , dirty disc or scratched disc. The unit will return to full stop mode after approx. 30 seconds,
or reset the player by pressing and holding “
” down for about 2 seconds and then insert a disc to start
playing.
•
When recording on CD-R discs, use 74-minute (650M) discs. Do NOT use 80-minute (700M)
•
The CD-R or CD-RW discs should be “finalized” in computer by “single section format”
•
We continually strive to improve our products, specifications may change without prior notice.
MAINTENANCE
Cleaning the unit
Do not use volatile chemicals on this unit. Clean by lightly wiping with a soft cloth.
Cleaning CD
If the CD skips or will not play, the disc may need to be cleaned. Before playing, wipe the disc from the centre
out with a cleaning cloth. After playing, store the disc in its case.
Handling the disc
Only touch the CD on the edge to avoid finger prints on its surface. Do not stick paper or tape nor write
anything on the surface.
SPECIFICATIONS
General
Output (at 1KHz 0dB level)
Headphones / earphone (stereo mini jack)
15 mW + 15 mW at 16
Ω
to 32
Ω
Power requirements
2 size “ AA ” (LR6 or SUM-3) alkaline batteries, or DC IN 6V, 450mA
power adaptor
Polarity of plug
Dimensions
Approx. 129 x 30 x 142 mm (W/H/D)
Weight
Approx. 225g (not include batteries)
Operating voltage
AC100V 50/60Hz (Japan)
AC120V 60Hz (U.S.A, Canada)
AC220-240V 50Hz (Singapore, Malaysia & Thailand)
AC230V 50Hz (Chile)
AC230V-240V 50Hz (Europe)
AC240V 50Hz (Middle East & Australia)
We continually strive to improve our products, specifications may change without prior notice.
811-310091-010 Printed in China
Summary of Contents for CE149MP
Page 3: ......


