GX2400 English I/B ver. 09020A-1
7 09020A-1
OWNER’S MANUAL#
GX2400
VER. 09020A-1
PAGE:
7
U.S. English Version
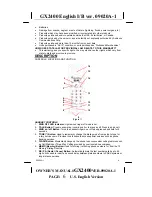
8.
MUTE Button:
Press to temporarily disable the handset microphone.
9.
Charge Contacts:
Used for charging the handset battery.
10.
Microphone:
Used for speaking with callers.
11.
VOL + (Volume Down) Button:
Allows you to decrease the handset volume.
12.
VOL - (Volume Up) Button:
Allows you to increase the handset volume.
13.
Headset Jack:
For headset connection with hands free conversation.
14.
SCAN Button:
Allows you to change channels if the current channel is noisy or has
interference from other sources.
15.
IN USE / BATT LOW LED Indicator:
Flashes when an incoming call is received and
during paging condition. During TALK mode, the IN USE LED indicator remains lit
steadily. The BATT LOW LED indicator blinks when the handset battery power is low. It
also flashes when MUTE button is pressed.
16.
Receiver:
Allows you to hear calls.
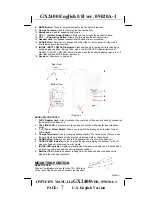
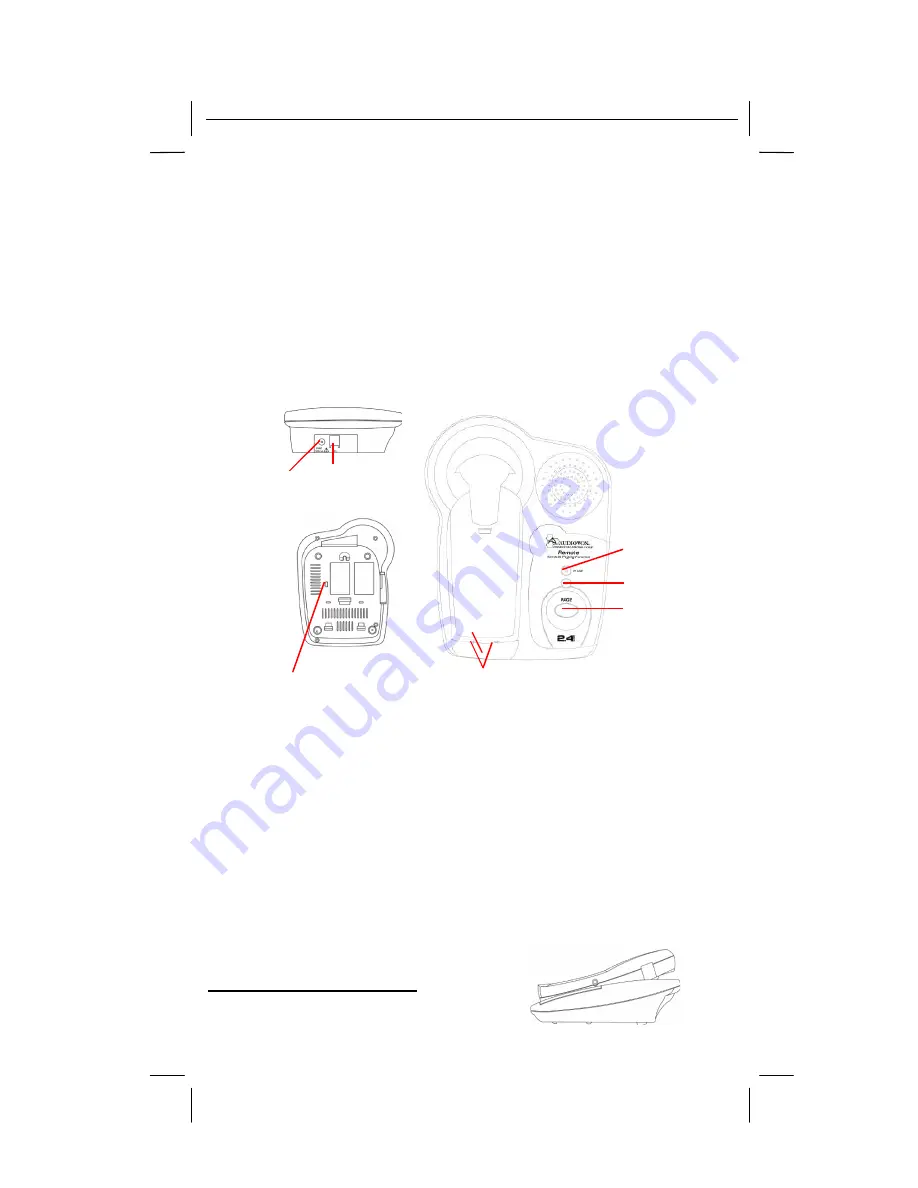
Rear View
8
1 2
Bottom View
7
6
5
3 4
(Figure 2)
BASE UNIT CONTROLS
1.
9VDC Adapter Jack:
A
jack located on the rear side of the base unit used for connecting
the adapter to the base unit.
2.
TEL LINE JACK:
Accepts line cord to make connection with modular type telephone
outlet.
3.
T / P (Tone / Pulse) Switch:
Allows you to switch the dialing mode to either Tone or
Pulse dialing.
4.
Charge Terminals:
Used for charging handset battery. We recommend that you clean
these contacts periodically with an alcohol-moistened cloth or cotton swab.
5.
PAGE Button:
Allows you to locate the handset when it is not on the base unit.
6.
CHARGE LED Indicator:
Turns on when the base is charging the handset. Turns off
when the handset is removed from its cradle
7.
IN USE LED Indicator:
Lights up steadily when the phone is being used. Flashes when
an incoming call is received and during paging condition.
8.
Retainer Tab:
Allows the handset to hang from the base unit when the base unit is
placed in the wall mount position.
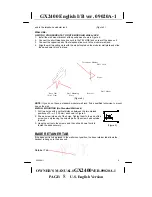
MOUNTING POSITION
DESKTOP USE:
Connect the telephone line cord to the TEL LINE jack
on the rear of the base unit and connect the opposite

