128-8797a
12 of 20
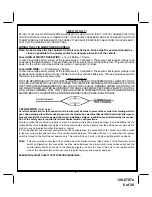
that the factory relays in your particular vehicle do not exceed the rated 300mA output of the units door lock/unlock
circuit. Plug the 2 pin connector of the door lock/unlock harness into the mating connector shell of the control module.
Determine the door lock circuit of the vehicle you are working on and wire according to the diagrams shown.
3 Wire Ground Switched Door Lock Circuits:
In this application, the Red wire of the 2 pin harness provides a ground pulse during the arming sequence, or pulsed
ground lock output. Connect the Red wire to the low current ground signal wire from the factory door lock switch to the
factory door lock relay.
The Green wire of the 2 pin harness provides a ground pulse during the disarming sequence, or pulsed ground
unlock output. Connect the Green wire to the low current ground signal wire from the factory door unlock switch to the
factory door unlock relay. See Below For Wiring Detail.
3 Wire Ground Switched Door Lock/Unlock Wiring Detail
3 Wire Positive Switched Door Locks:
In this application, the Red wire of the two pin harness provides a + 12 volt pulse during the disarming sequence, or
pulsed 12 volt unock output. Connect the Red wire to the low current 12 volt signal wire from the factory door unlock
switch to the factory door unlock relay.
The Green wire of the two pin harness provides a + 12 volt pulse during the arming sequence or pulsed 12 volt lock
output. Connect the Green wire to the low current 12 volt signal wire from the factory door lock switch to the factory door
lock relay. See Below For Wiring Detail.
3 Wire Positive Switched Door Lock/Unlock Wiring Detail
Resistive Circuits, As Well As 4 Wire Polarity Reversal and 5 Wire Alternating 12 Volt
Door Lock Control Circuits
These applications require the use of additional components which may include relays, fixed resistors, or for conve-
nience, the AS 9159a Door Lock Interface. Refer to the AUDIOVOX Door Lock Wiring Supplement and or the Audiovox
fax back service for information on your particular vehicle for properly connecting to these types of circuits.
2 Pin Blue Connector :
Programming Switch
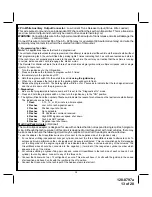
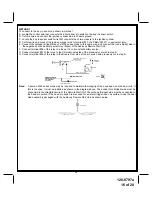
Route the gray and black wires in the 2 pin connector from the previously installed programming switch to the control
module and plug it into the mating blue connector on the side of the module.
12
Summary of Contents for Prestige Platinum APS-57C
Page 19: ...128 8797a 19 of 20 19...


