50
USER'S MANUAL
11.
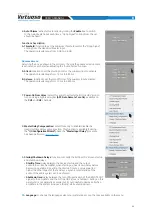
Restore Window' Size:
this functions performs the re-sizing of the
PC software window to the default dimension. Re-sizing can also be
performed through the PC keyboard, using
ALT+F10
.
12.
Help Online:
this function requires an internet connection. By activating this
function and moving the mouse pointer to the various sections of the graphic
interface for the PC software, the concerned area will be highlighted in red.
By clicking on the red area, a link will activate, opening up the default browser,
displaying the paragraph of the manual related to that specific area. The
manual will be displayed in the language selected in
CONFIG->Language
.
13.
Credits:
it shows the information about the bit One HD Virtuoso software in use.
14.
Exit:
to exit the PC Software.
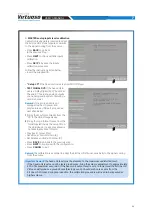
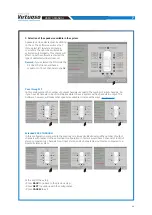
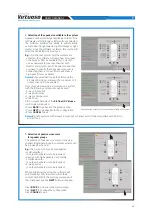
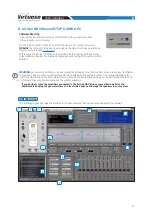
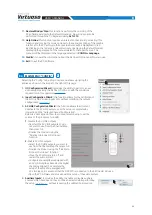
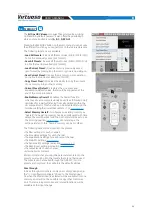
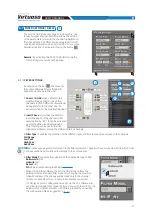
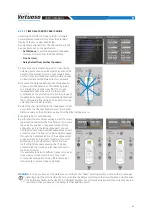
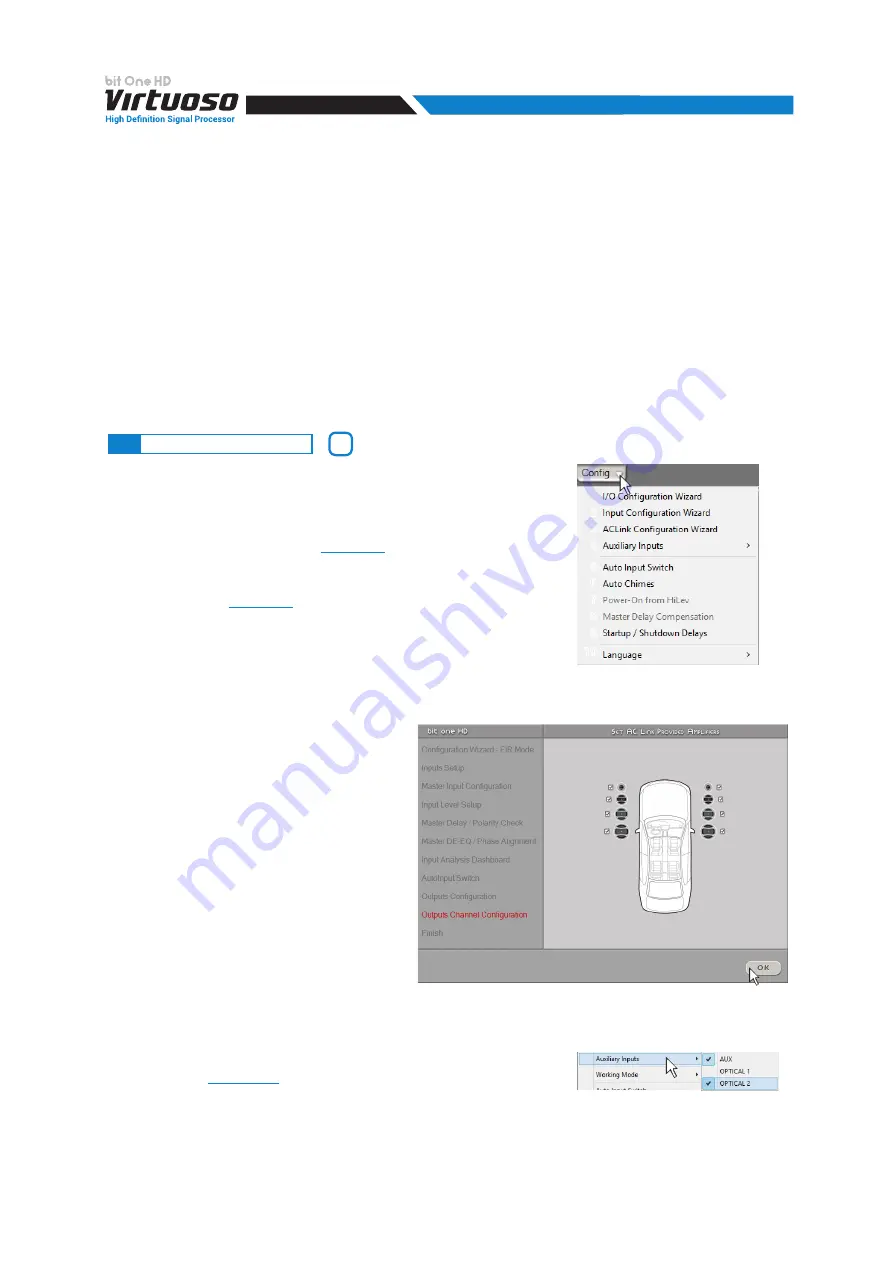
Selecting the “Config” tab a drop-down menu shows up listing the
entries as shown in the image to the right of this page:
1.
I/O Configuration Wizard:
it provides the ability to perform a new
auto-setup, providing the bit One HD Virtuoso with the conditions
required to run this operation
.
2.
Input Configuration Wizard:
this function allows for the calibration of
the bit One HD Virtuoso inputs only, without modifying the outputs
.
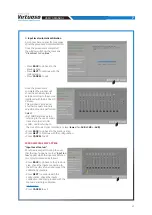
3.
AC LINK Configuration Wizard:
this function allows to activate or
deactivate the AC LINK outputs, once the setup is completed by
interacting on the "Outputs Channel Configuration".
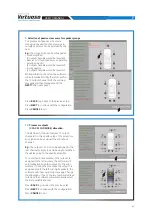
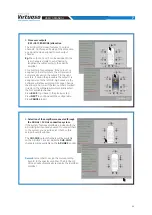
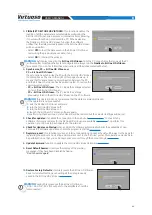
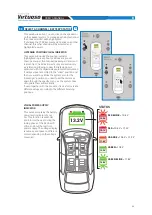
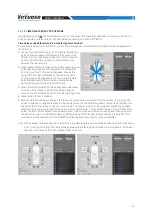
Below is a description of how to proceed, remembering to set the
volume of the processor to -60dB.
1.
Disable the AC LINK outputs.
-
Deselect the AC LINK outputs you do
not want to use from the Channel Map,
then press OK.
-
Finalize the Product using the
"Finalize to bit One HD Virtuoso"
function.
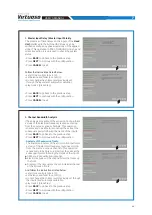
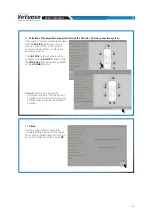
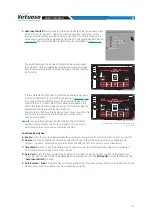
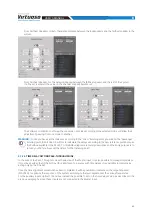
2.
Enable AC LINK outputs.
-
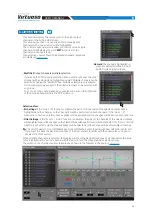
Select the AC LINK outputs you want to
use from the Channel Map, then press OK.
-
Finalize the Product using the "Finalize to
bit One HD Virtuoso" function.
-
Close the PC software, turn off and
restart the audio system.
-
Configure your amplifiers equipped with
an AC LINK interface, based on the digital
channels assigned. To complete the
setup of the amplifiers equipped with
AC LINK input, it is essential that the DRC MP is connected to the bit One HD Virtuoso.
-
Open the PC software and proceed with the setup of the audio system.
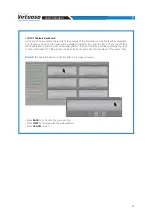
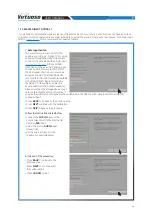
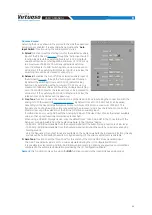
4.
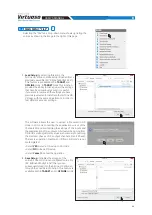
Auxiliary Inputs:
it provides the ability to enable or disable auxiliary
sources which have been or have not been selected while performing
the setup
, without repeating the calibration procedure.
2
1
7
2
8
3
9
10
4
5
6
8.3
MAIN MENU: “CONFIG”
8

