2
.
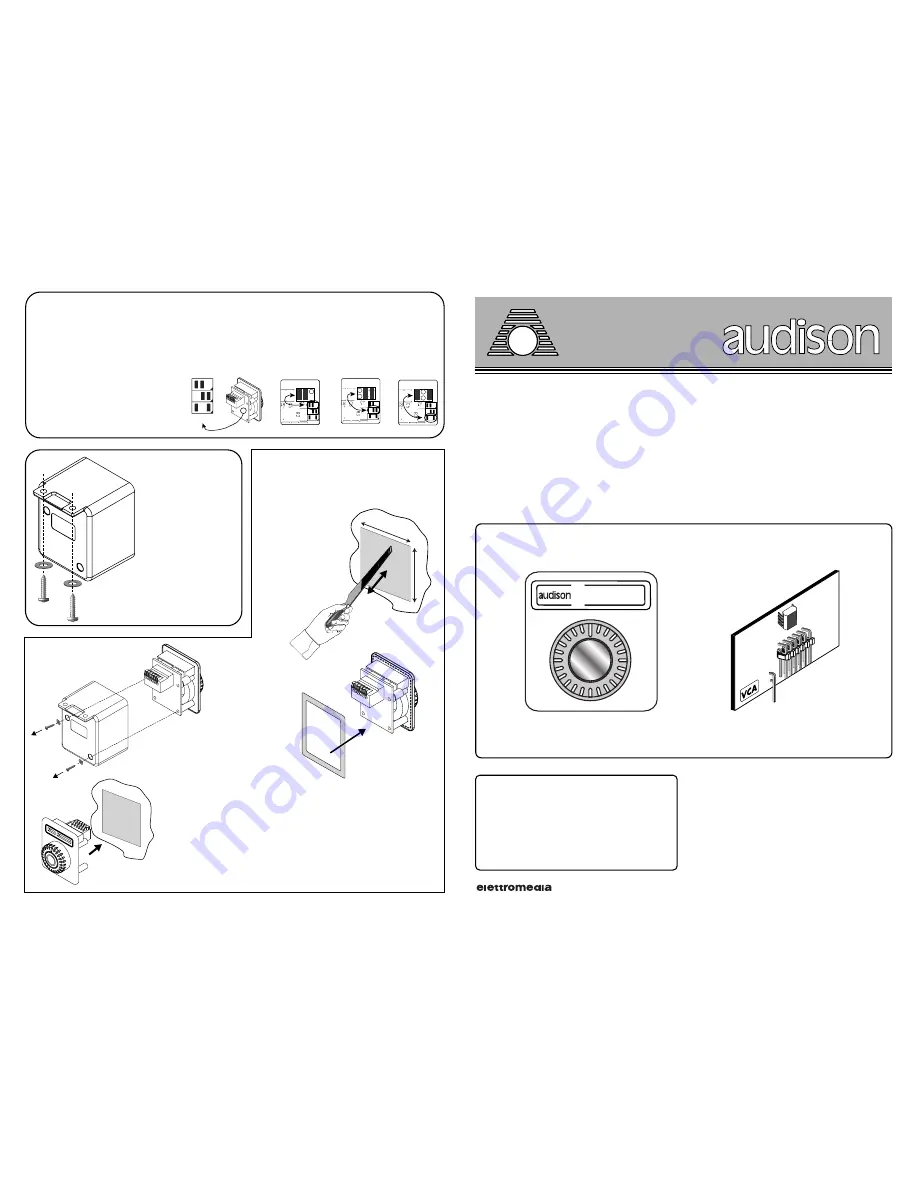
Remove
the screws
that fasten
VCRA chassis.
3
.
Clean the hole
edges and VCRA front
panel rear surface
where bi-adhesive
tape must be applied
with alcohol (bi-adhesive tape is given with
the device).
Warning:
Make sure alcohol does not
damage the possible plastic where you drilled
the hole using it on a hidden place first.
Remove one of the two protective films from
the bi-adhesive tape and apply it on VCRA
front panel back by pressing your fingers on it,
in order to insure perfect adherence.
PANEL MOUNTING
VCRA
control module can be also
installed on panel. Please follow the
instructions below in order to install it in
the right way:
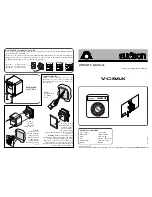
OWNER’S MANUAL
VCRAK
Subwoofer volume remote control kit
- 62018 Potenza Picena (MC) - Italy - Tel. +39 0733 870.870 - Fax +39 0733 870.880
www.audison.com
Cod.
10124140
SUBWOOFER
DASHBOARD
MOUNTING
TECHNICAL FEATURES
Power supply:
10 ÷ 15VDC
Bandwidth:
10 Hz ÷ 50 kHz
Gain:
-100 ÷ +6 dB
Fuse:
250 mA, delayed (T)
VCRA lighting:
green, red, orange
Muting:
internal
HOW TO SELECT LIGHTING COLOUR
You can choose three different colours, green, red and orange, in order to make VCRA lighting suitable to
the car dashboard it is installed on.
In order to set the colour you like, remove VCRA chassis through the two rear screws and connect the two
jumpers to the connector as indicated below. There is a short caption on the printed circuit board inside
VCRA that explains how to carry out this simple operation.
• Red (R):
position 1 and 2
• Orange (O): position 2 and 3
• Green (G):
position 1 and 3
R
O
G
1 2 3
Caption
R
O
G
1 2
Red light
R
O
G
3
2
Green light
R
O
G
1
3
Orange light
1
.
Make a
rectangular hole,
32 x 40mm
(w x h).
32
mm
40
mm
4
.
Make
connections and
after removing the
other protective
film from the bi-
adhesive tape
insert VCRA into
the hole by pressing
on it.


