12
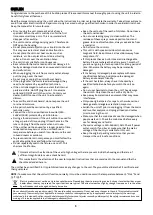
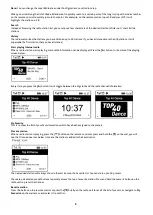
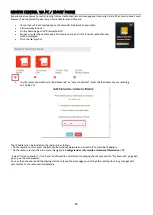
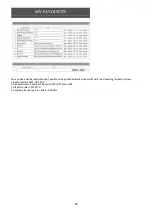
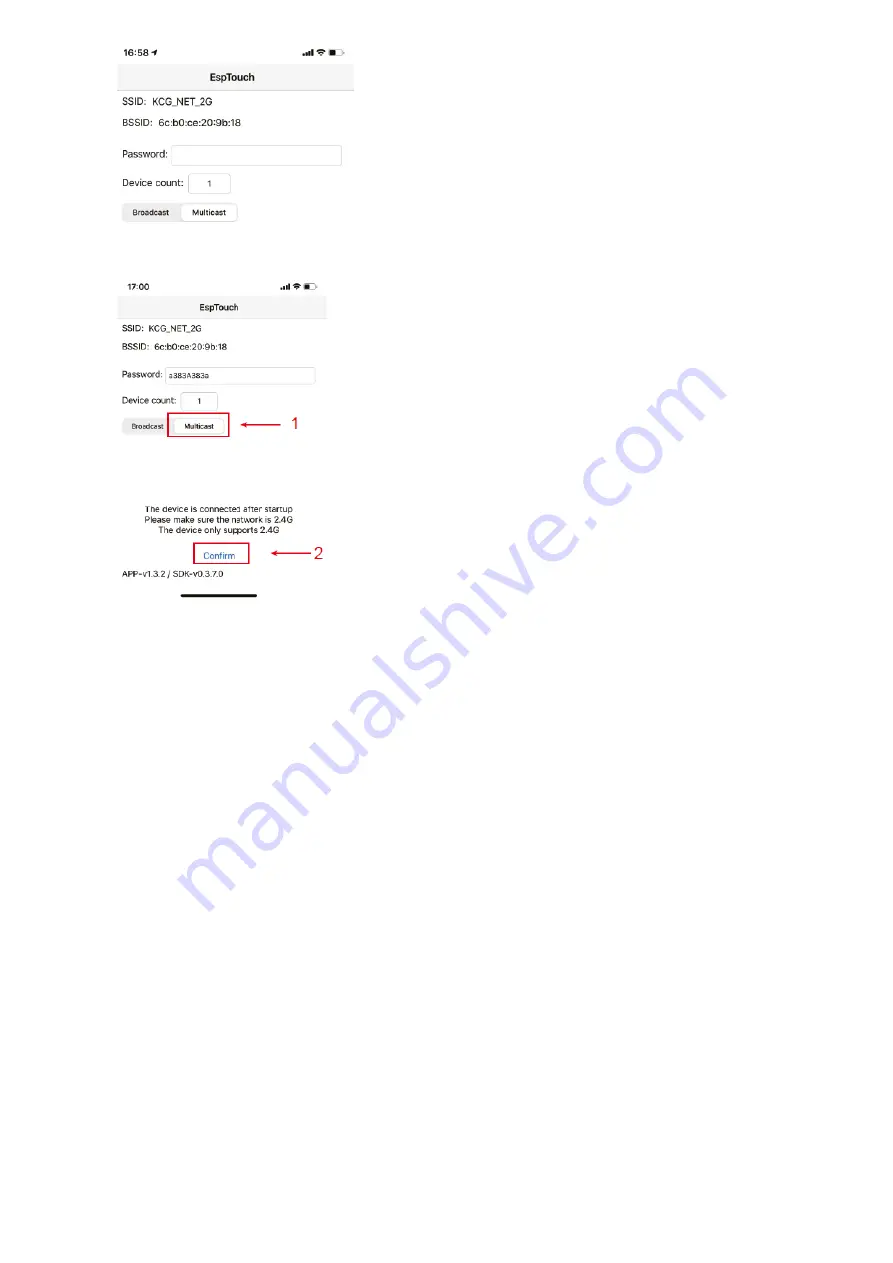
4. Enter the password of your network.
5. Tap “Multicast” followed by “Confirm” to complete.
6. The radio will start associating with the network and followed with the message
“Association complete” if
network is successfully connected.
Remove AP - If you have already added a router and want to remove it, choose this option.
Note:
Always bring the radio within 2 meters of the Wi-Fi router for setup.
•
AP
If you have added more than one routers on the radio and want to switch to another one, select this option to
change.
•
Signal
This is to show the strength of the Wi-Fi Signal of the Wi-Fi router as received by the radio. Usually signal levels
lower than -70dBm is at weaker level and if it affects the reception of your radio, you may need to optimize the
router location or check any problem of the router itself.
•
IP
The IP is set Dynamic by default. Select to change Fixed IP according to your network condition.
•
DNS
The DNS is set Dynamic by default. Select to change <Fixed> DNS according to your network condition.
Date and Time
The radio will set your local time automatically after the internet connection is completed.
If you want to do manual setting, change it by the following options:
•
Time zone
Auto-set Time Zone: This option is set by default.
Manual-set Time Zone: Choose this option if you want to set the time in another region.
Choose and highlight the region/city you prefer and press OK to confirm.
Coupled with NTP (use network time) and DST (Daylight time saving) will be adjusted automatically if you choose to
use network time (NTP).
•
Set Time Format
Choose either 12-hour or 24-hour notation you prefer.
•
Set Date Format
•
DST (Day Light Saving)
Enable on/off
•
NTP (Use network time)


