15
EN
GETTING STARTED
This unit uses the supplied AC Adapter.
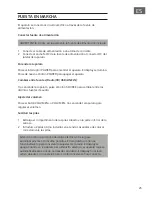
Connecting AC Adapter
NOTE: only use the supplied adapter
1 Plug the AC adapter into a normal power outlet.
2 Insert the DC plug of the AC adapter cord into the DC jack on the side of
the unit.
Switching On for the First Time
Press the Power button to turn on the unit. The LCD Display will light up.
To turn the unit off, press the Power button again.
Switching Between Sources (Radio/CD/USB/LINE IN)
After turning on the unit, press the SOURCE button to switch between
different audio sources.
Adjusting the Volume
After turning on the unit, press the VOLUME “+” or “-” button to adjust the
volume.
Installing Backup Batteries
1 Remove the Battery Door on the bottom of the unit.
2 Following the polarity diagram inside the battery compartment, insert 2
AA batteries (not included).
Note: In case of power failure, the clock automatically switches to battery
power. The internal clock continues to run and the radio presets are
preserved. The LCD display switches off. When power returns, the unit
switches back to AC power. Note: The display is not active during a power
failure, but the clock will keep the correct time.


