4
5
OPERATION:
OPERATION:
Continued on next page
ShredSafe™
technology is an added safety feature incorporated in this particular model. It is a
new technology where the shredder is able to detect forced entry and automatically cuts the power off,
preventing further shredding.
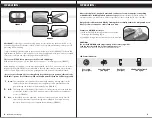
To begin shredding, locate the switch on the unit and select the “Auto” mode (FIGURE 2). The Green LED
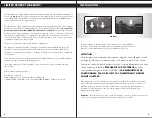
light indicates the shredder is “On” and ready to use. Press the designated “push open” area on the handle
of the cover to tilt open and expose the paper feed slot (FIGURE 3).
The cover will click into a preset position for safe shredding.*
With the feed slot now open, you can shred sheets of paper or 1 credit card per pass (FIGURE 3).
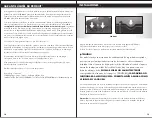
When shredding is completed, you can press the designated “push close” area on the cover to tilt shut
the paper feed slot (FIGURE 4). It is recommended to have the paper feed slot closed when shredder is
not in use. This will prevent any objects from getting into the feed slot and accidentally shredded.
*Be sure to not tilt open the cover completely beyond the preset position, otherwise the
ShredSafe™ power cut off feature will be activated and the shredder will be inoperable.
Auto:
This setting allows the shredder to be automatically started by inserting paper into the
shred opening. Always feed the paper in as straight as possible. When the paper has
passed through, the shredder will automatically stop. (FIGURE 2)
Off:
This setting turns off all features of the shredder. For safety reasons, we recommend that
you leave the shredder in the "Off" position whenever the shredder is unattended or
not in use. (FIGURE 2)
Rev:
In the unlikely event of a paper jam, the reverse setting can be used to help clear the
cutters of paper that has not passed through. Never attempt to clear a jam by using
the reverse function until you have emptied the wastebasket. (FIGURE 2)
I
R
O
Never shred plastic, any hard materials, continuous forms, newsprint, or anything
with adhesives including labels and envelopes.
While this shredder will shred staples, it is
recommended that you remove them whenever possible in order to extend the life of your shredder.
Only shred credit cards and CDs by feeding them vertically within the designated area.
Never feed more than one credit card at a time.
FIGURE 3
FIGURE 4
FIGURE 2
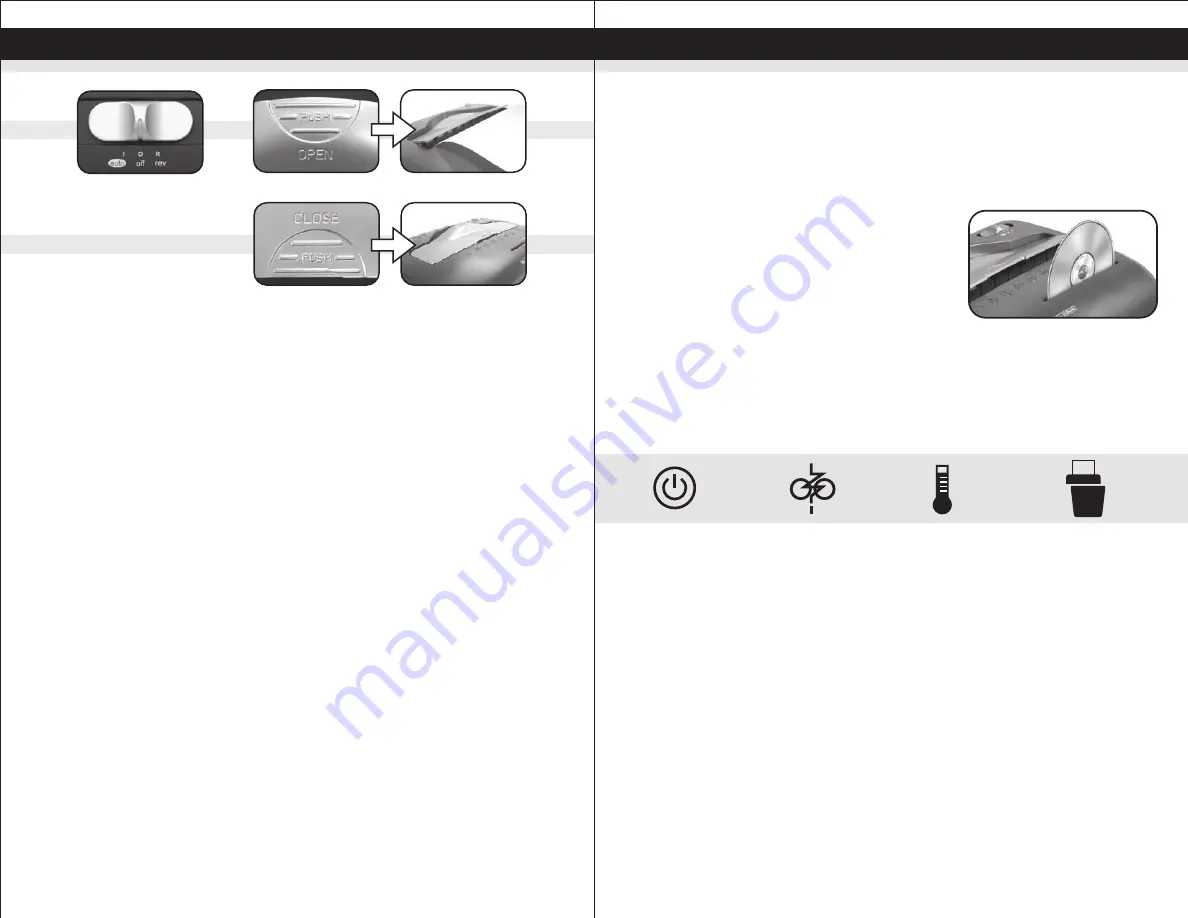
Features a CD/DVD destroyer:
1) Hold the CD/DVD by the edge and feed one at a time,
releasing when shredding begins.
2) Shredder will stop when the entire disc has been destroyed.
CAUTION:
Do not hold CD/DVD with finger through the center ring while
feeding into the shredder. Serious injury may occur.
Never feed more than one credit card or CD/DVD at a time.
Power On
(green light)
LED Status indicators:
Shredder Misaligned
(red light)
Overheat
(red light)
Paper Overload
(red light)


